How Can We Help?
Arago Assembly
Below is a 10-step guide outlining the process of assembling Arago after removing it from the transportation box.
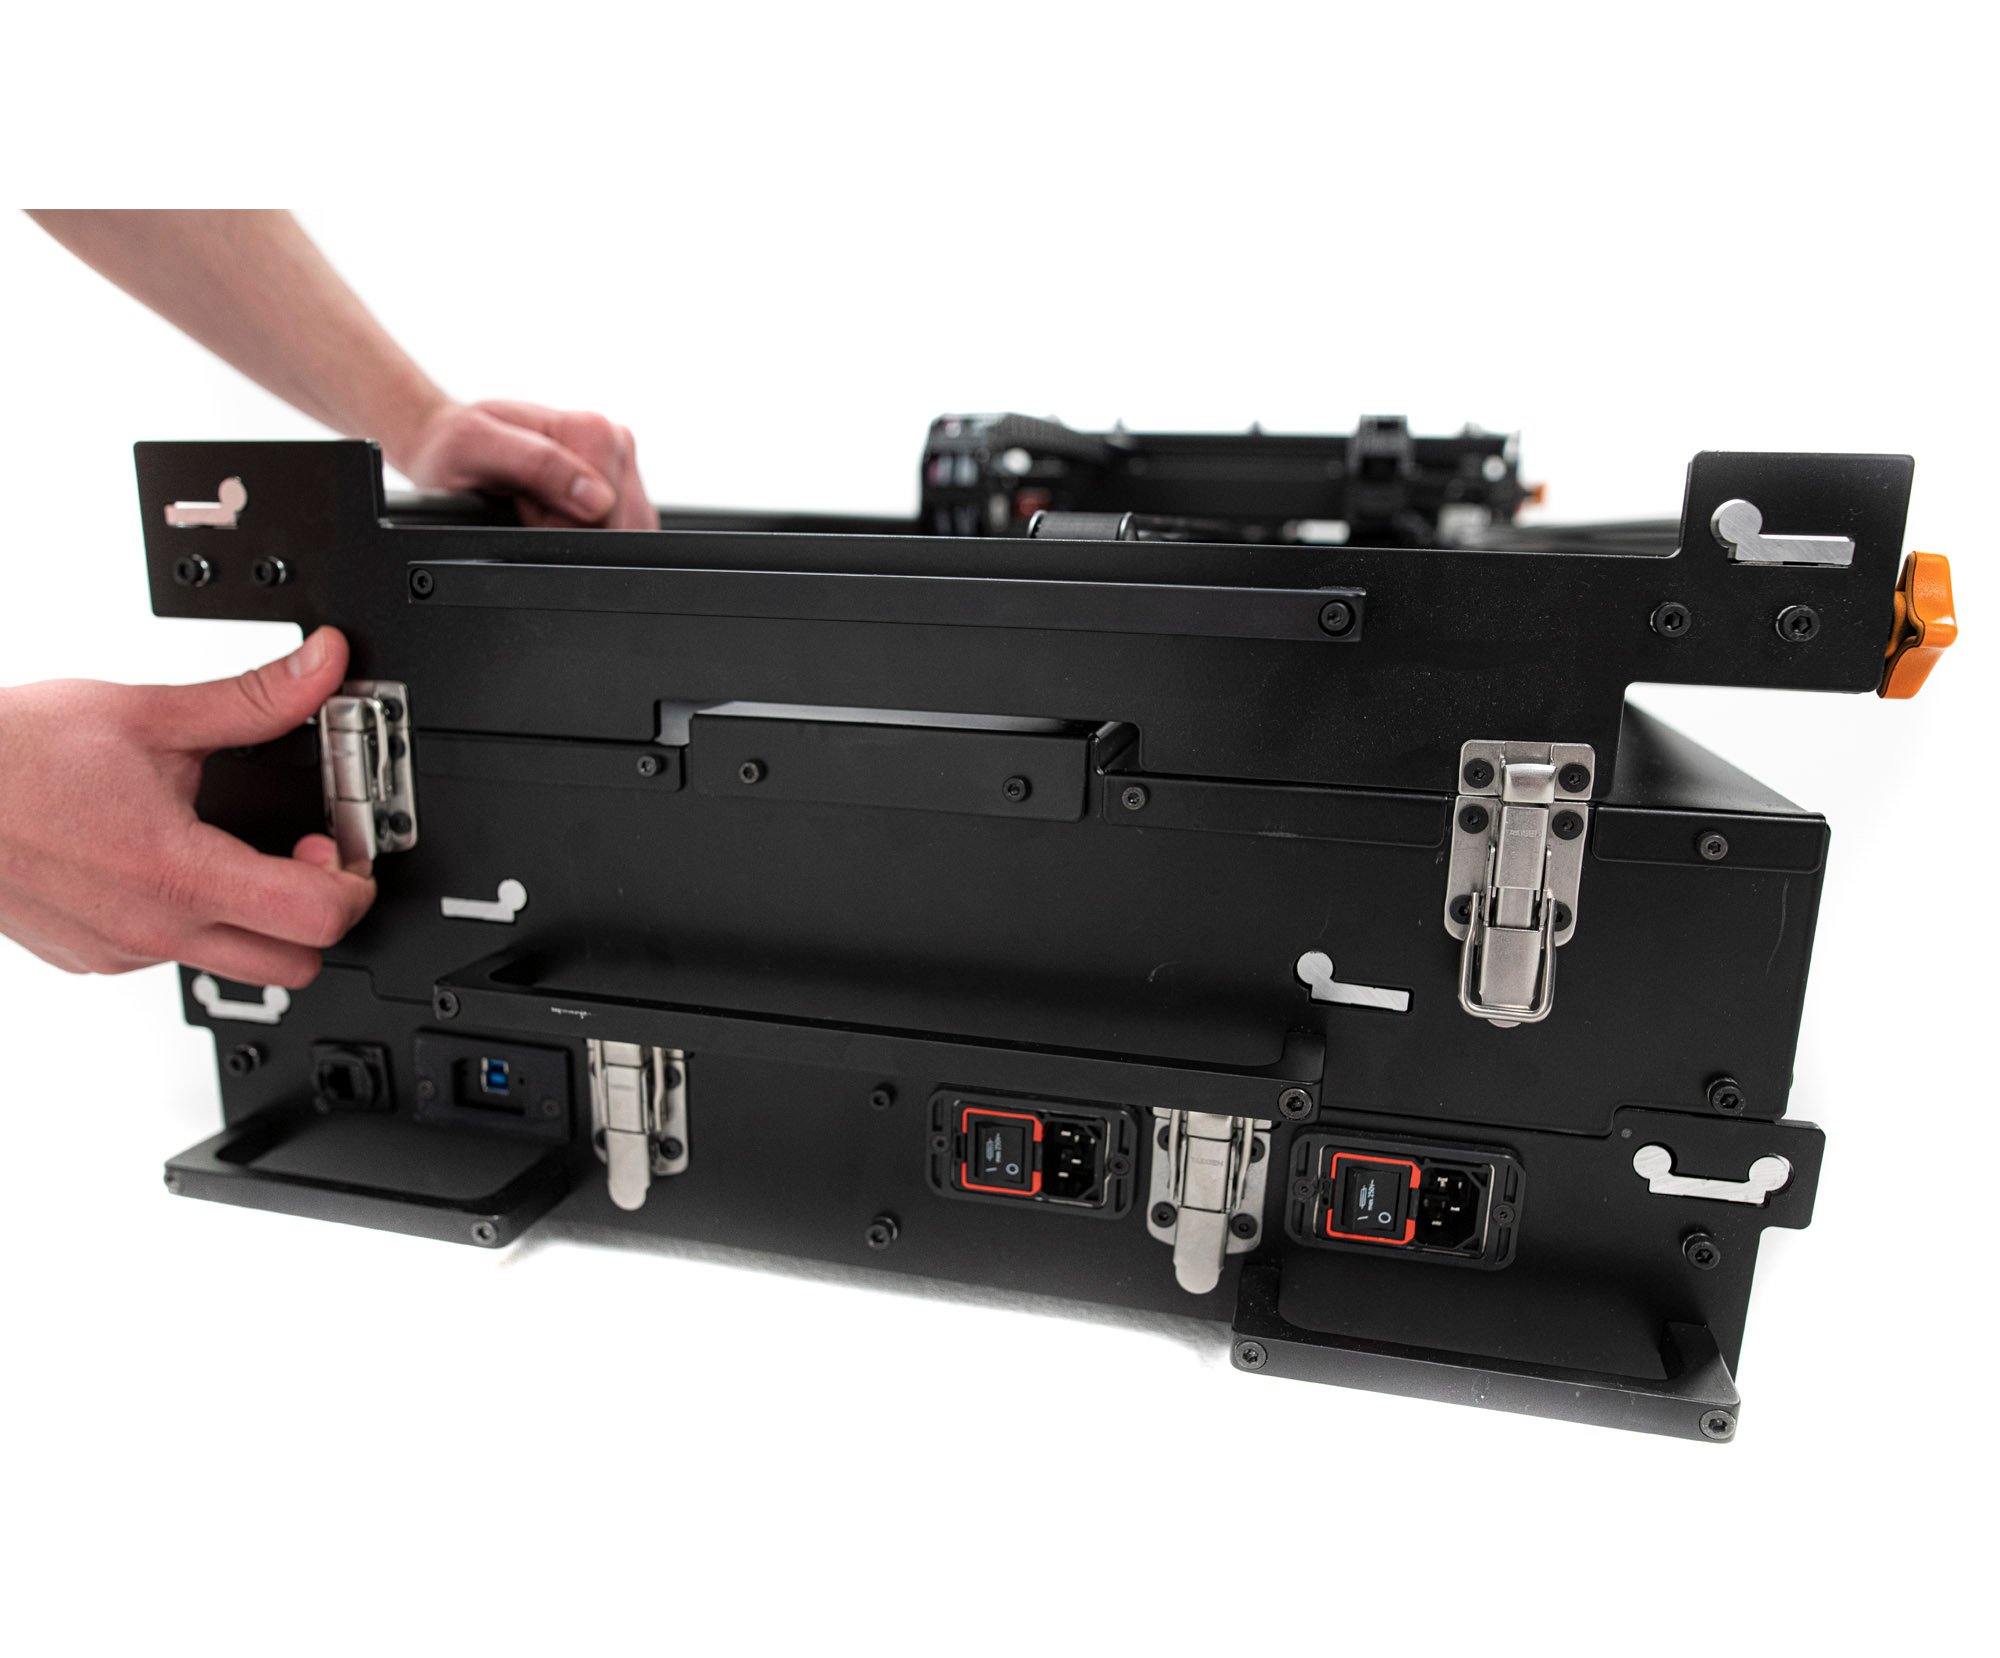
1. Unlock Latches
Unlock all four latches at the back of the unit to separate the individual components.
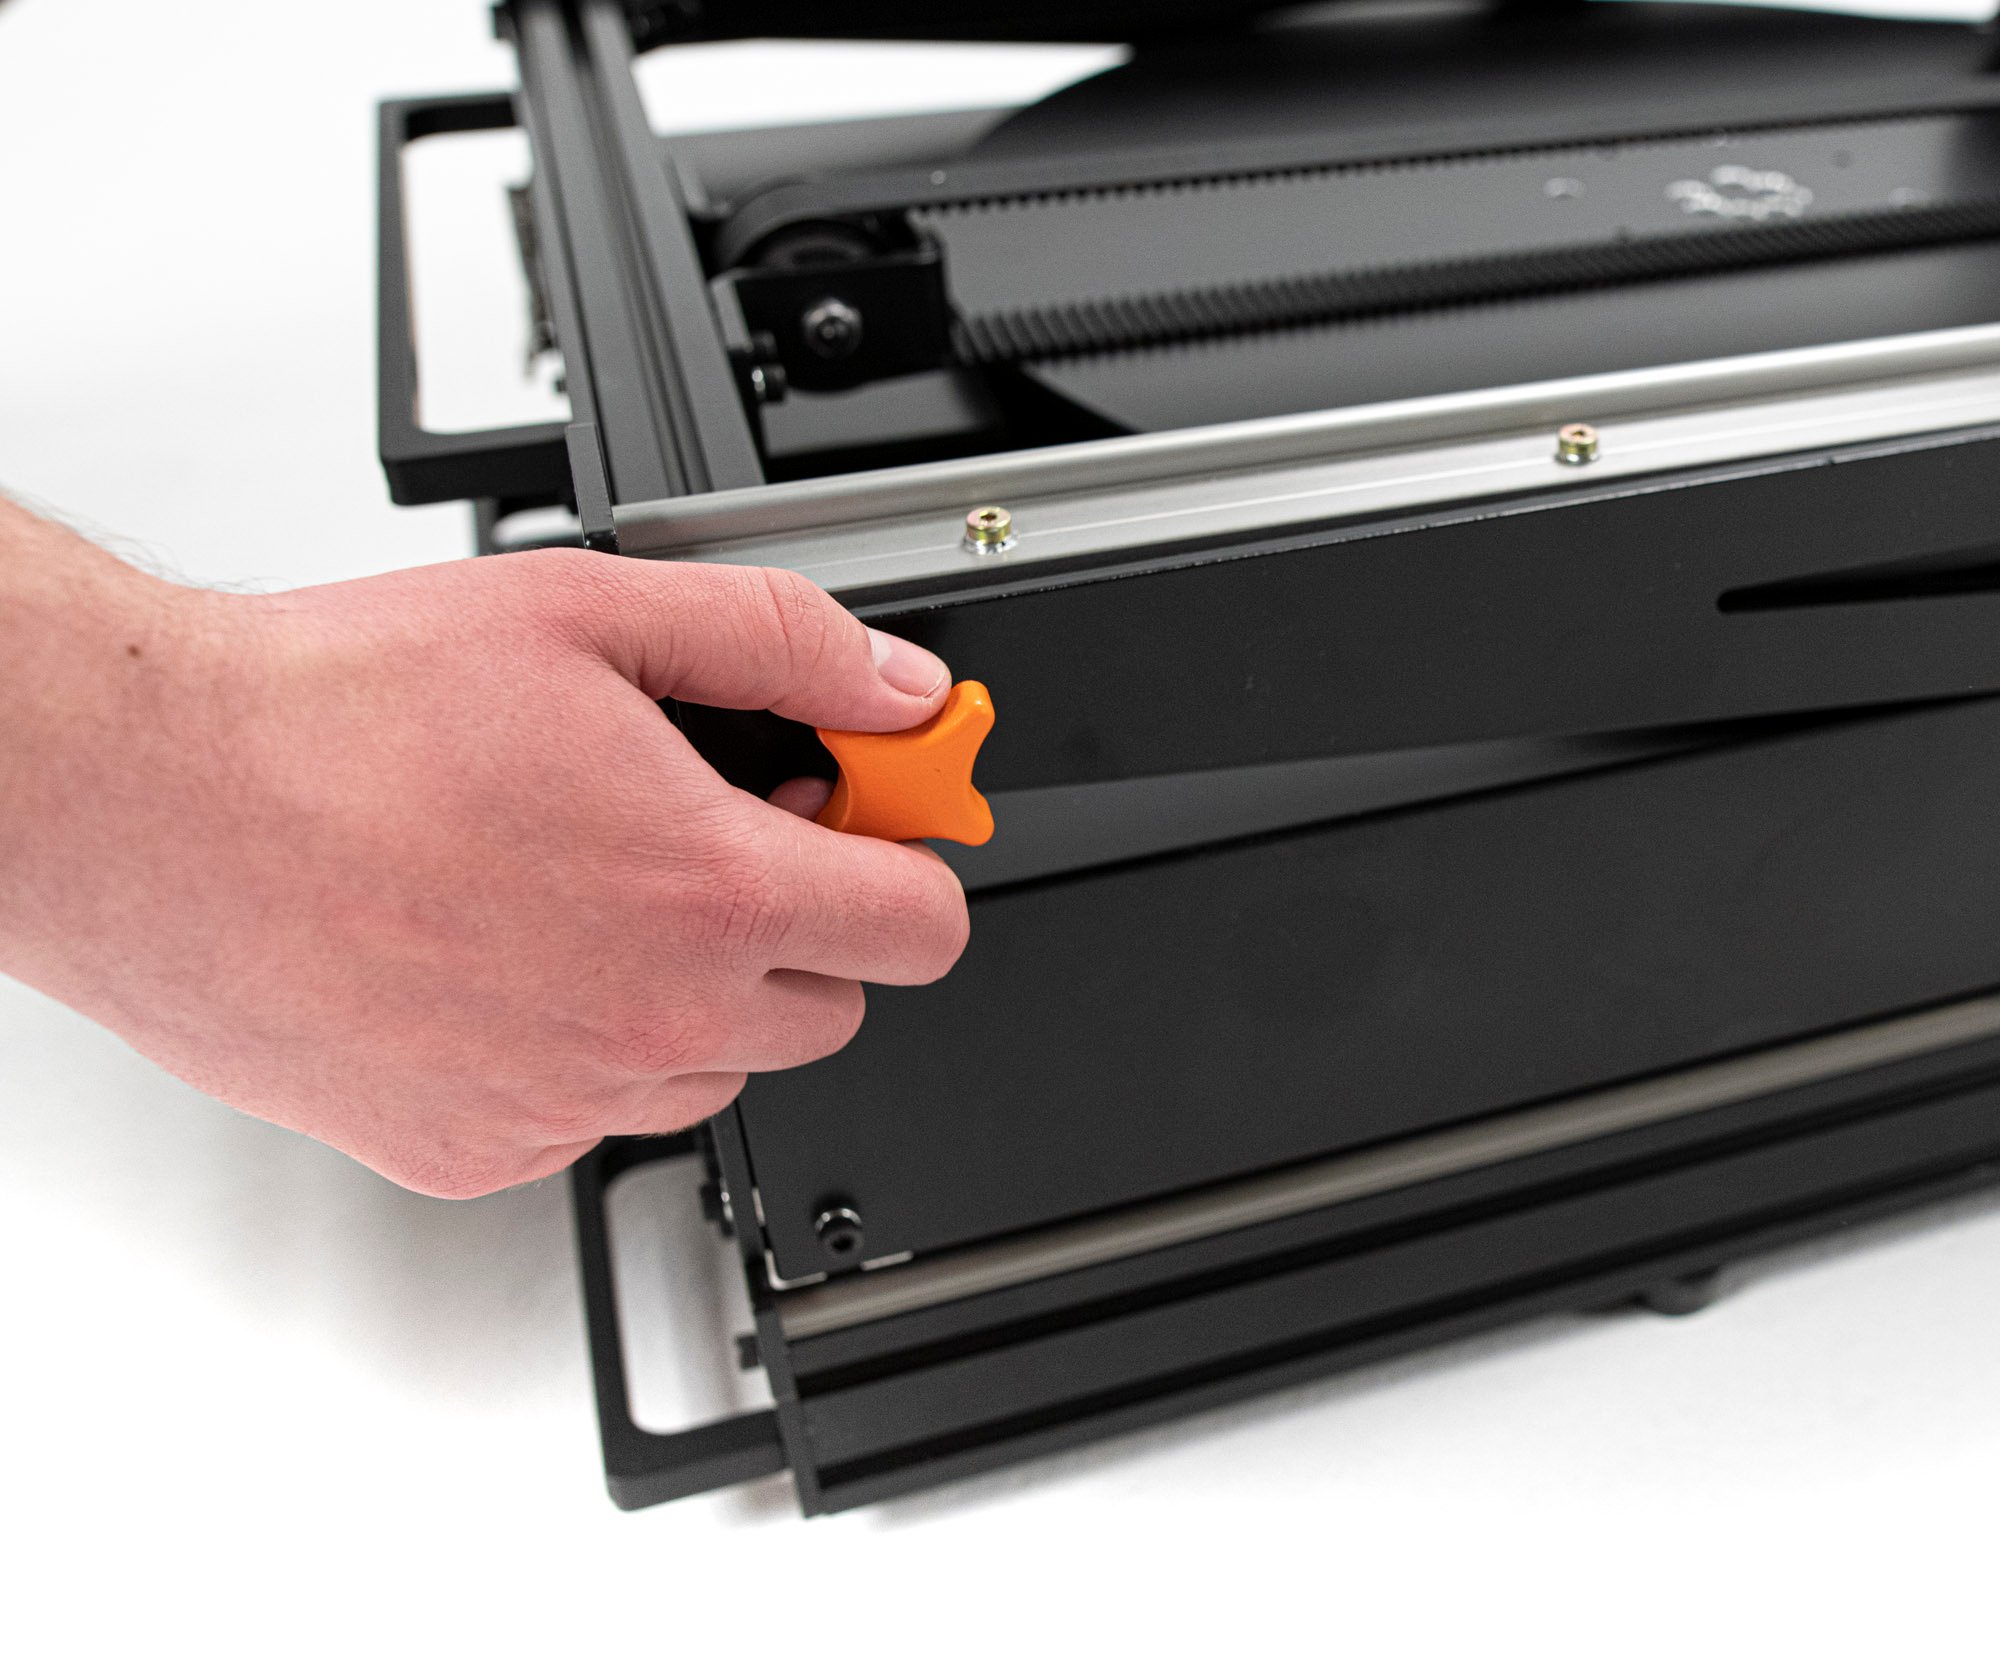
2. Release Two Knobs
Release the two knobs located in the back sides of the unit by rotating them counterclockwise.
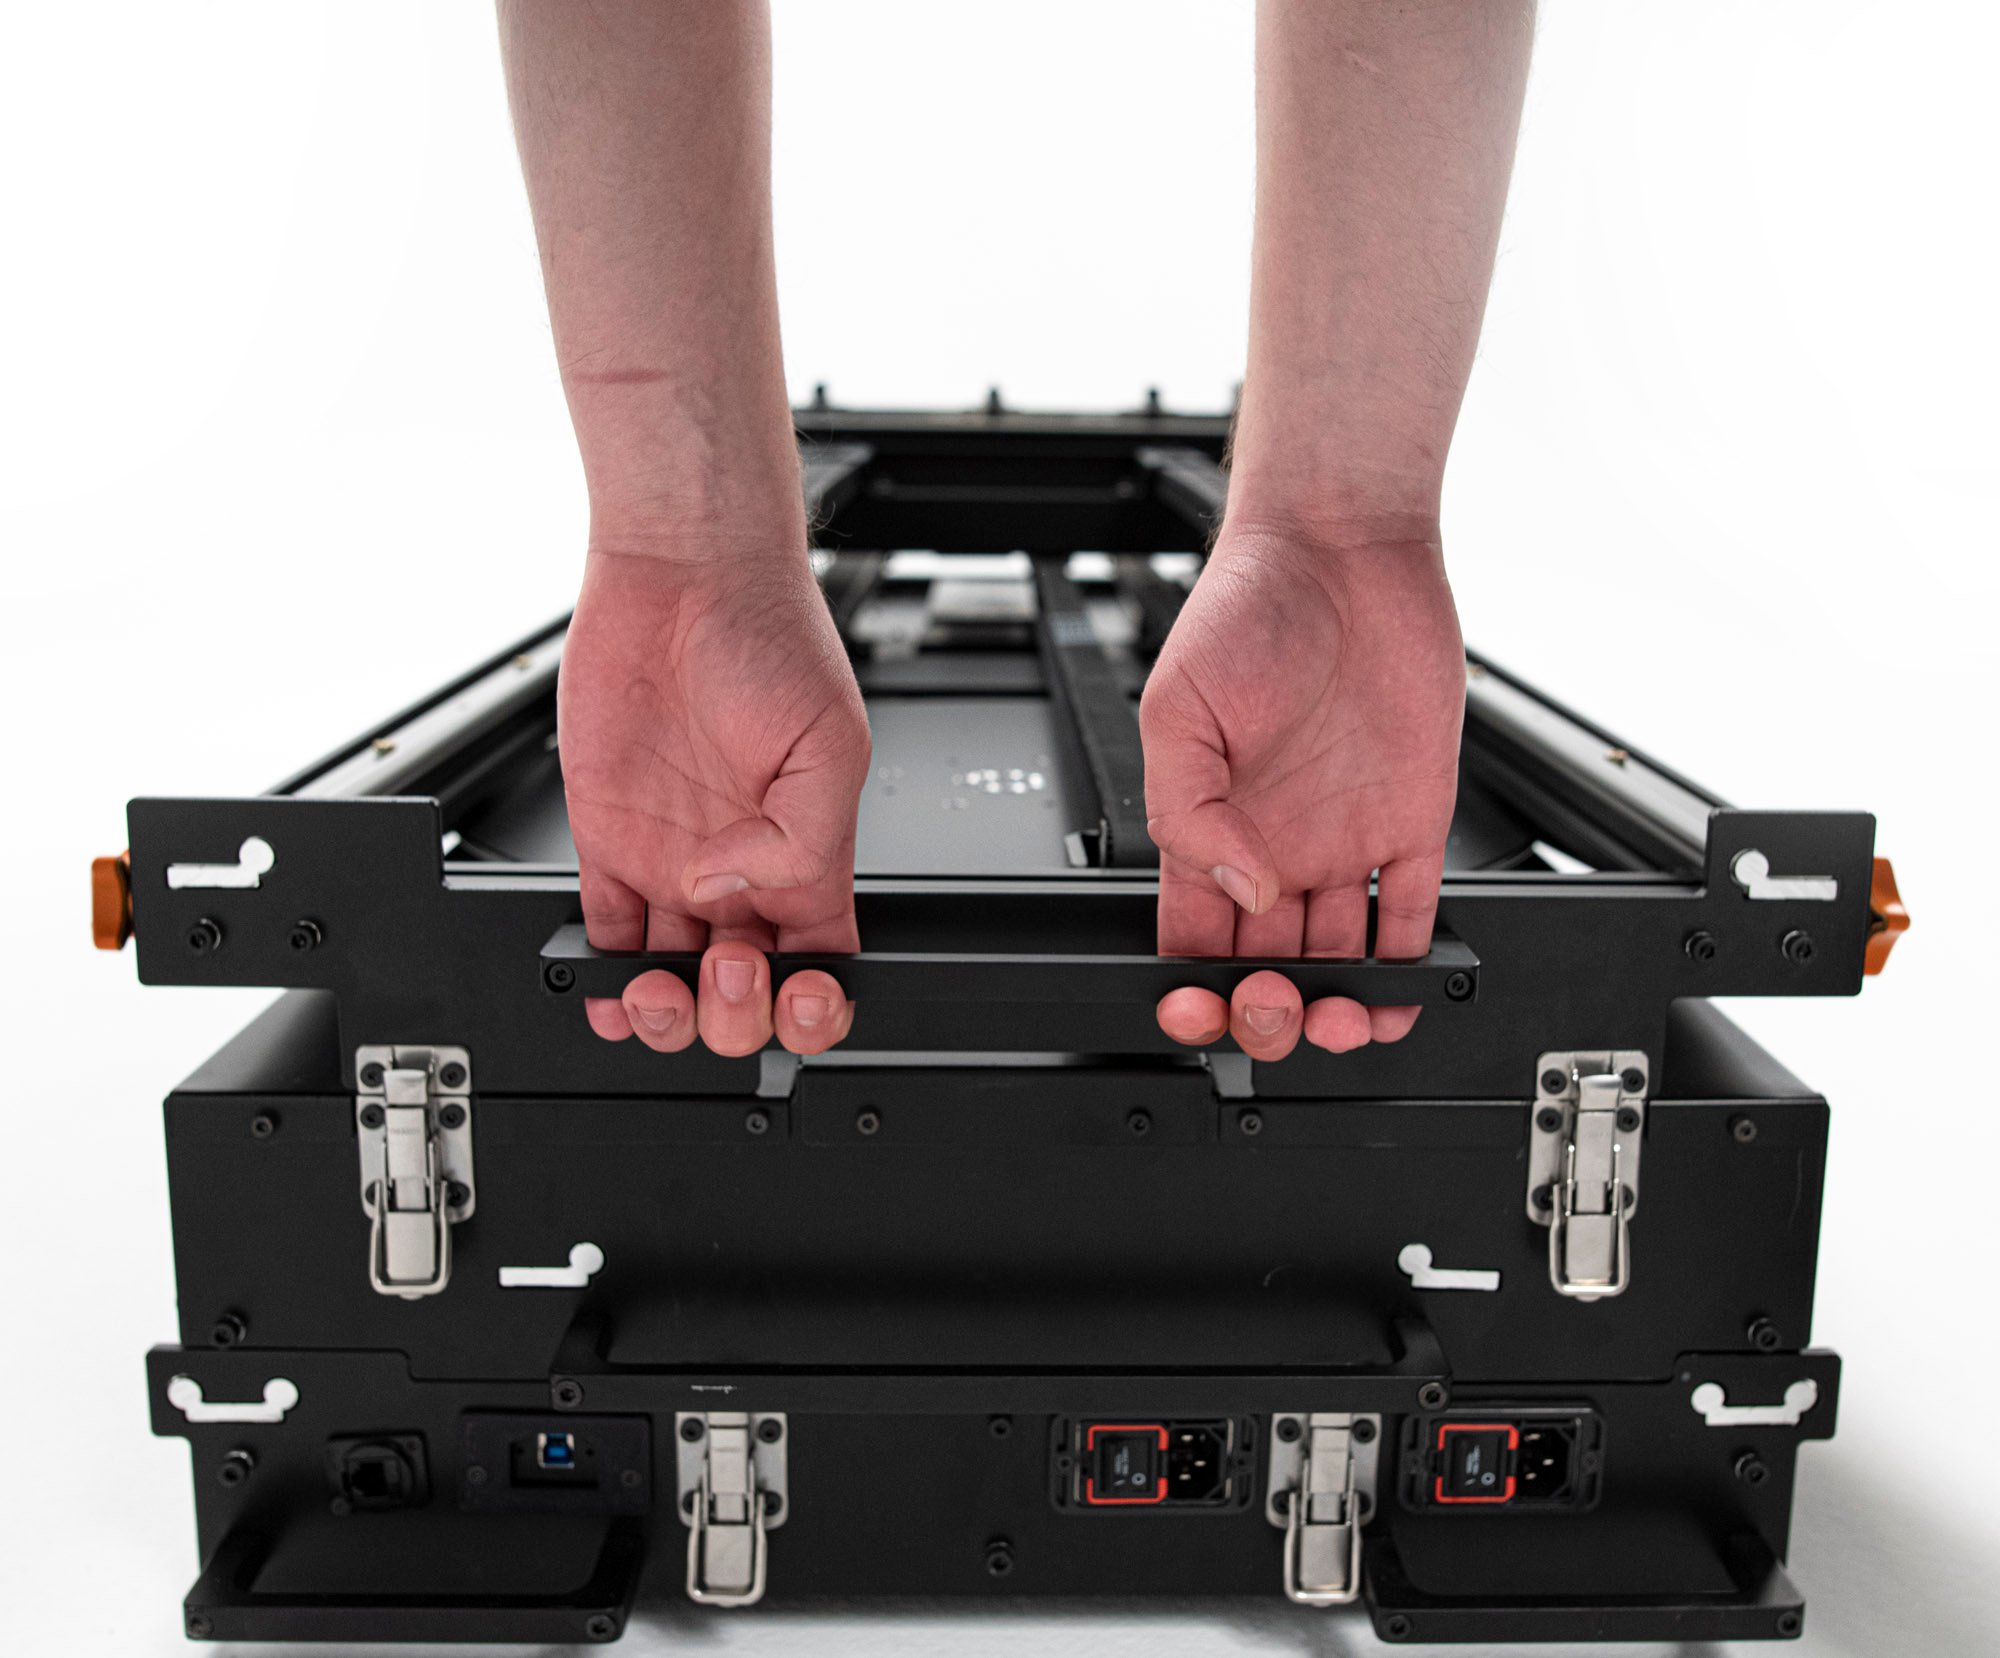
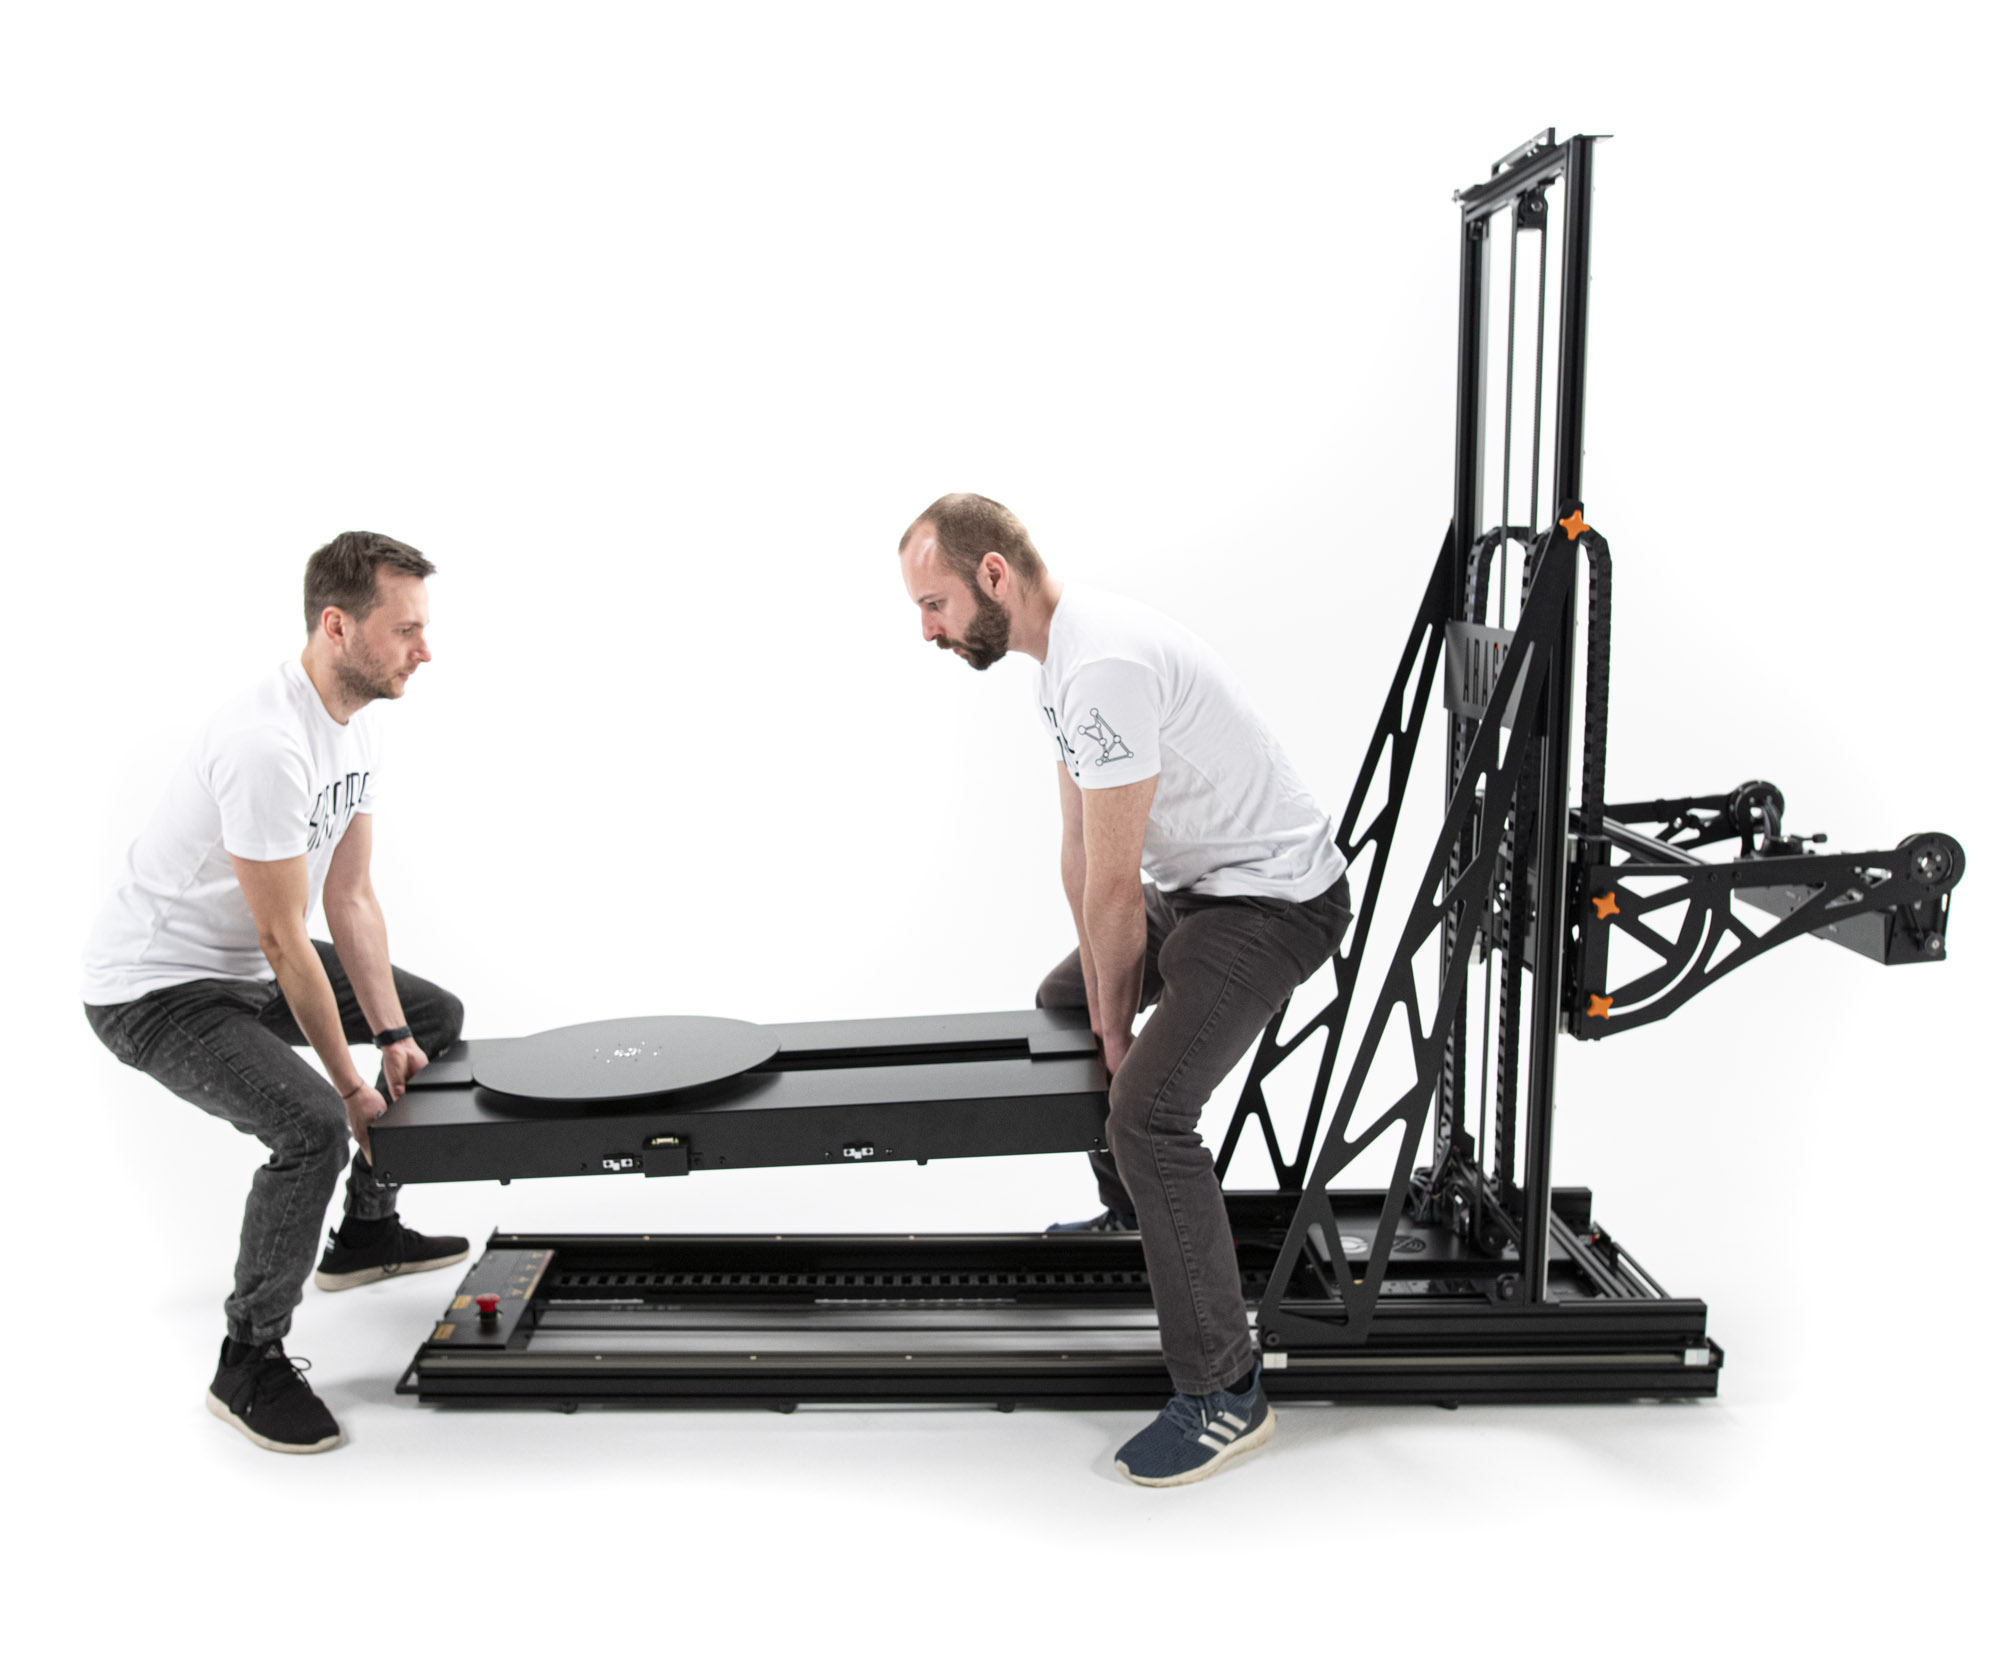
3. Lift Arago in Upright Position
Fully elevate the vertical (Y) component by the top handle located in the back of the unit as illustrated.


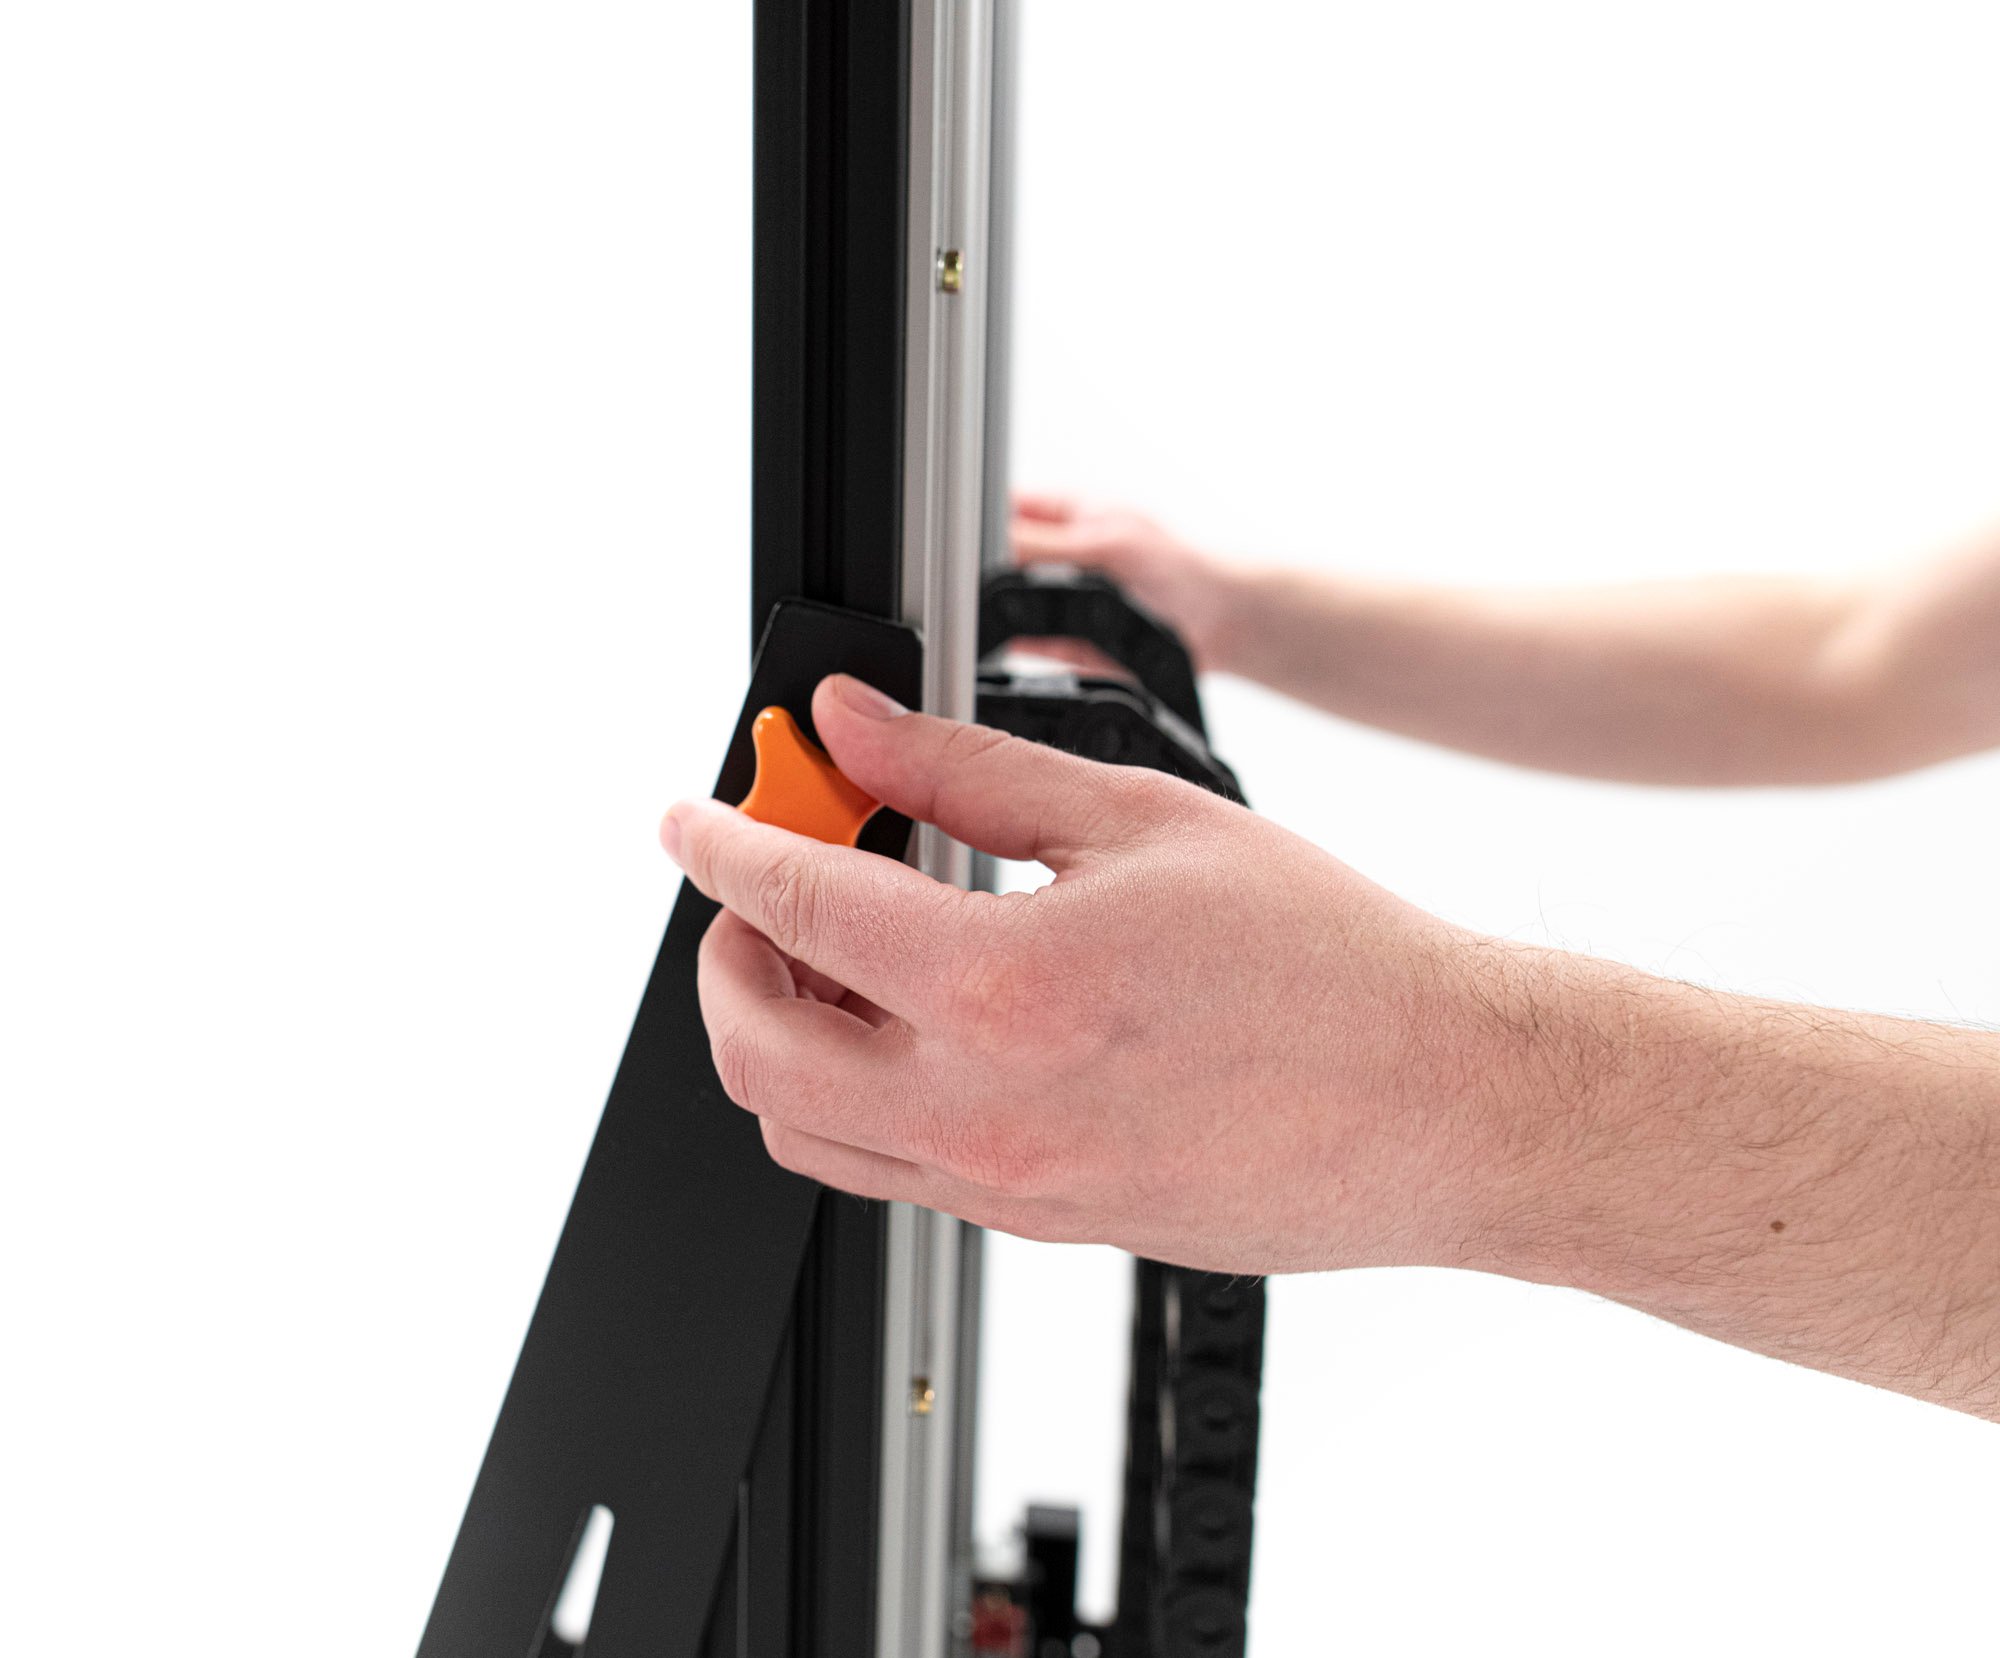
4. Tighten Knobs
Fully tighten the two knobs from the previous step by rotating them clockwise. This secures the Y vertical component in place.
5. Release Four Knobs
Loosen the four knobs on the payload (T – tilt) component, with two on each side of the unit. Turn the knobs counterclockwise to release, but do not completely unscrew them from the unit.
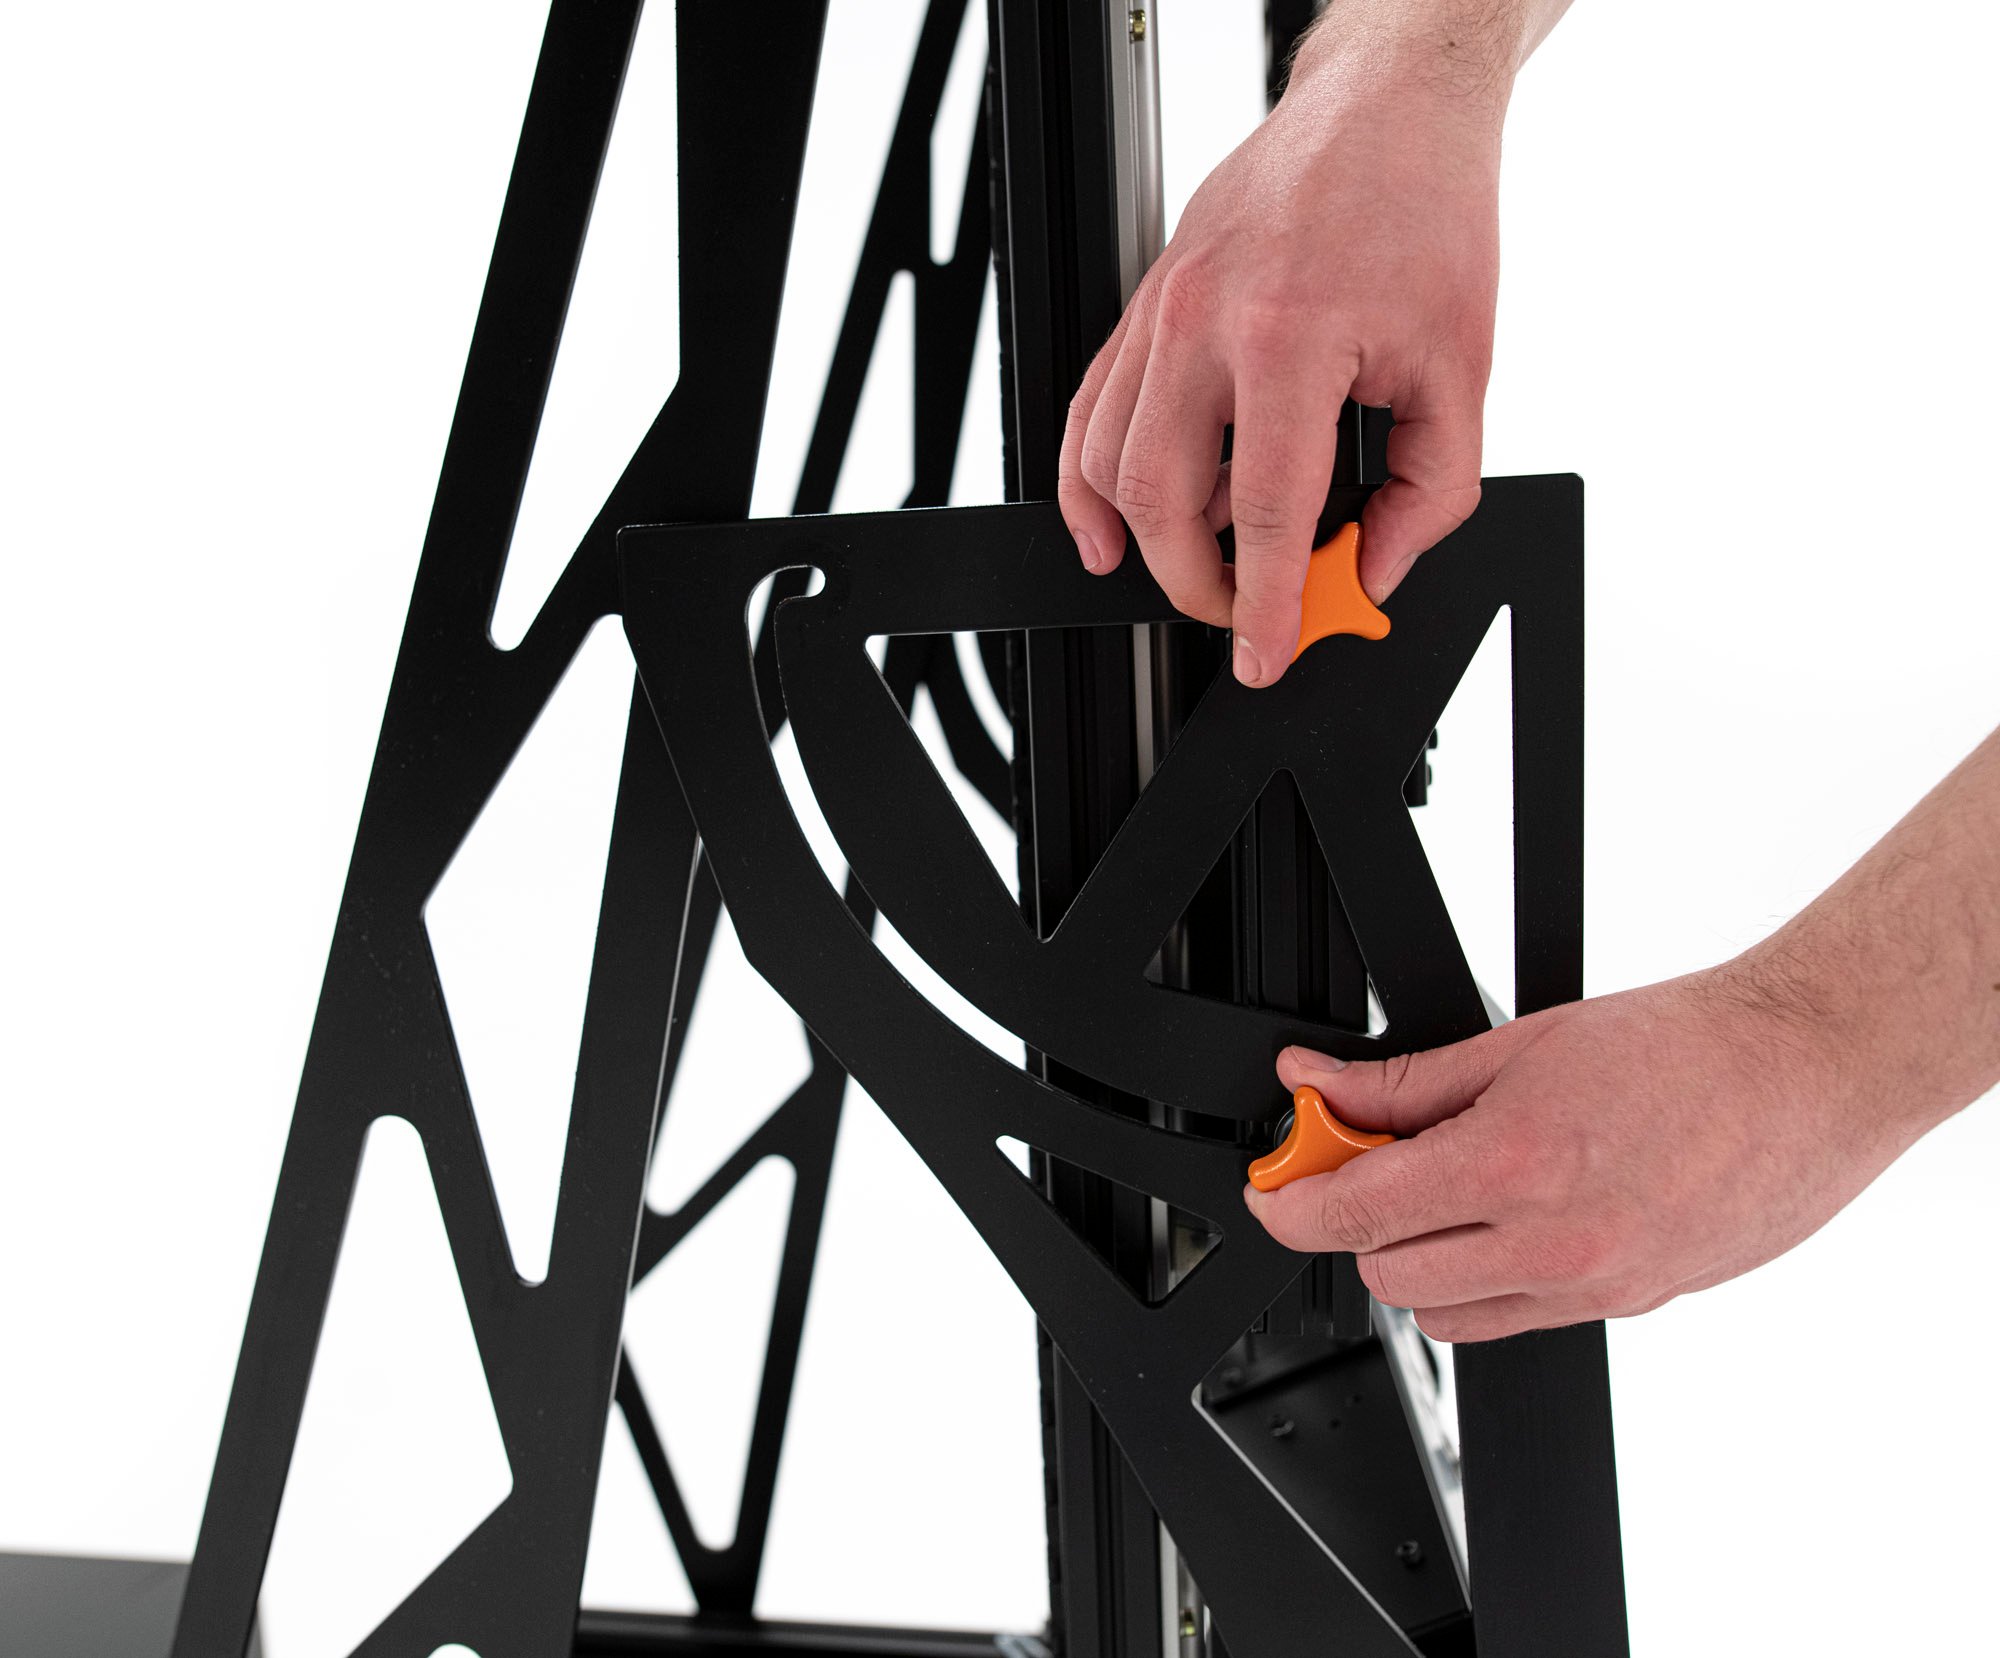
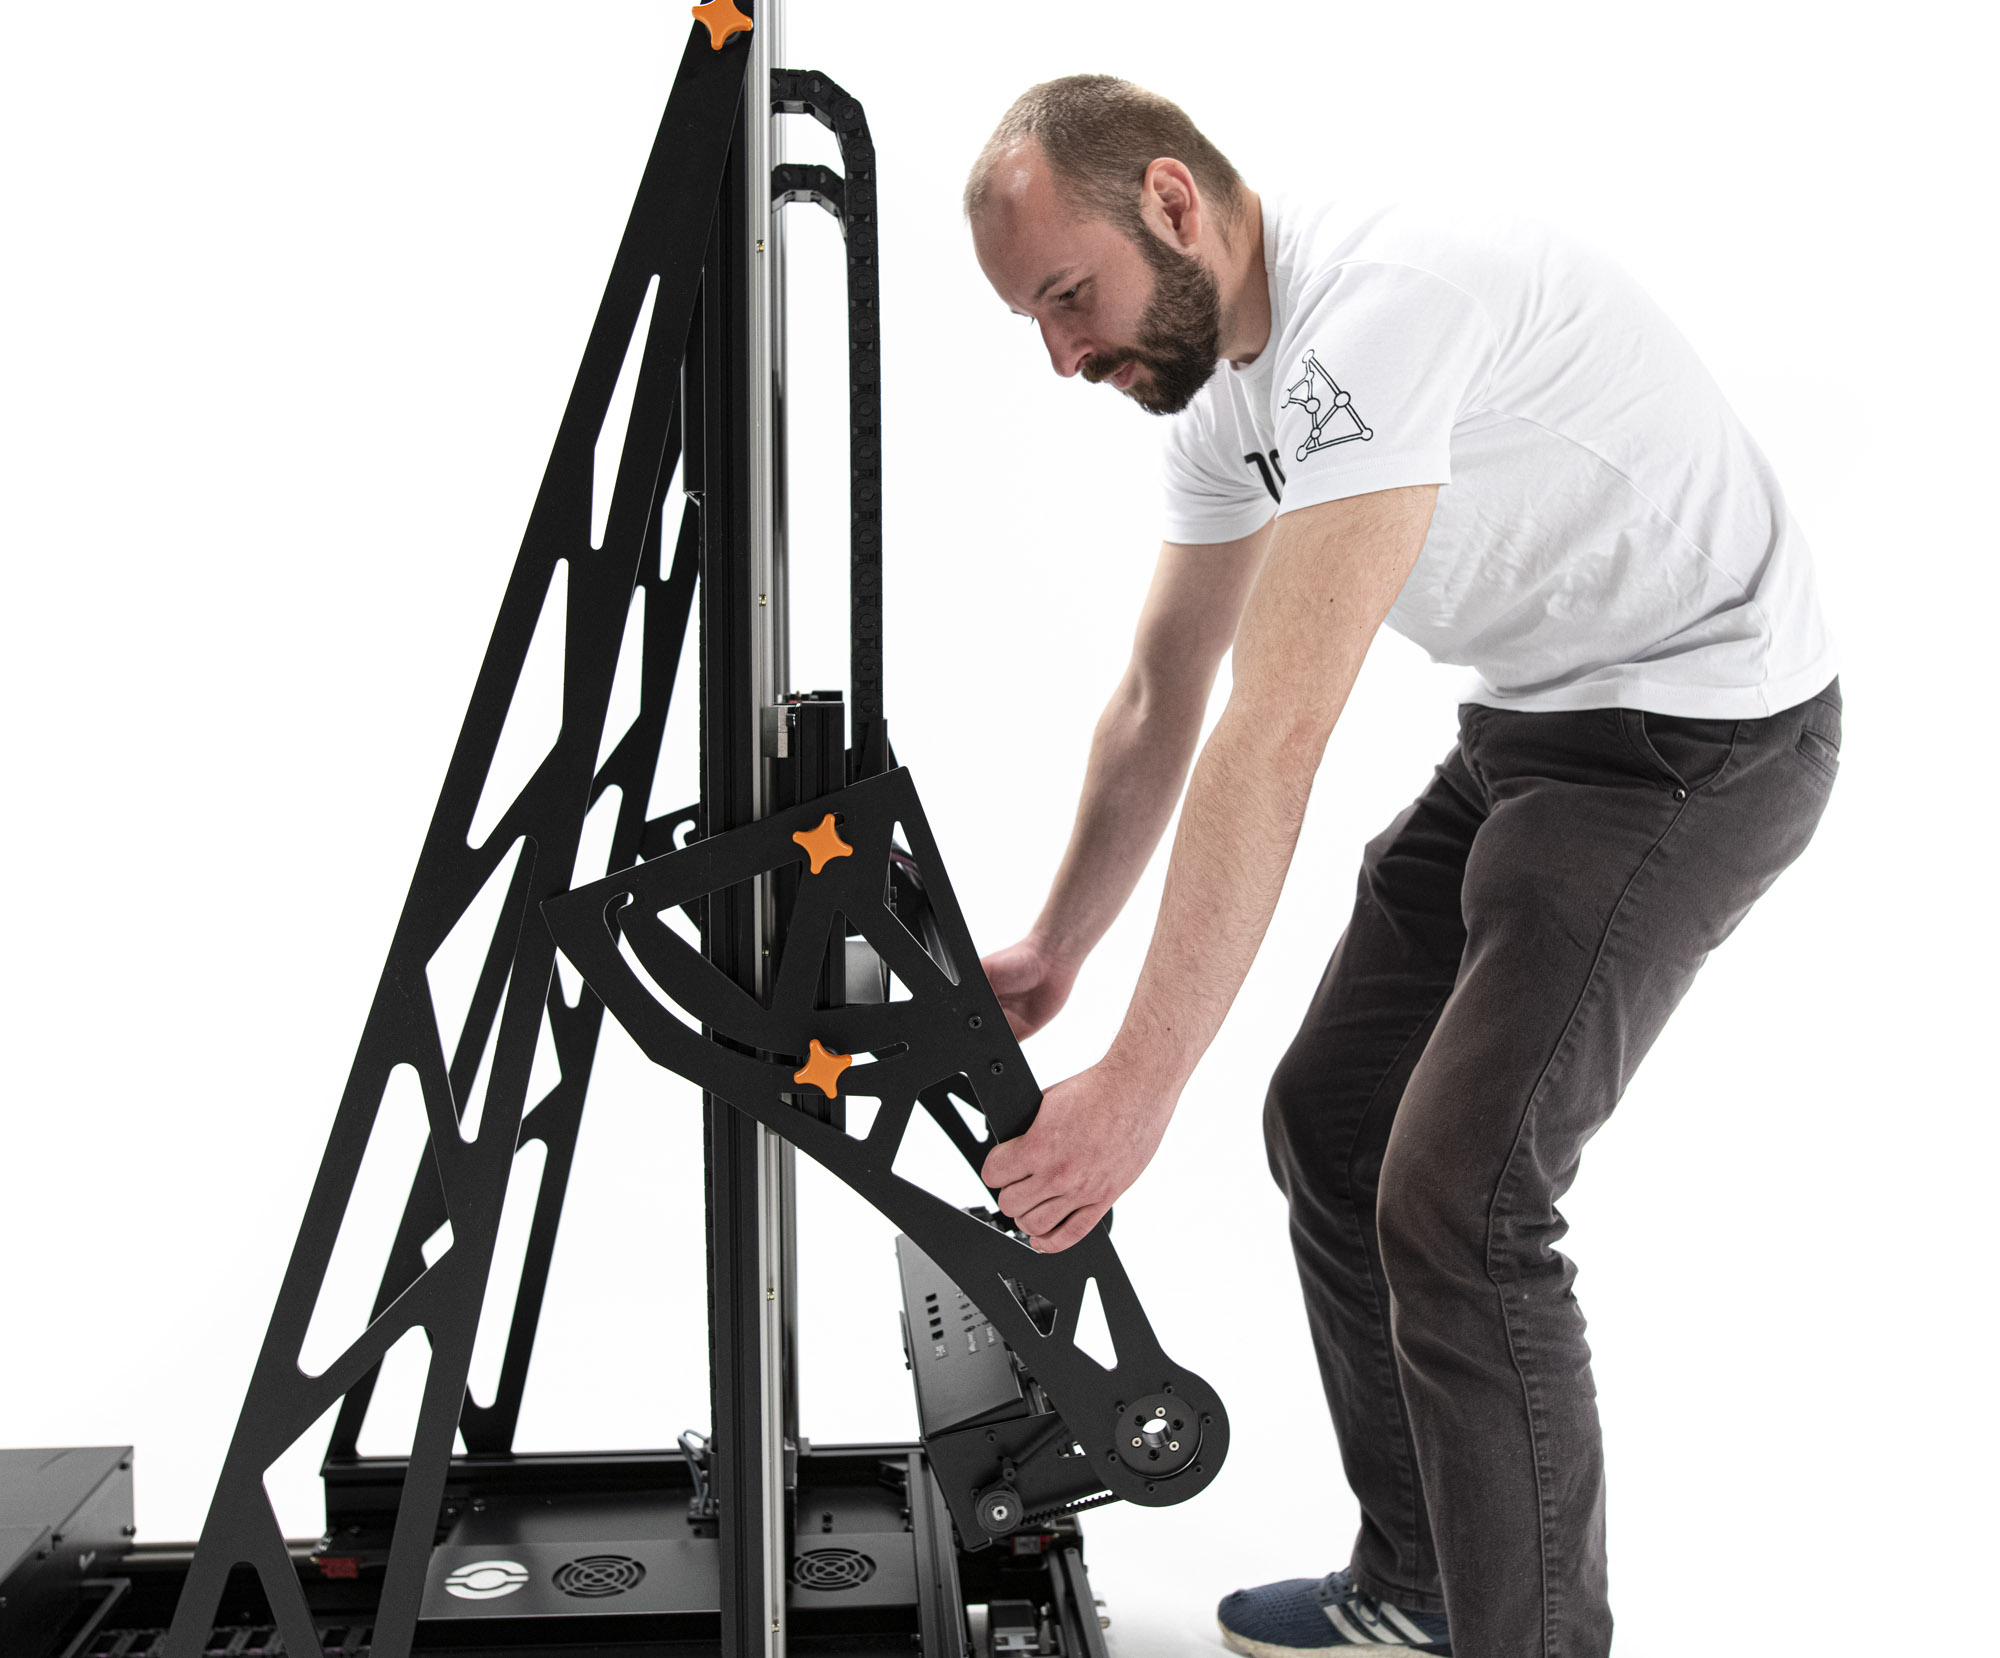
6. Elevate Tilt
Using the designated cutouts on each side, fully lift the T component as shown. While keeping the T component elevated, gently pull it towards you and then lower it until it is secured in a horizontal position.
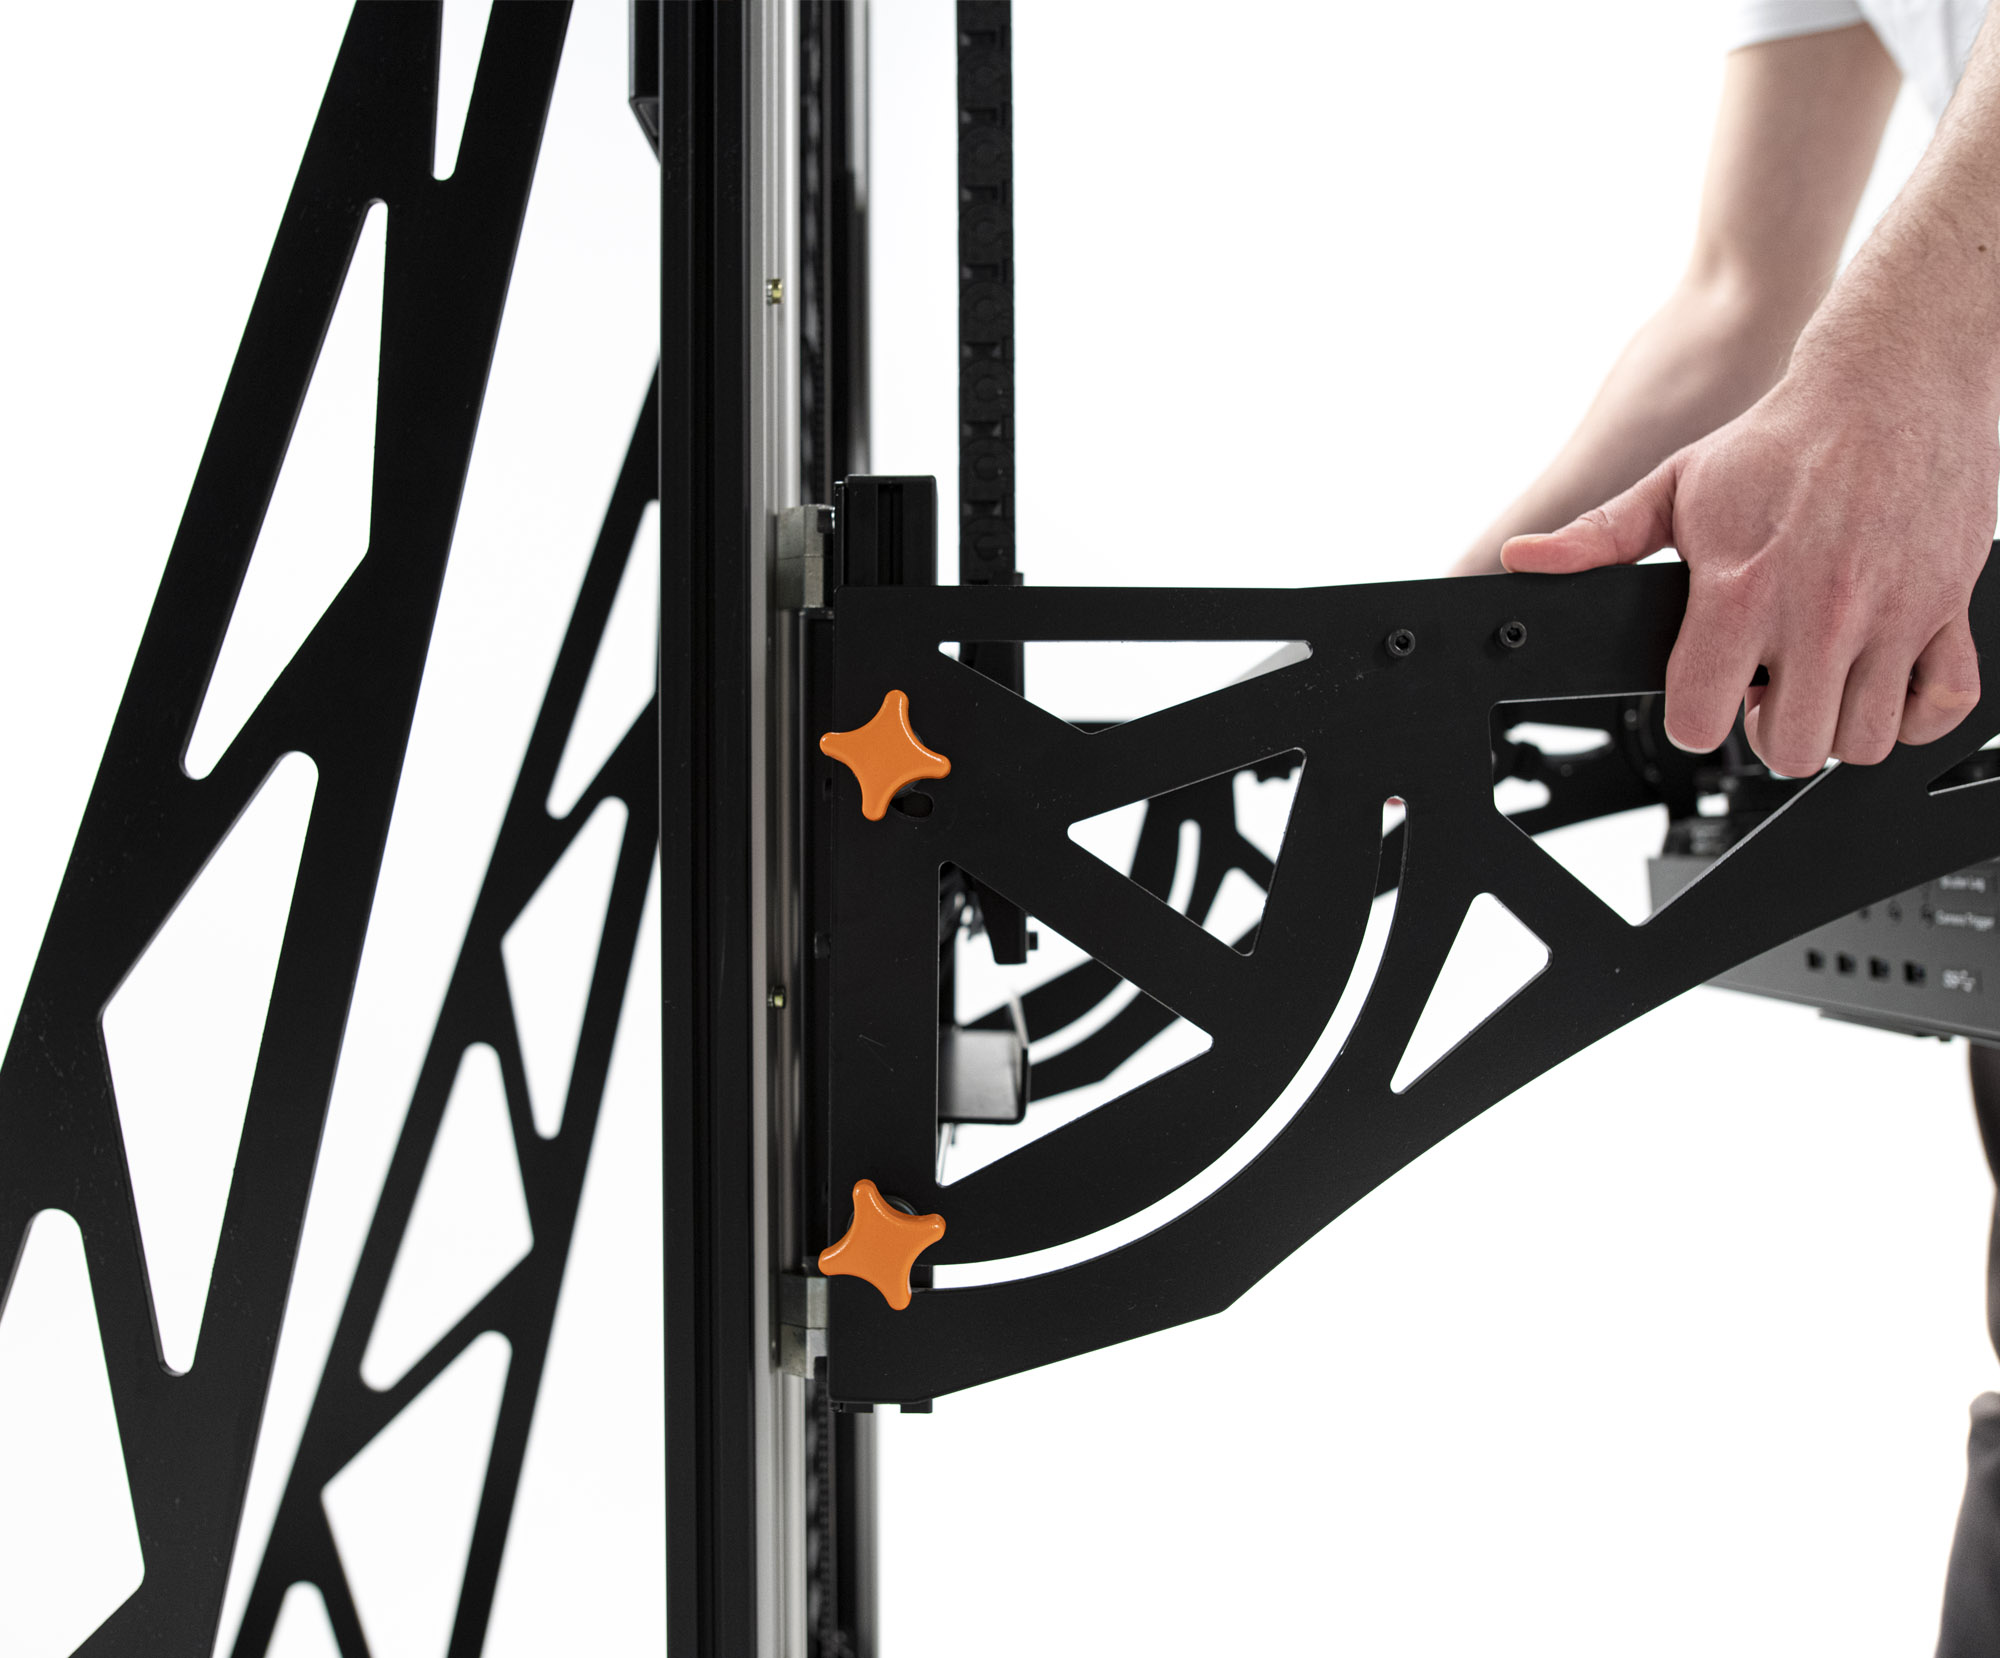
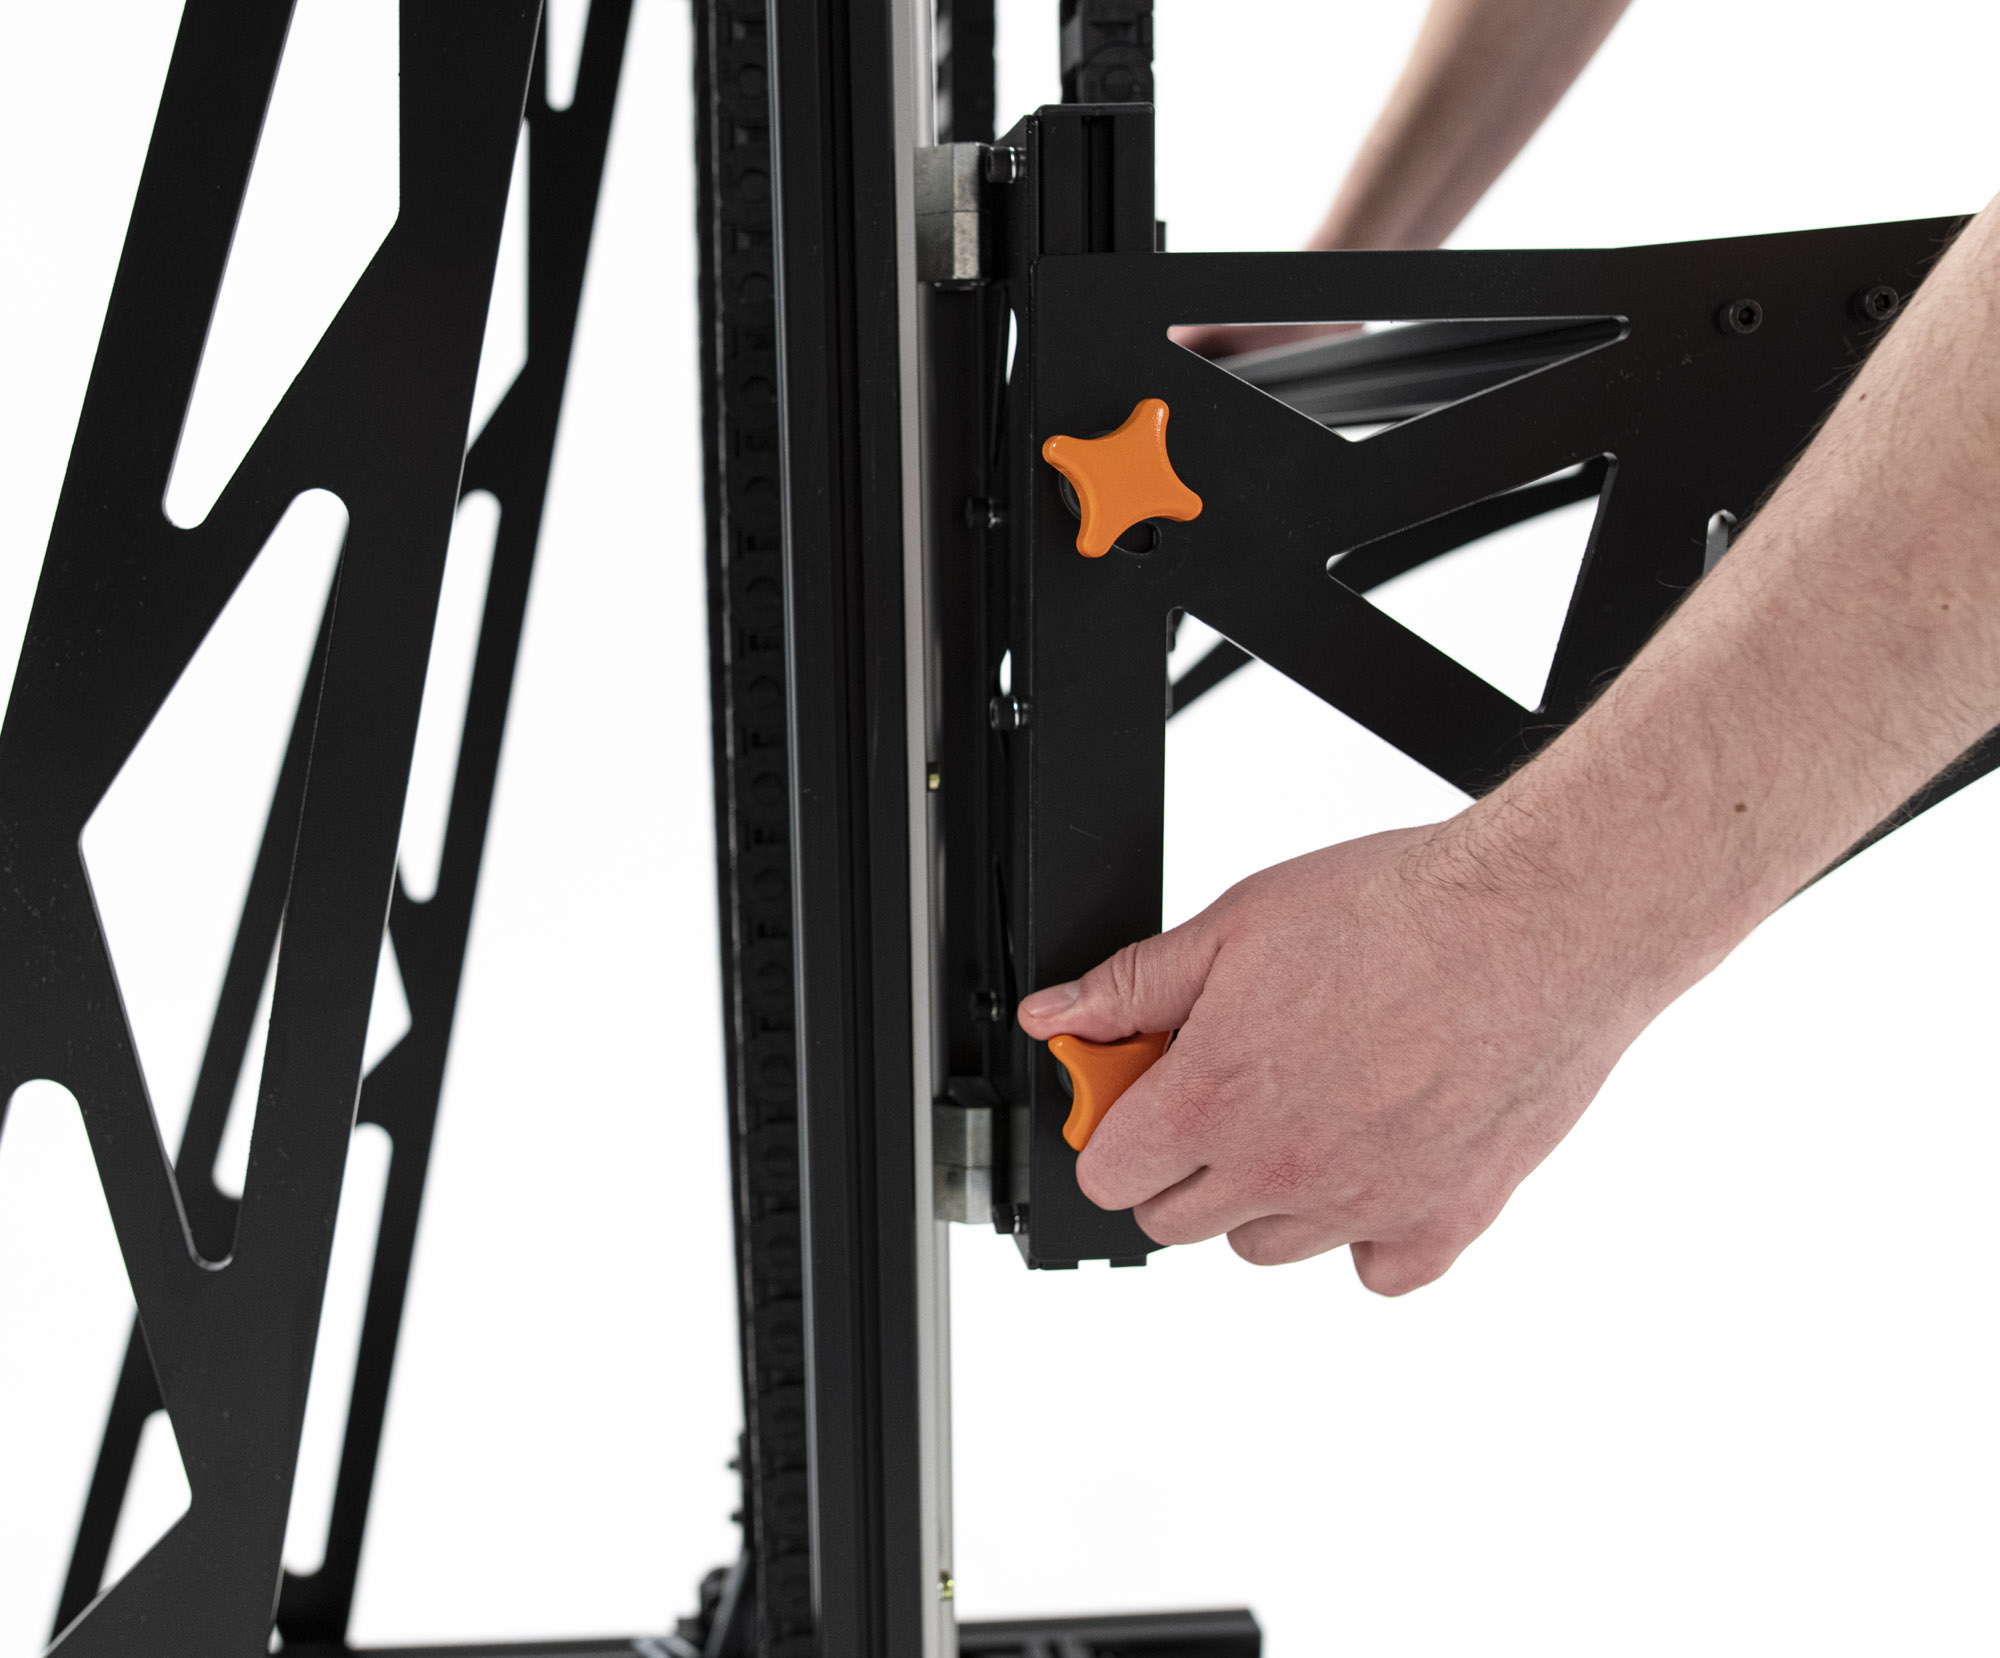
7. Tighten Four Knobs
Rotate the four knobs clockwise to fully tighten them, securing the T component in place.
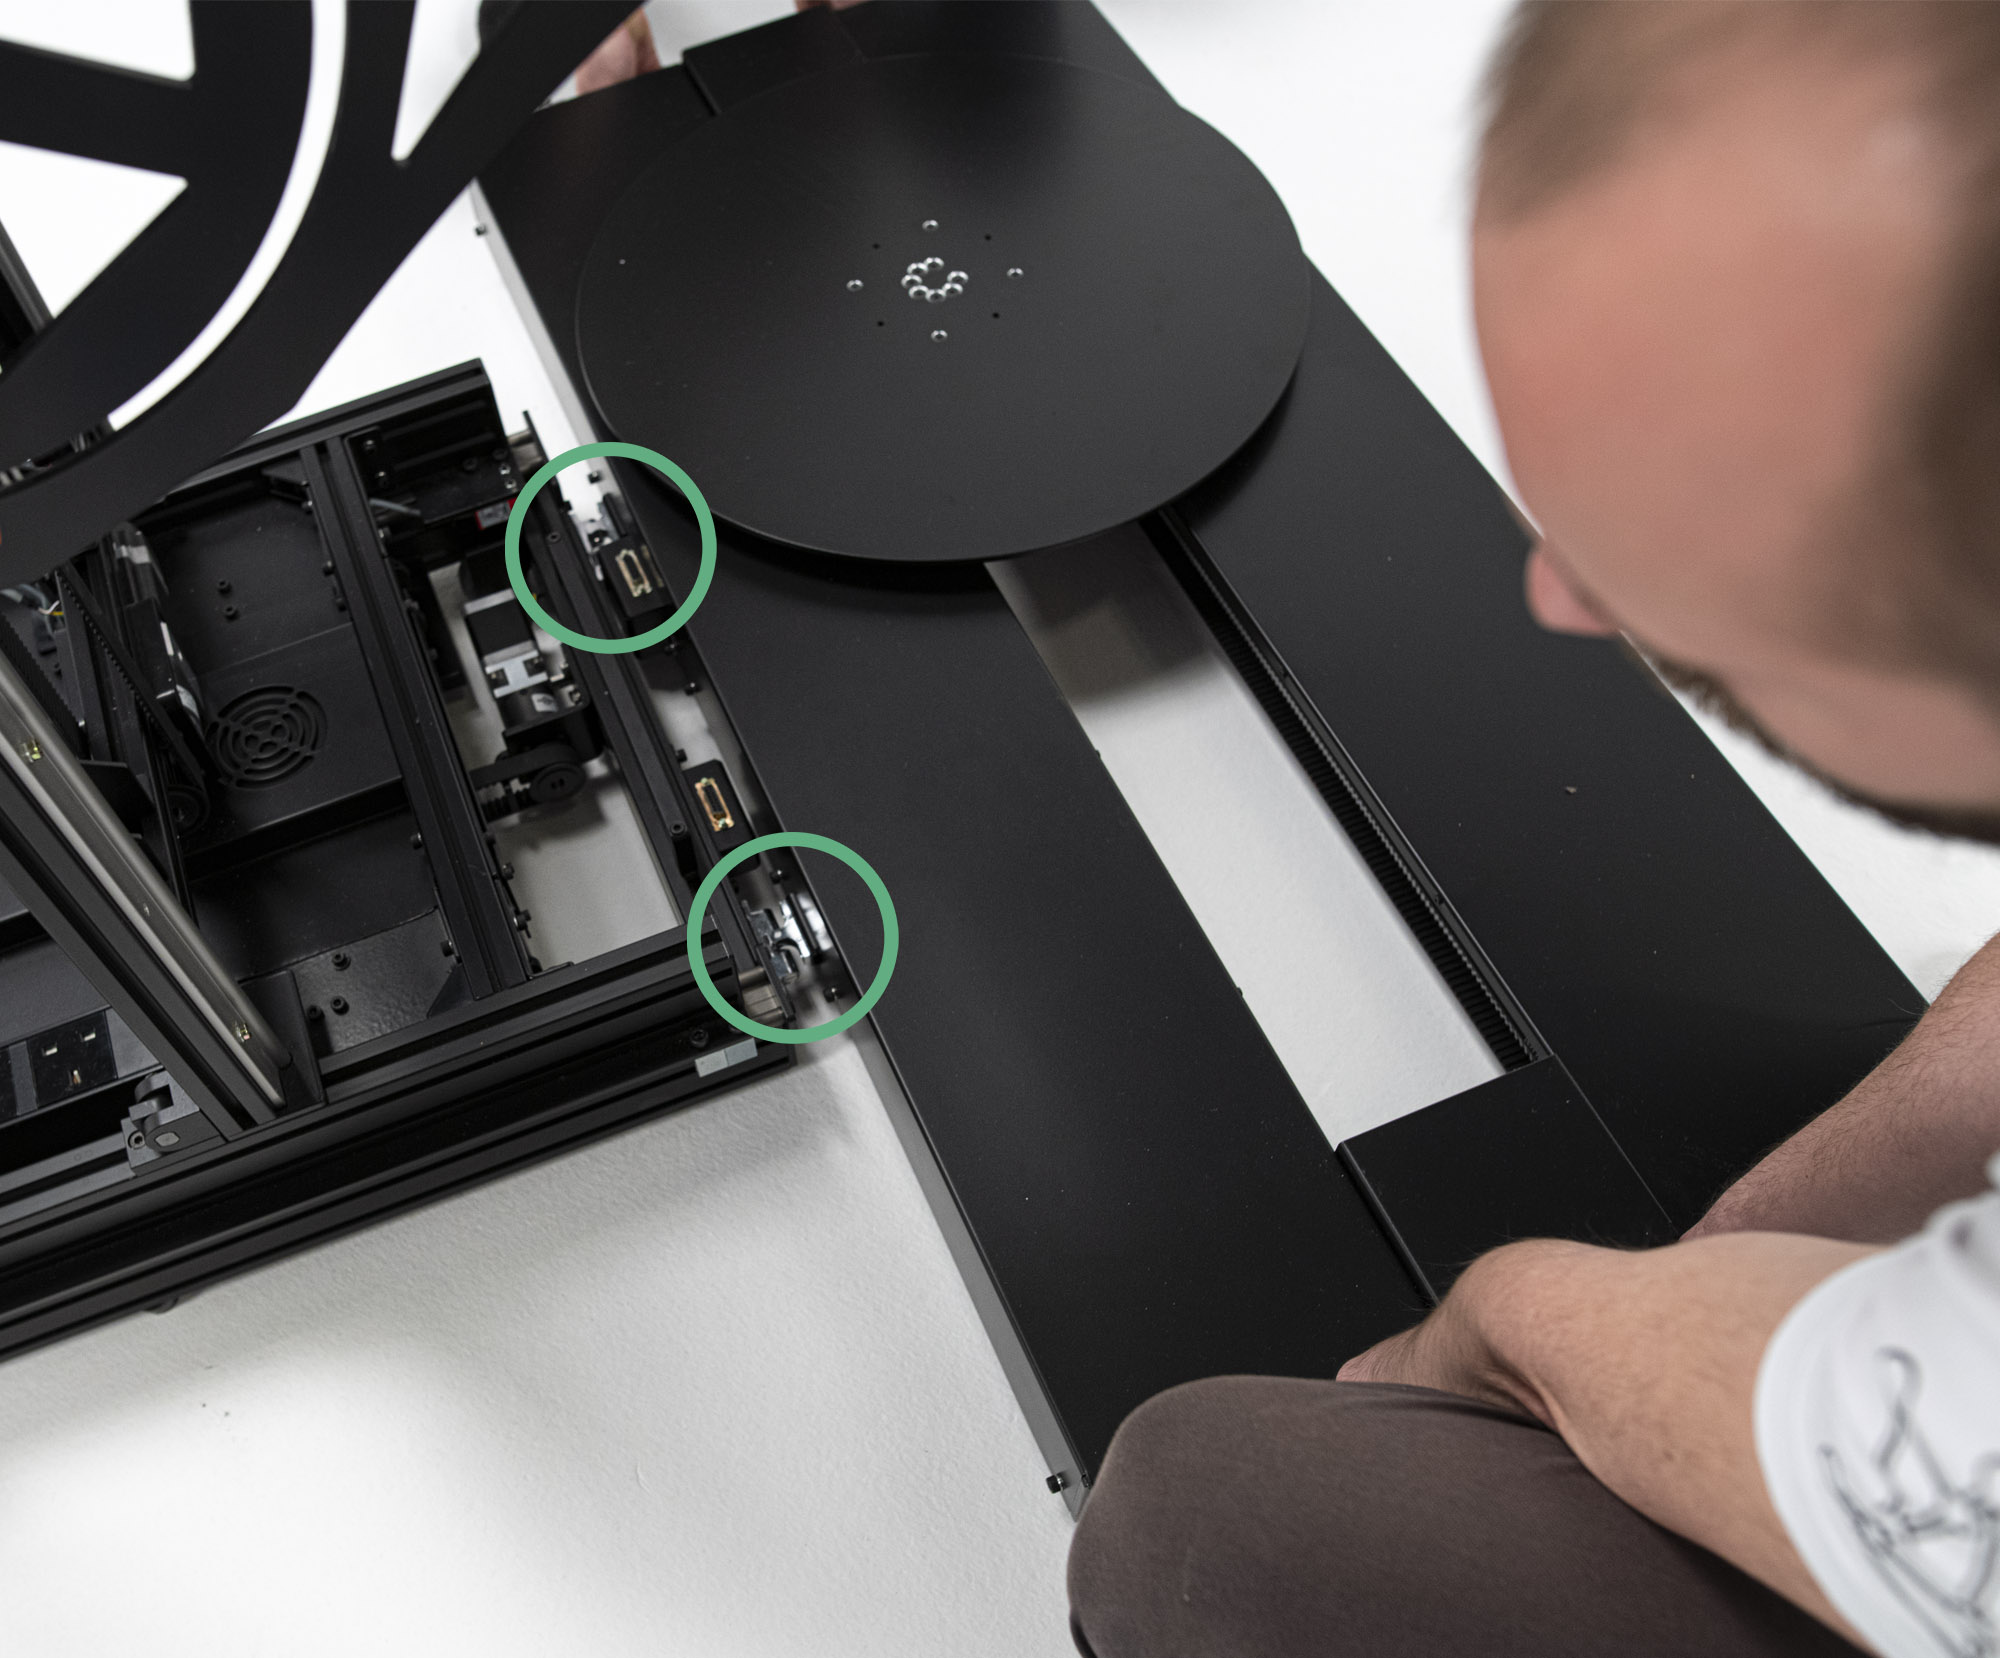
8. Lift Turntable
Using the dedicated handles on either side, lift the turntable (Z) component from the back of the unit and position it in front. Align the two ball catchers/silver joints on the sides of the turntable (Z) and horizontal (X) components, and click them together.
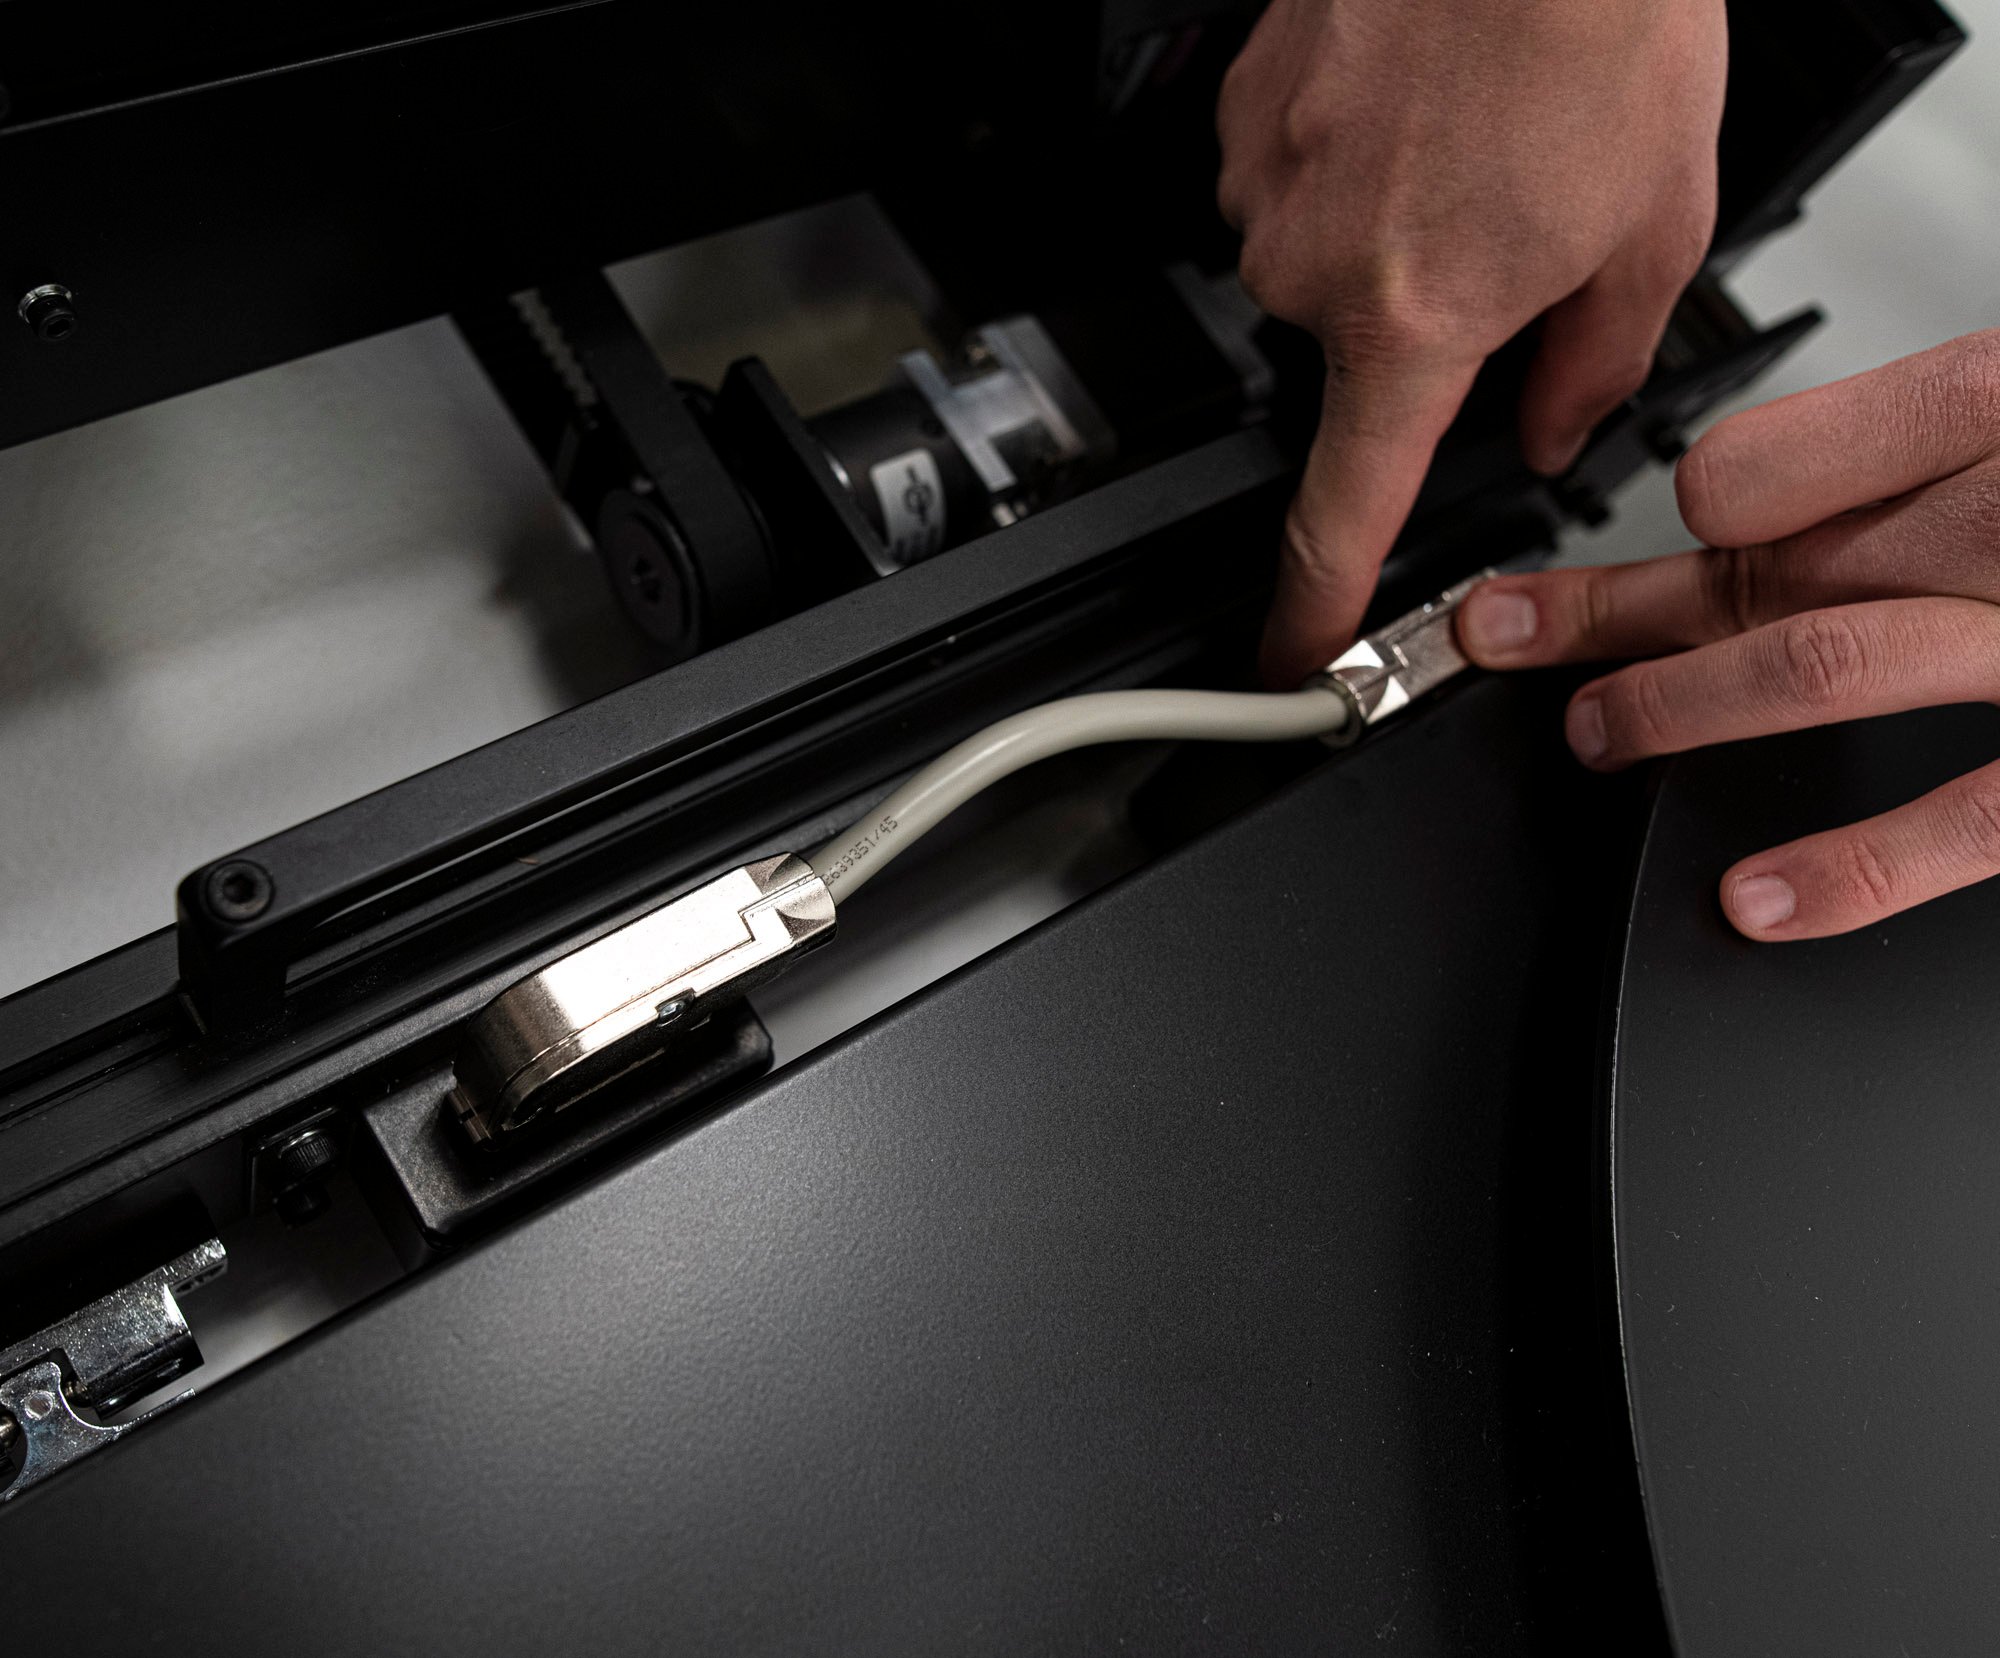
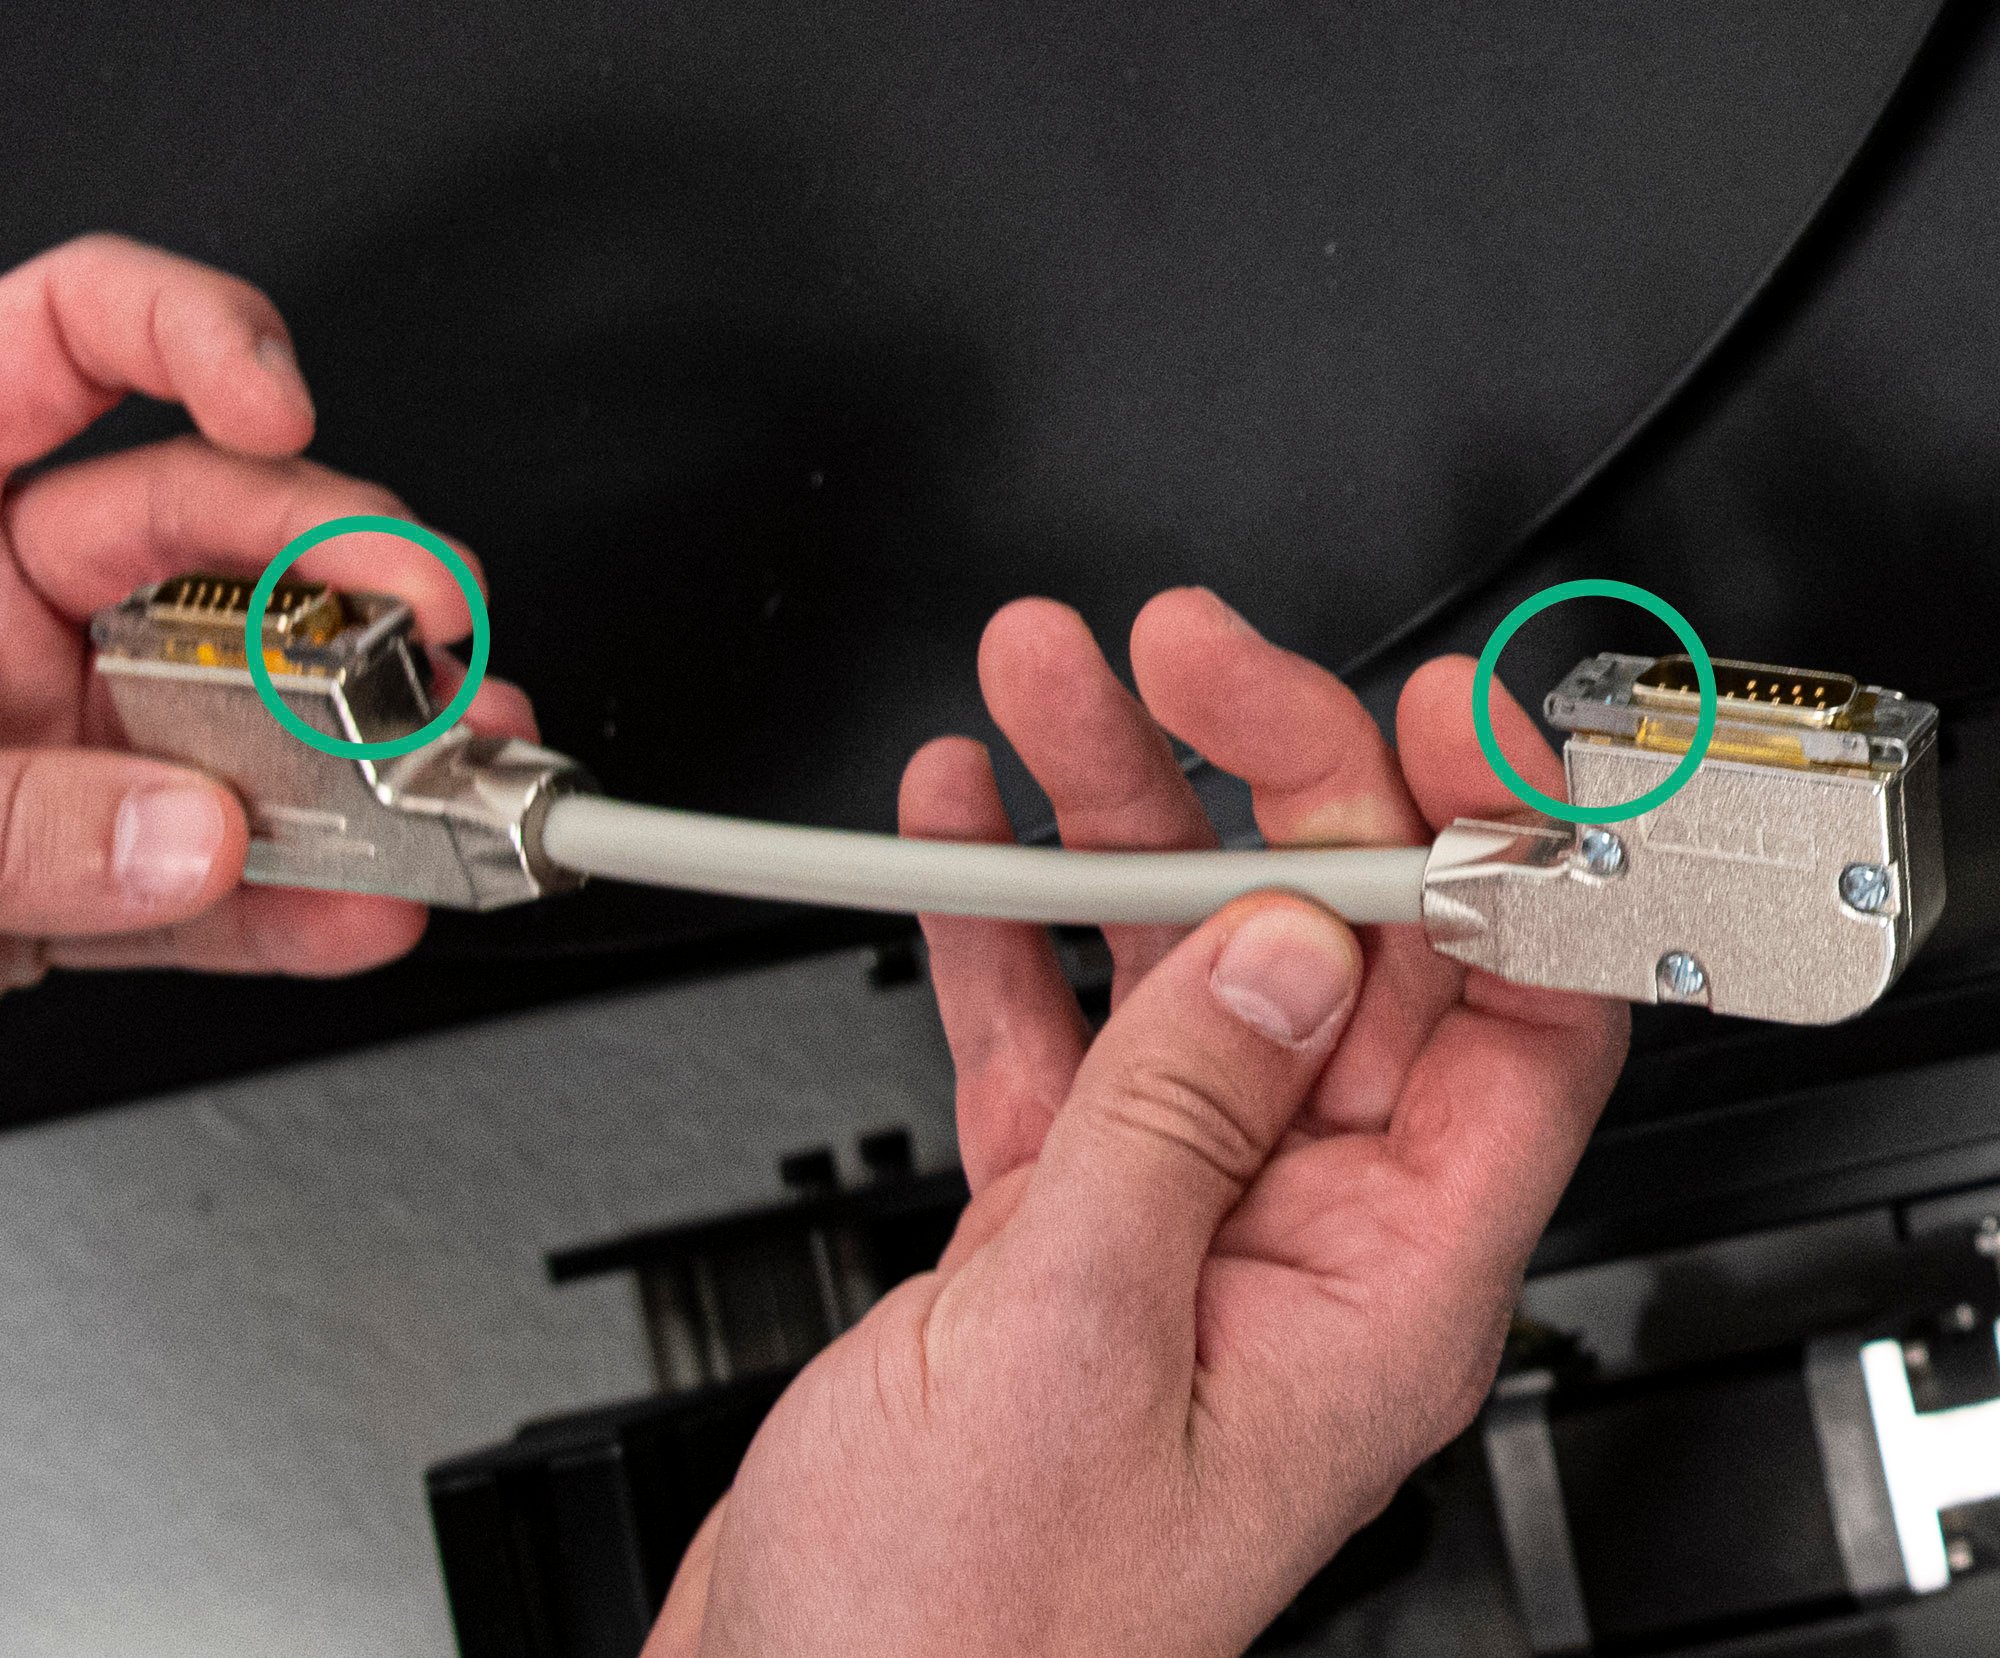
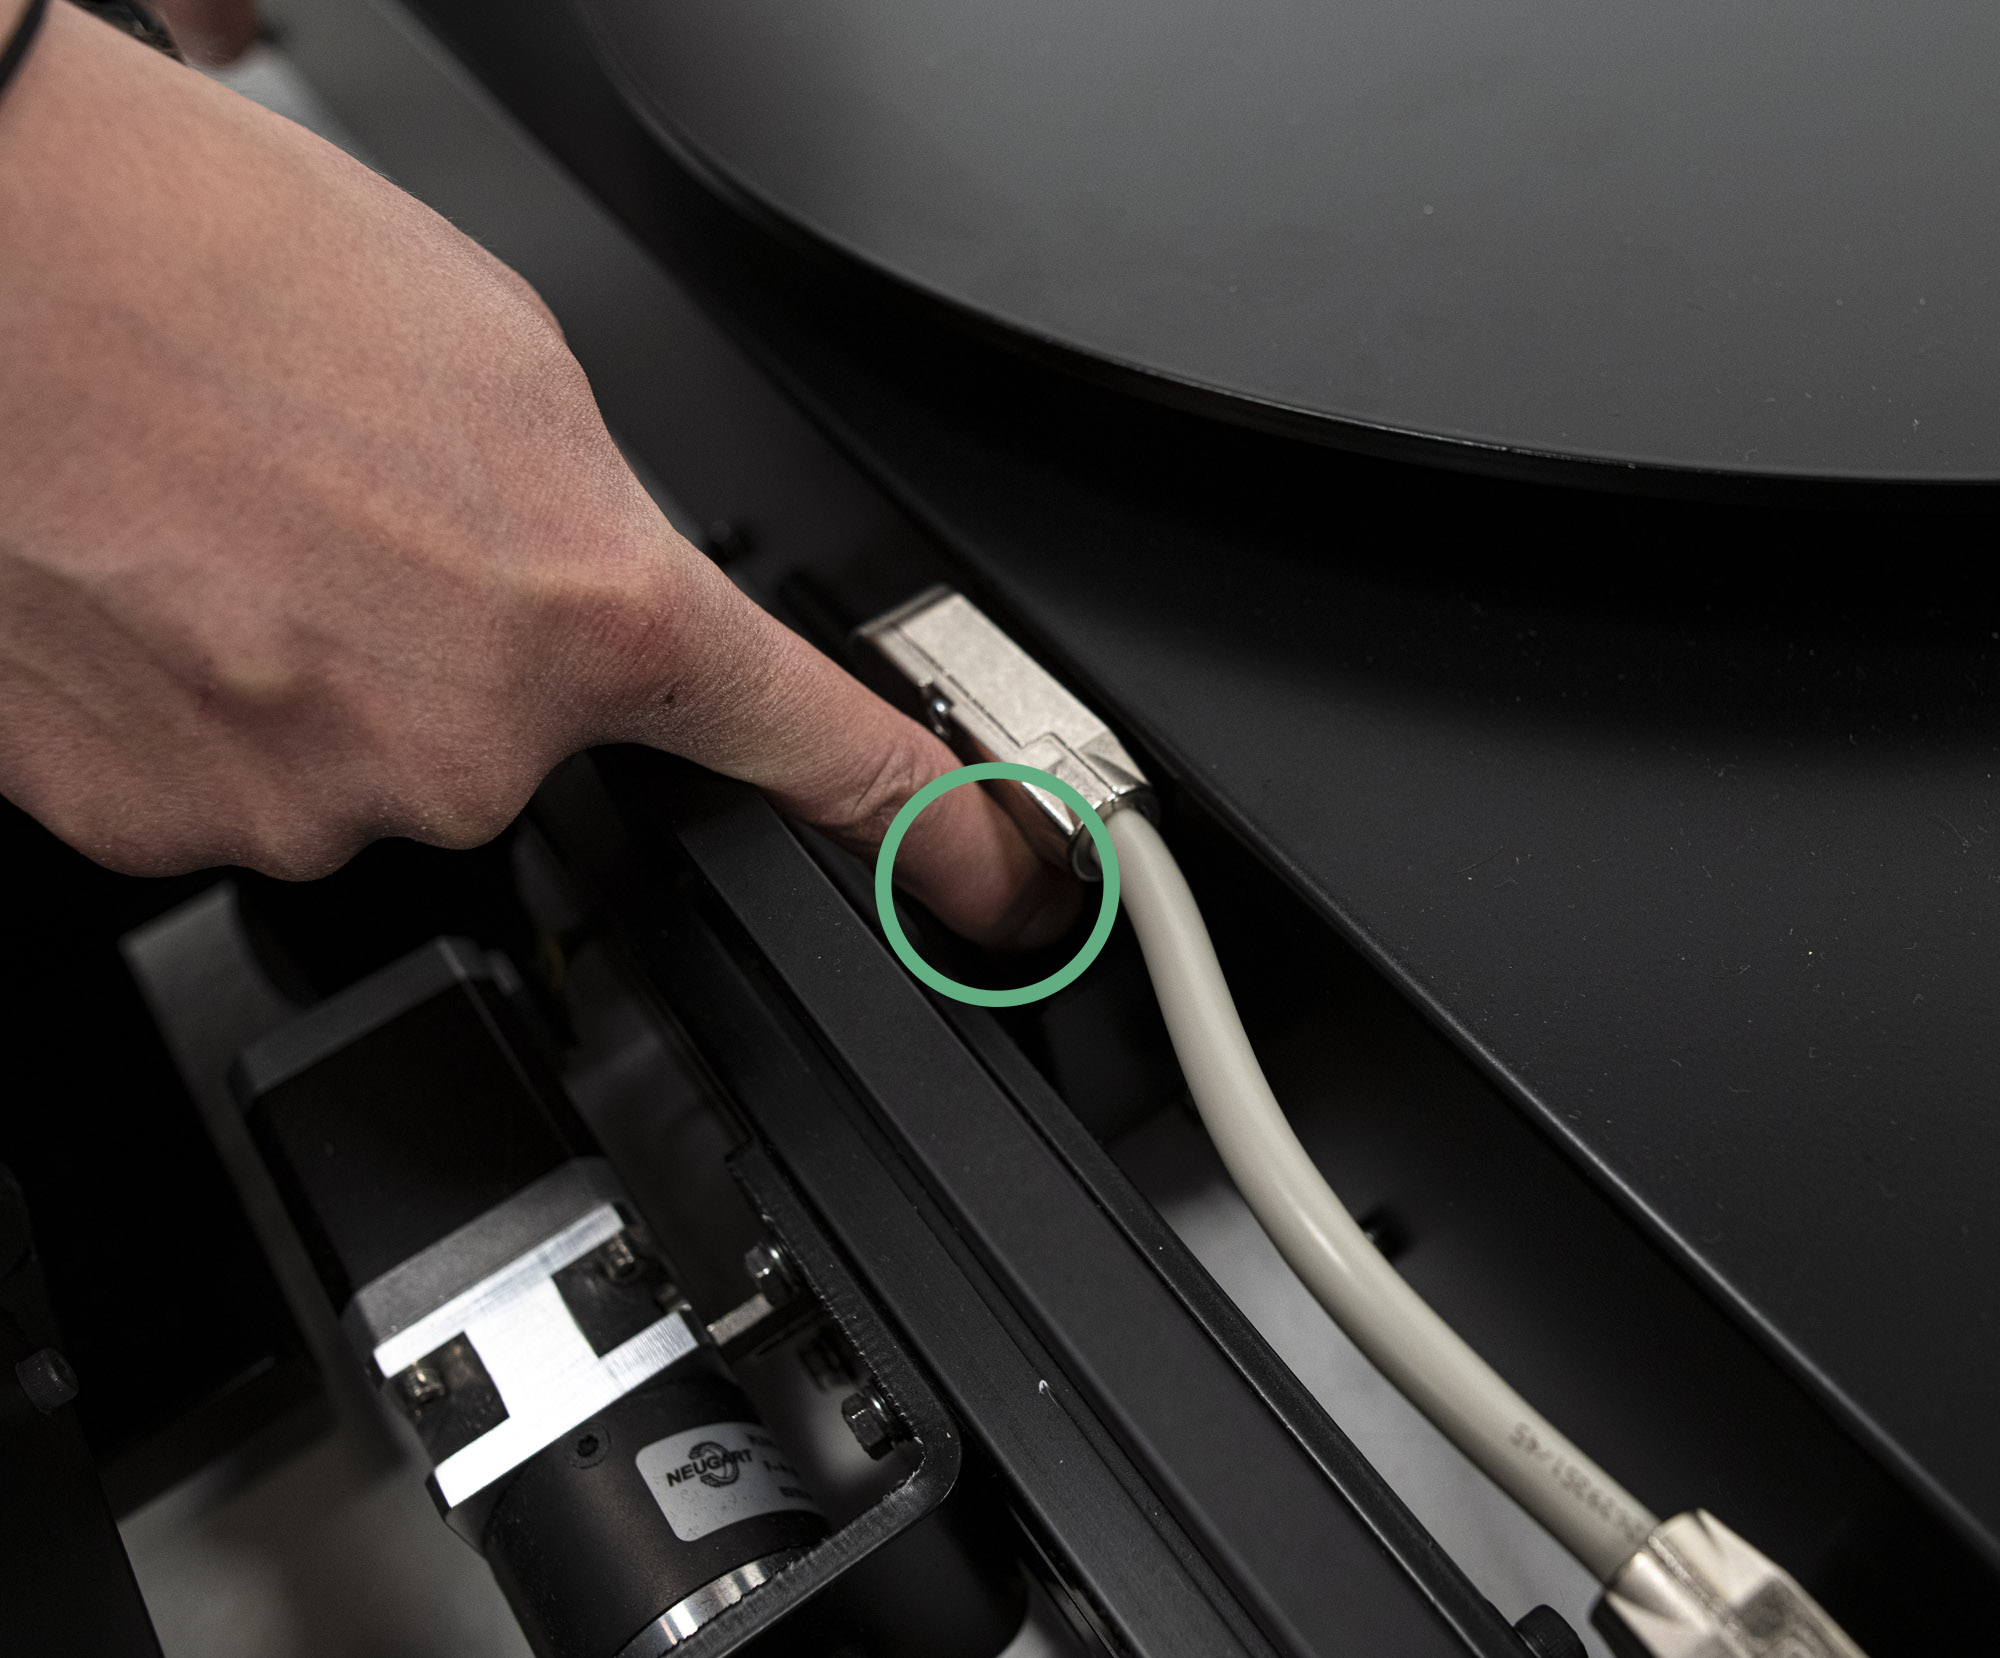
9. Connect Turntable
Link the horizontal (X) and turntable (Z) components using the supplied D-sub (20cm) cable. The orientation of the cable doesn’t matter. After inserting the connector fully on both ends, press the small metal lock on the side outward to secure the connection.
10. Connect Cables
Connect the following four provided cables at the back of the unit:
- LAN data cable (orange)
- USB data cable (silver)
- Power cable – Arago in
- Power cable – Arago built-in Power Extender

 | WARNING Arago must be used only with provided original cables and have a secure grounded connection. Misuse can lead to damaging the device. |