How Can We Help?
Scanning Guide Using Primitives
Introduction
Create a project to ensure a good segregation of downloaded images when traveling to capture. Save the project once in a while (CTRL+S).
Primitive Proxy Mesh
You can use a proxy mesh for depicting in the 3D scene roughly the area where your object is on the turntable. This 3D model will be used in positions computations when instantiating positions.
Navigate to the Object panel and select a primitive that best represents the space displaced by your object.
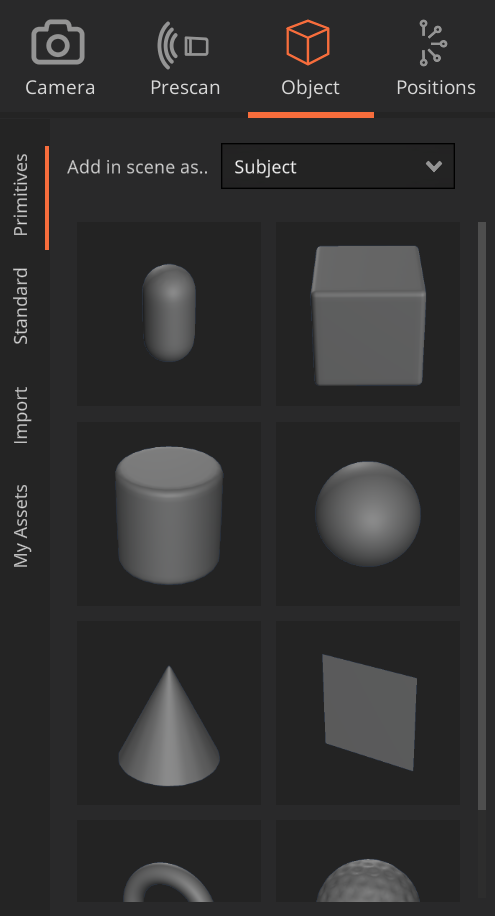
Objects can be added in the scene as Subject or Environment. A Subject represents the volume of the real item being scanned, while Environment refers to elements such as supports or other surfaces that should not be scanned. Environment objects are displayed in black.
In the following image the bunny is a subject and the support is marked as environment.

You can additionally bring in your custom 3D model by accessing the “Import” tab within the present panel. In this case, it is recommended to decimate the imported model beforehand to reduce computation times. The maximum import file size is 10Mb.
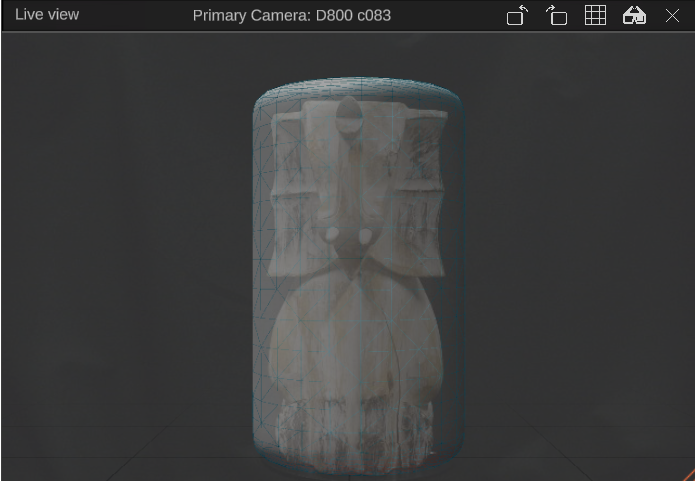
Next, you can adjust the dimensions of the proxy mesh to match the real object by overlaping it in augmented reality (AR). Open the live view of your camera, enable the AR overlap by clicking the cube icon highlighted in the image below and adjust the volume to contain the object using the available 3D tools.
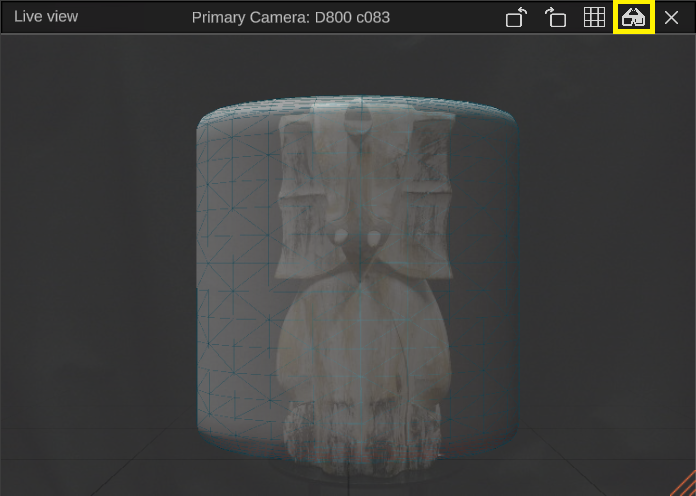
Use the scale and position tool to resize and relocate the primitive to match the edges of your object.
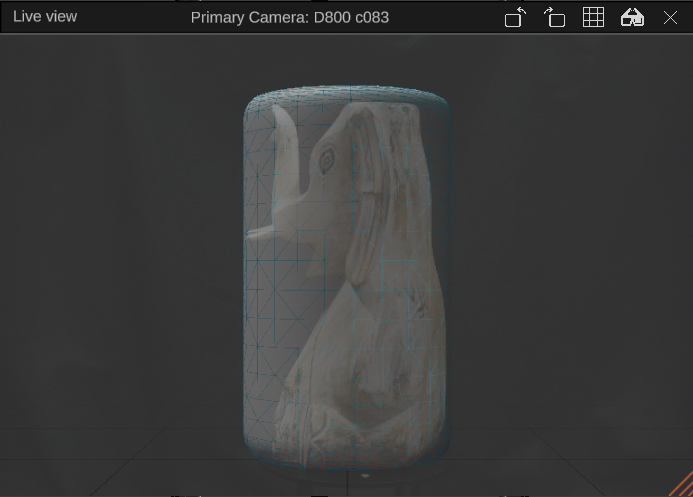
Rotate the turntable 90 degrees manually using the Motion panel and re-adjust if needed.
 |
WARNING It is essential to Calibrate and Pose the camera beforehand to ensure the accuracy of the overlap is sufficient. |
Loops and Positions
To rapidly create coherent sets of stops, Arago Control allows bulk generation of positions as ring loops in various configurations. Click on the “Positions” and select “Loops” from the vertical menu on the right.

Now, let’s go through each item and explain their functionality:
Positions Generation Settings
Distance lock. Instantiated positions will maintain the user-specified distance upon creation. Similar to Target Lock, this property is only effective when the proxy mesh is directly in the position’s line of sight.
Position target type. This property pertains to Multiple Loops. When generating multiple loops in bulk, positions will either focus on the center of the proxy mesh (Centered) or distribute their targets across its height (Height-based).
Distance fields. These refer to the distance between the positions and the proxy mesh surface. All distance fields are measured in millimeters.
The pin icon will fetch the current distance between the primary camera and the surface of the proxy mesh and autocomplete the Distance field with it.
Single Loop
This allows you to define a single ring loop based on the specified number of images. Alternatively, you can specify the granularity of stops in the circle by degrees, as both options are interchangeable.
Align to rig will instantiate the loop at the current orientation and elevation of the primary camera mounted on Arago.
Multiple Loops
This feature enables you to evenly distribute multiple single loops in elevation across the height of the proxy mesh. The Displace checkbox if enabled will adjust the rotation of each consecutive loop by a minimal degree to enhance the parallax effect.
Gradual Top Loops
Allows you to instantiate a sequence of loops that cover the top of the proxy mesh (similar to an oval pot lid). The Max Images field represents the amount of images the lowes loop covering the top is allowed to have. The generative algorithm will decrease the positions count as elevation increases and the generation closes in to the center of the proxy mesh. This is a feature complementary to Multiple Loops which also has a Displace mode.

Start Travel
This will open the Travel Panel and will provide you a time estimate of the capture.

Click the “Play” icon and Arago will start traveling through each position starting with the highest or the lowest stop point in space. Images will automatically be downloaded in the project folder as Arago traverses the positions and triggers the camera.
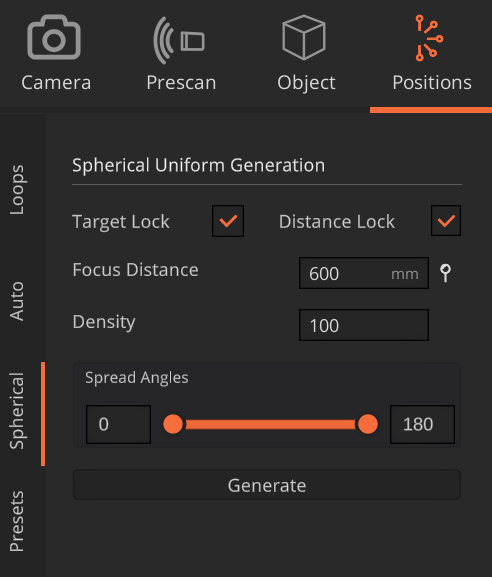
Spherical Uniform Generation
This feature allows you to create a more uniform distribution of positions, which can produce good results in many situations and is often more than adequate for objects with simpler shapes. Set the Focus Distance and the Density and click generate. Arago Control will create an even distribution of positions around the subject in the scene and try to instantiate a number of positions up to the value of Density.
Notes
Once finished, you can re-capture the object using the same positions by clicking the circle arrow. This is useful for when capturing two sets of images, polarised and unpolarised.