How Can We Help?
Mounting Powered Accessories
In this example, we use an external power adapter for a DSLR camera. Here is a guick 5-step guide on how to install the accessory:
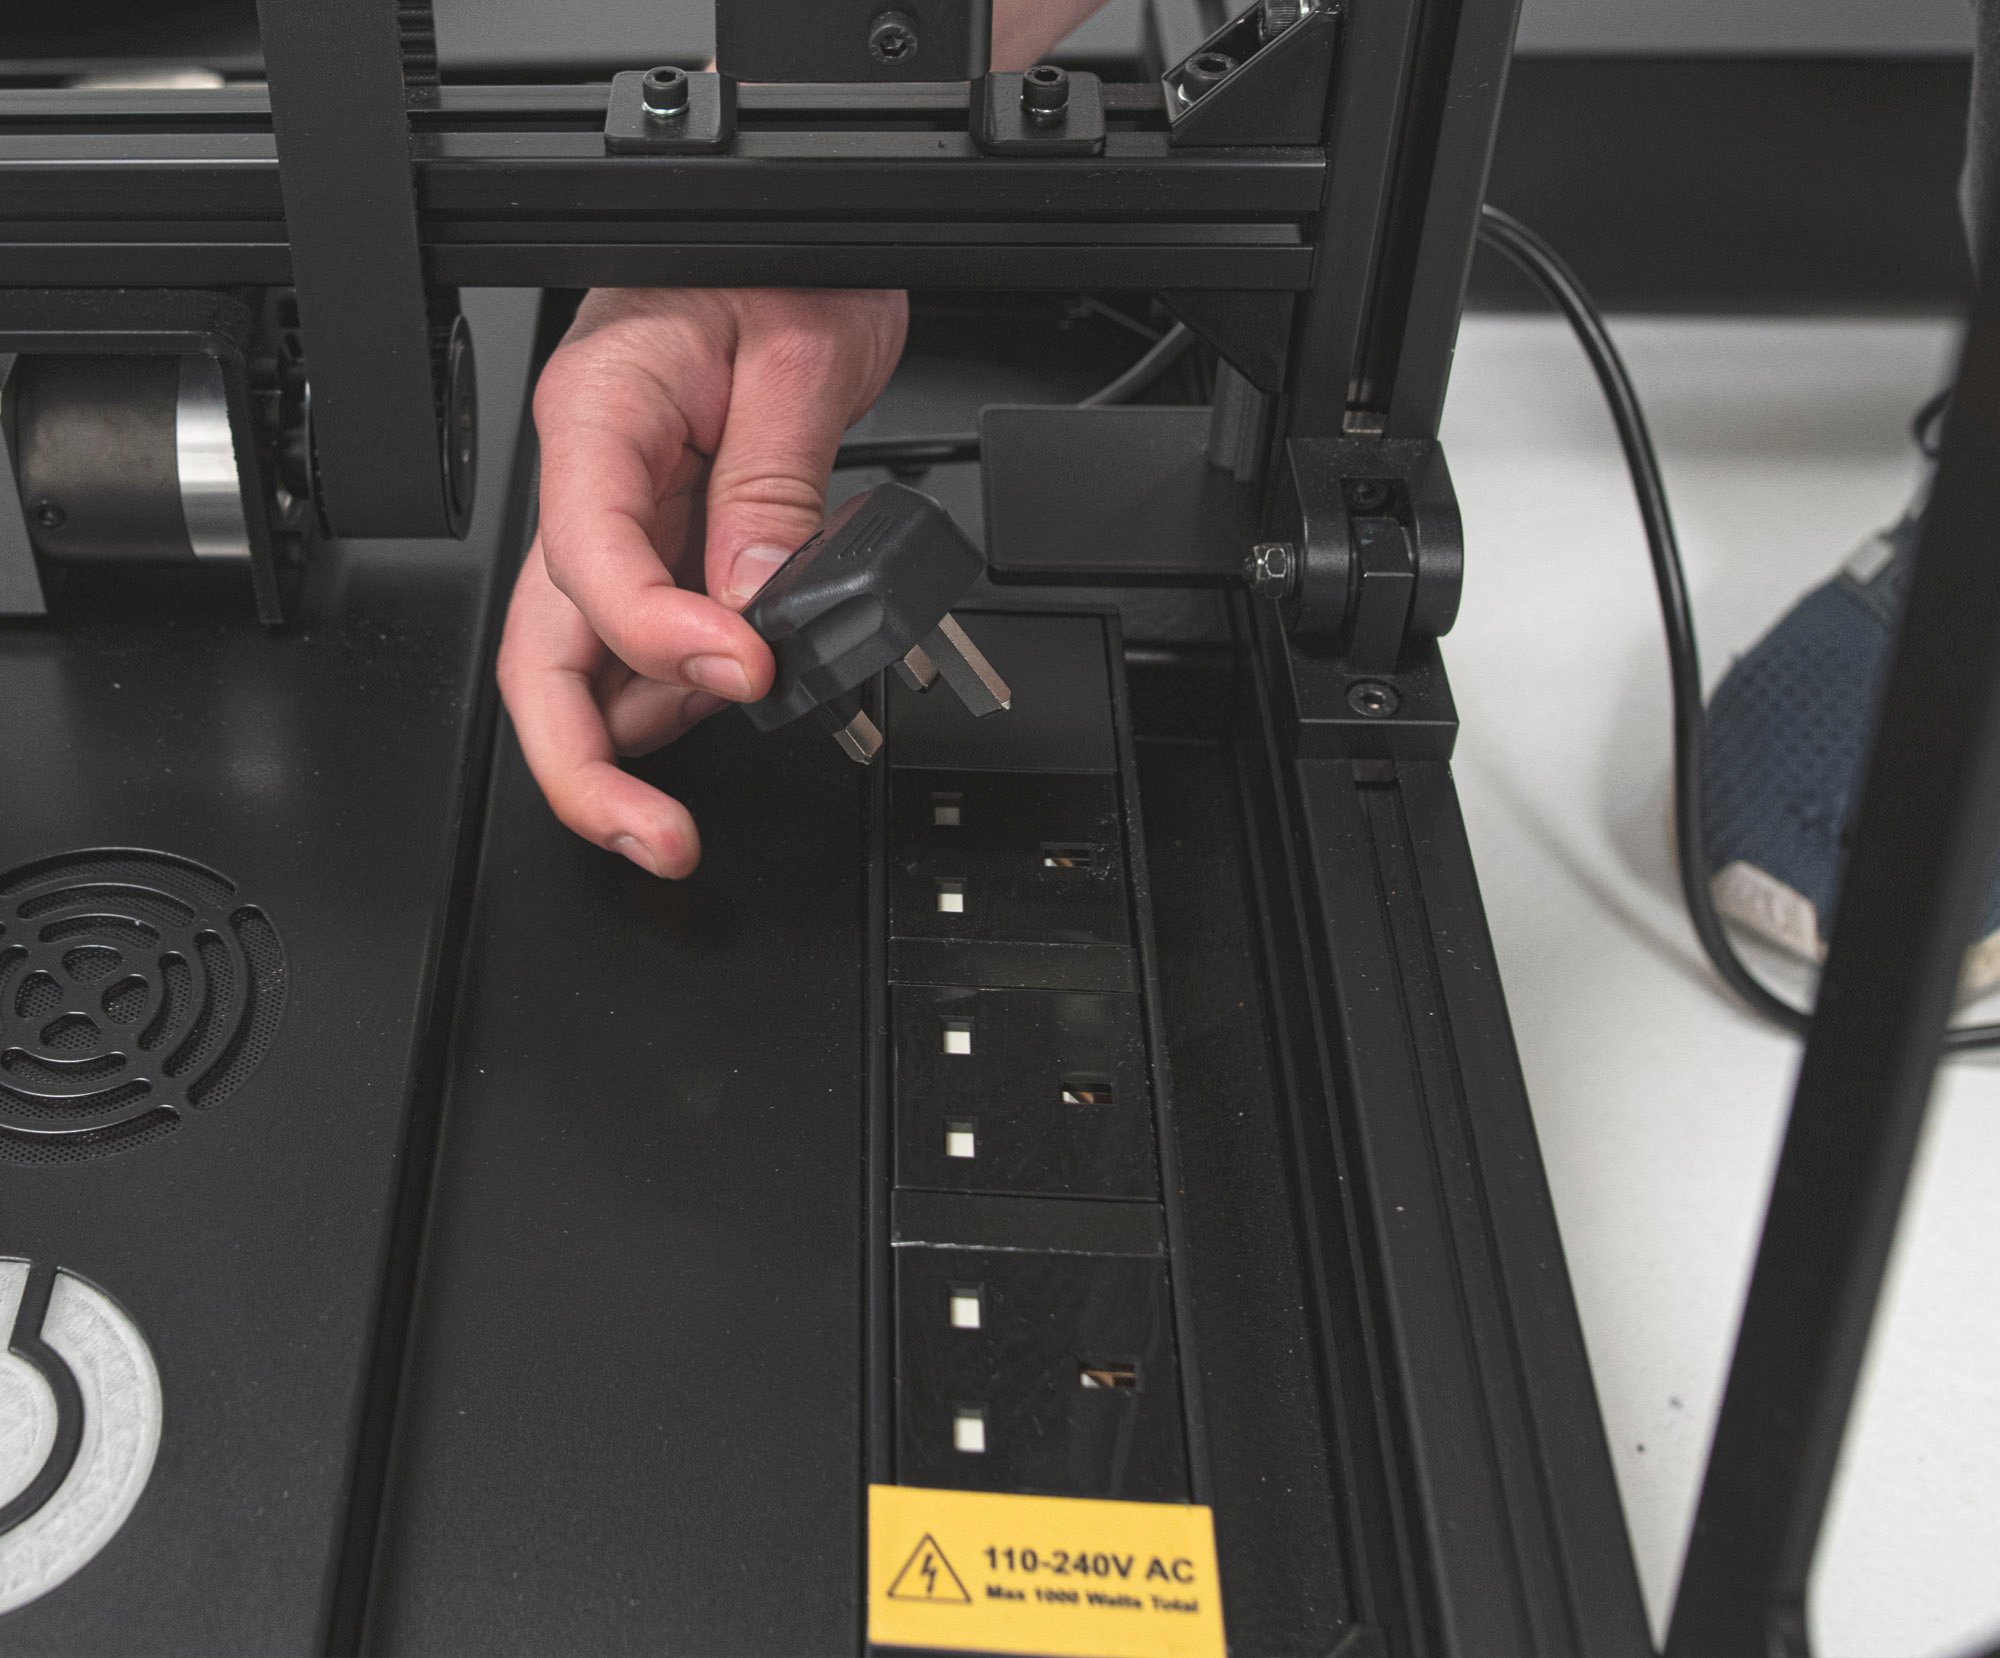
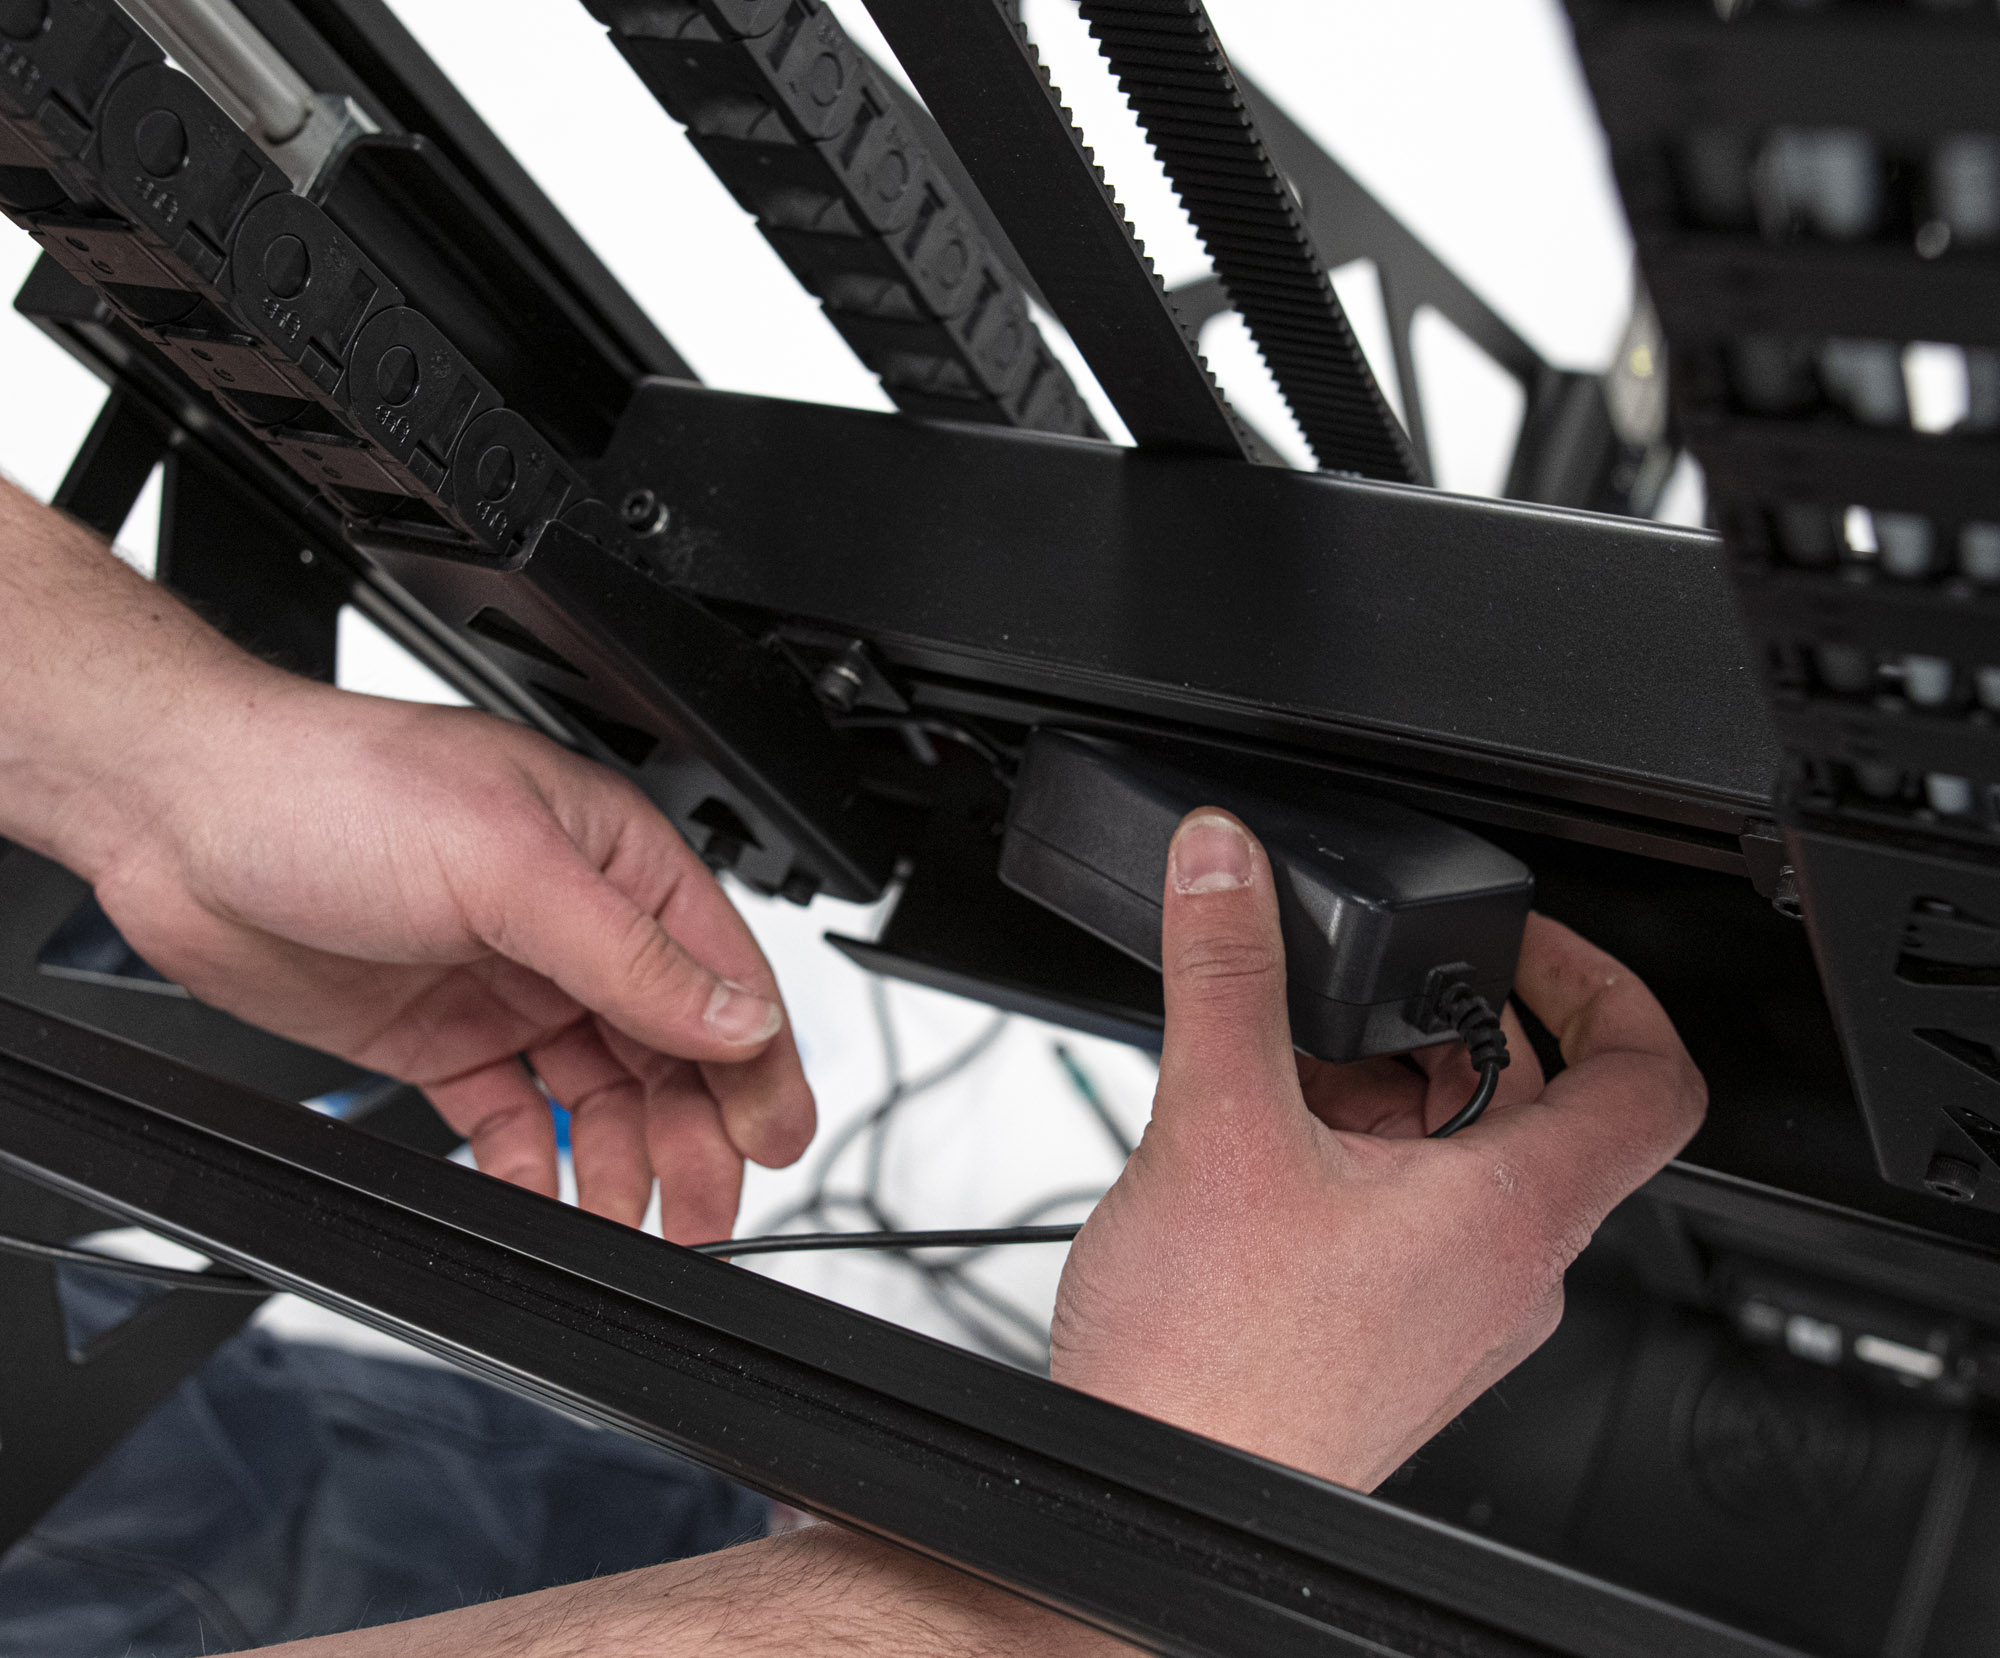
1. Connect Cable
Connect the cable to the power extender located at the base of the vertical (Y) axis. Make sure that the connected device matches the specifications of the power extender (110-240 V AC & MAX 2000W).
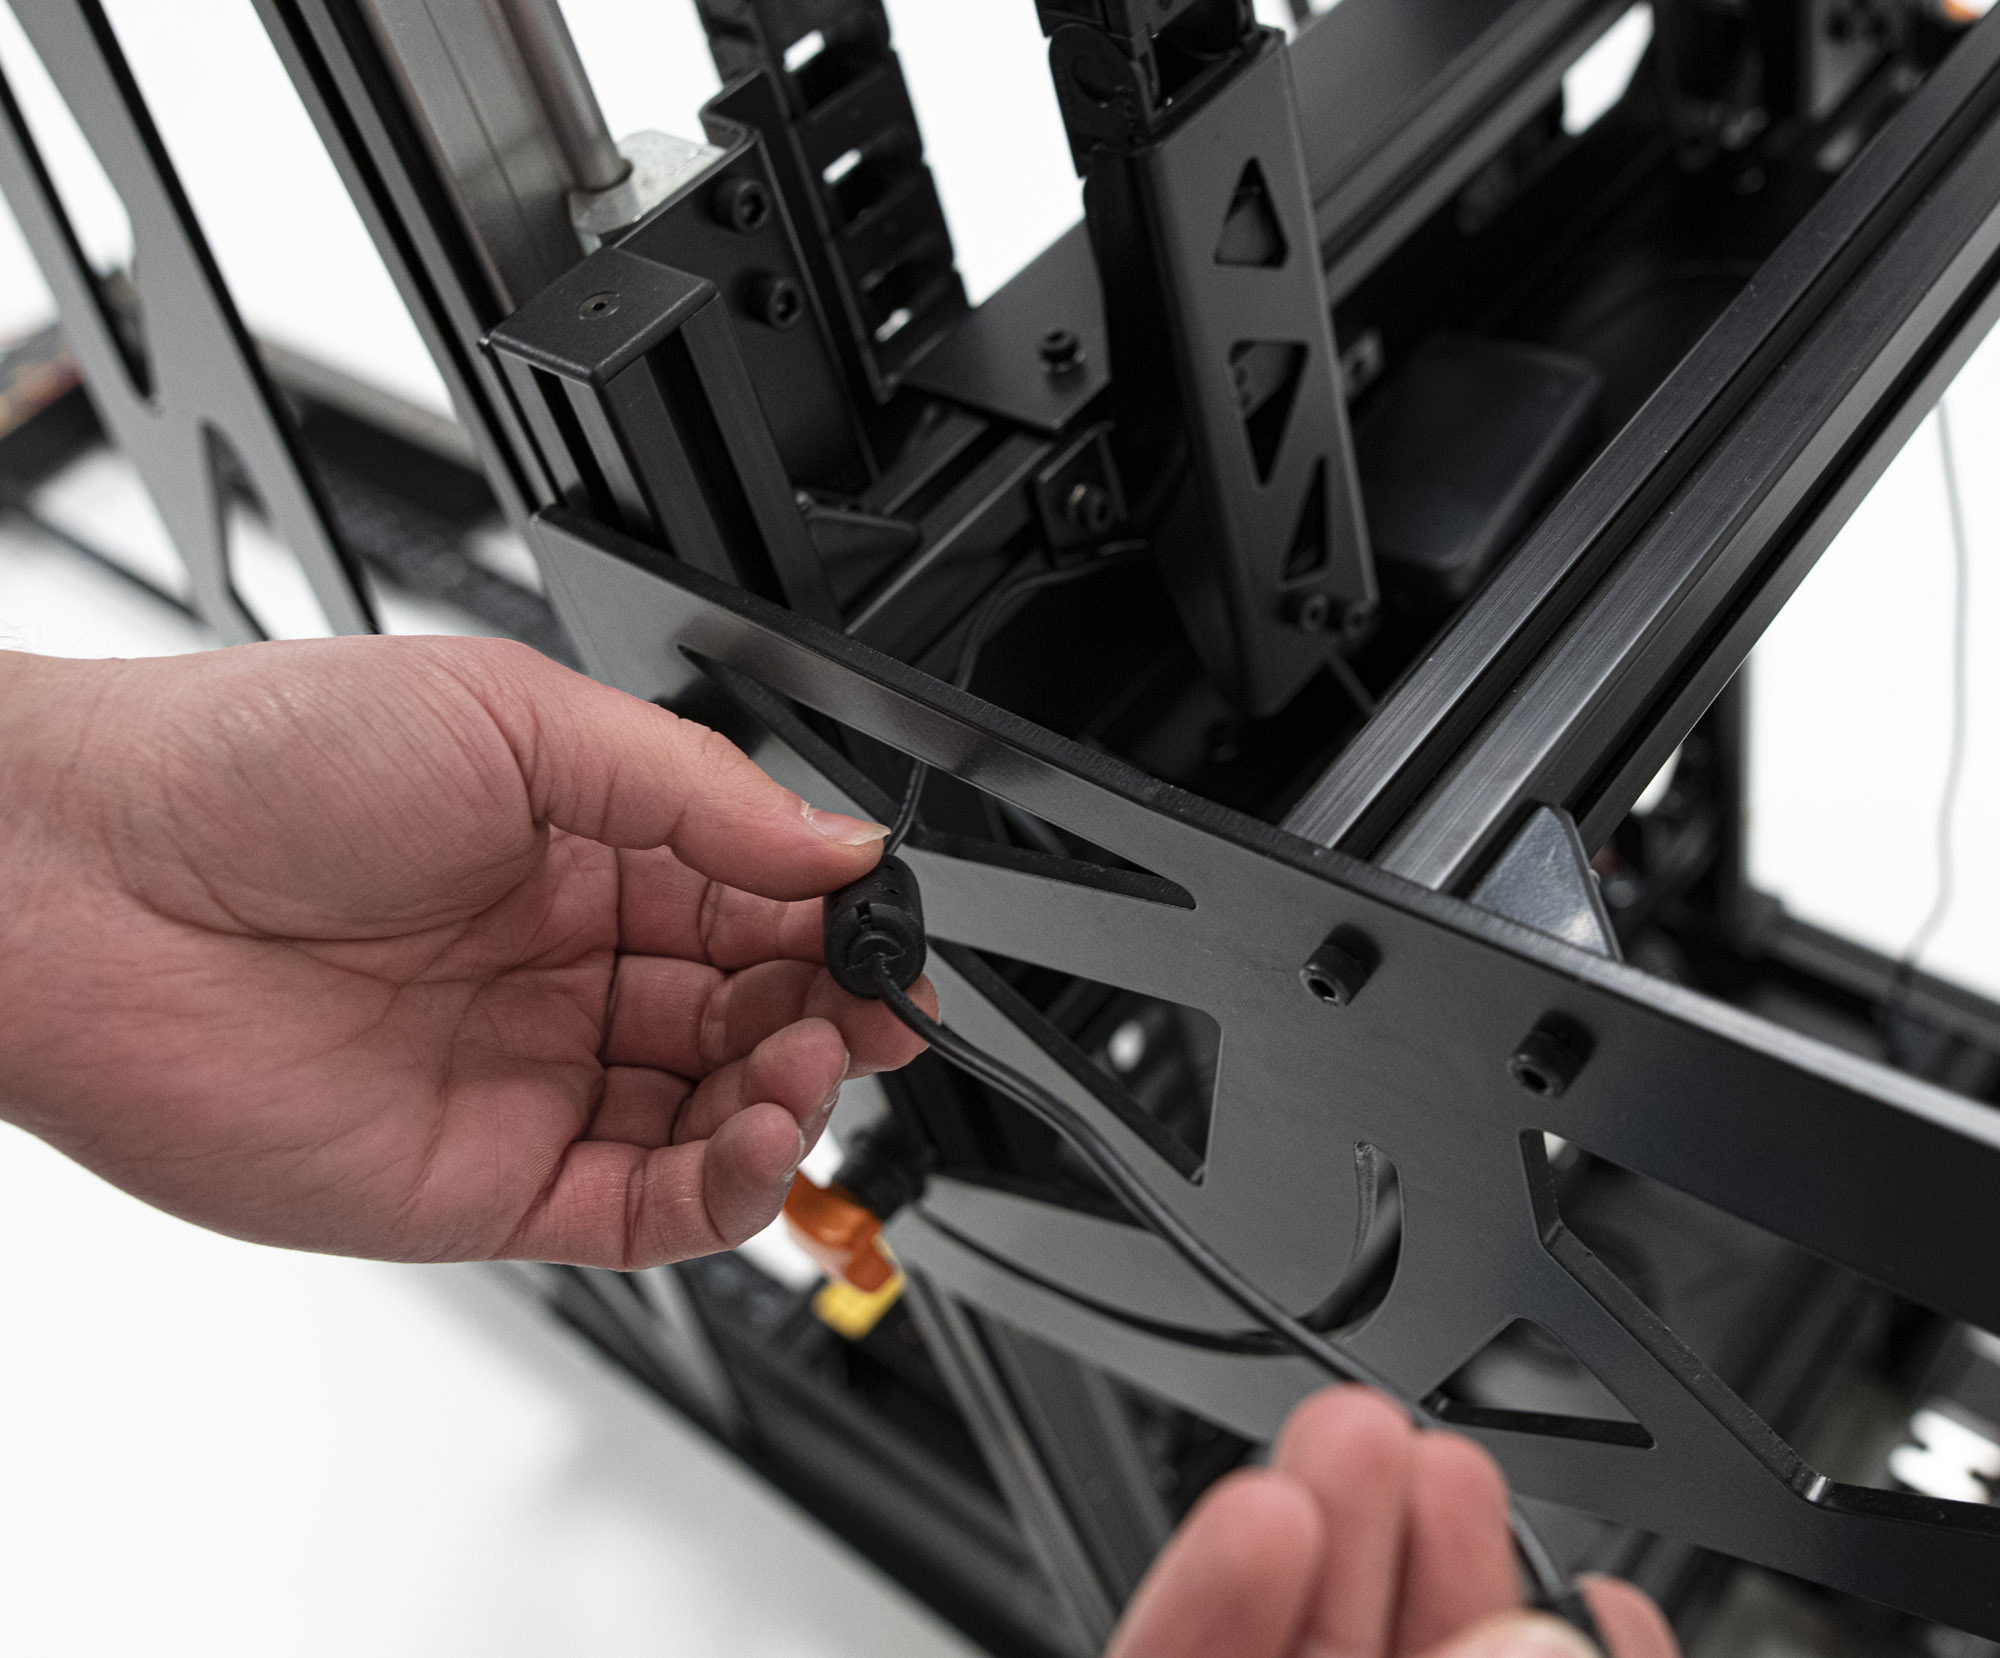
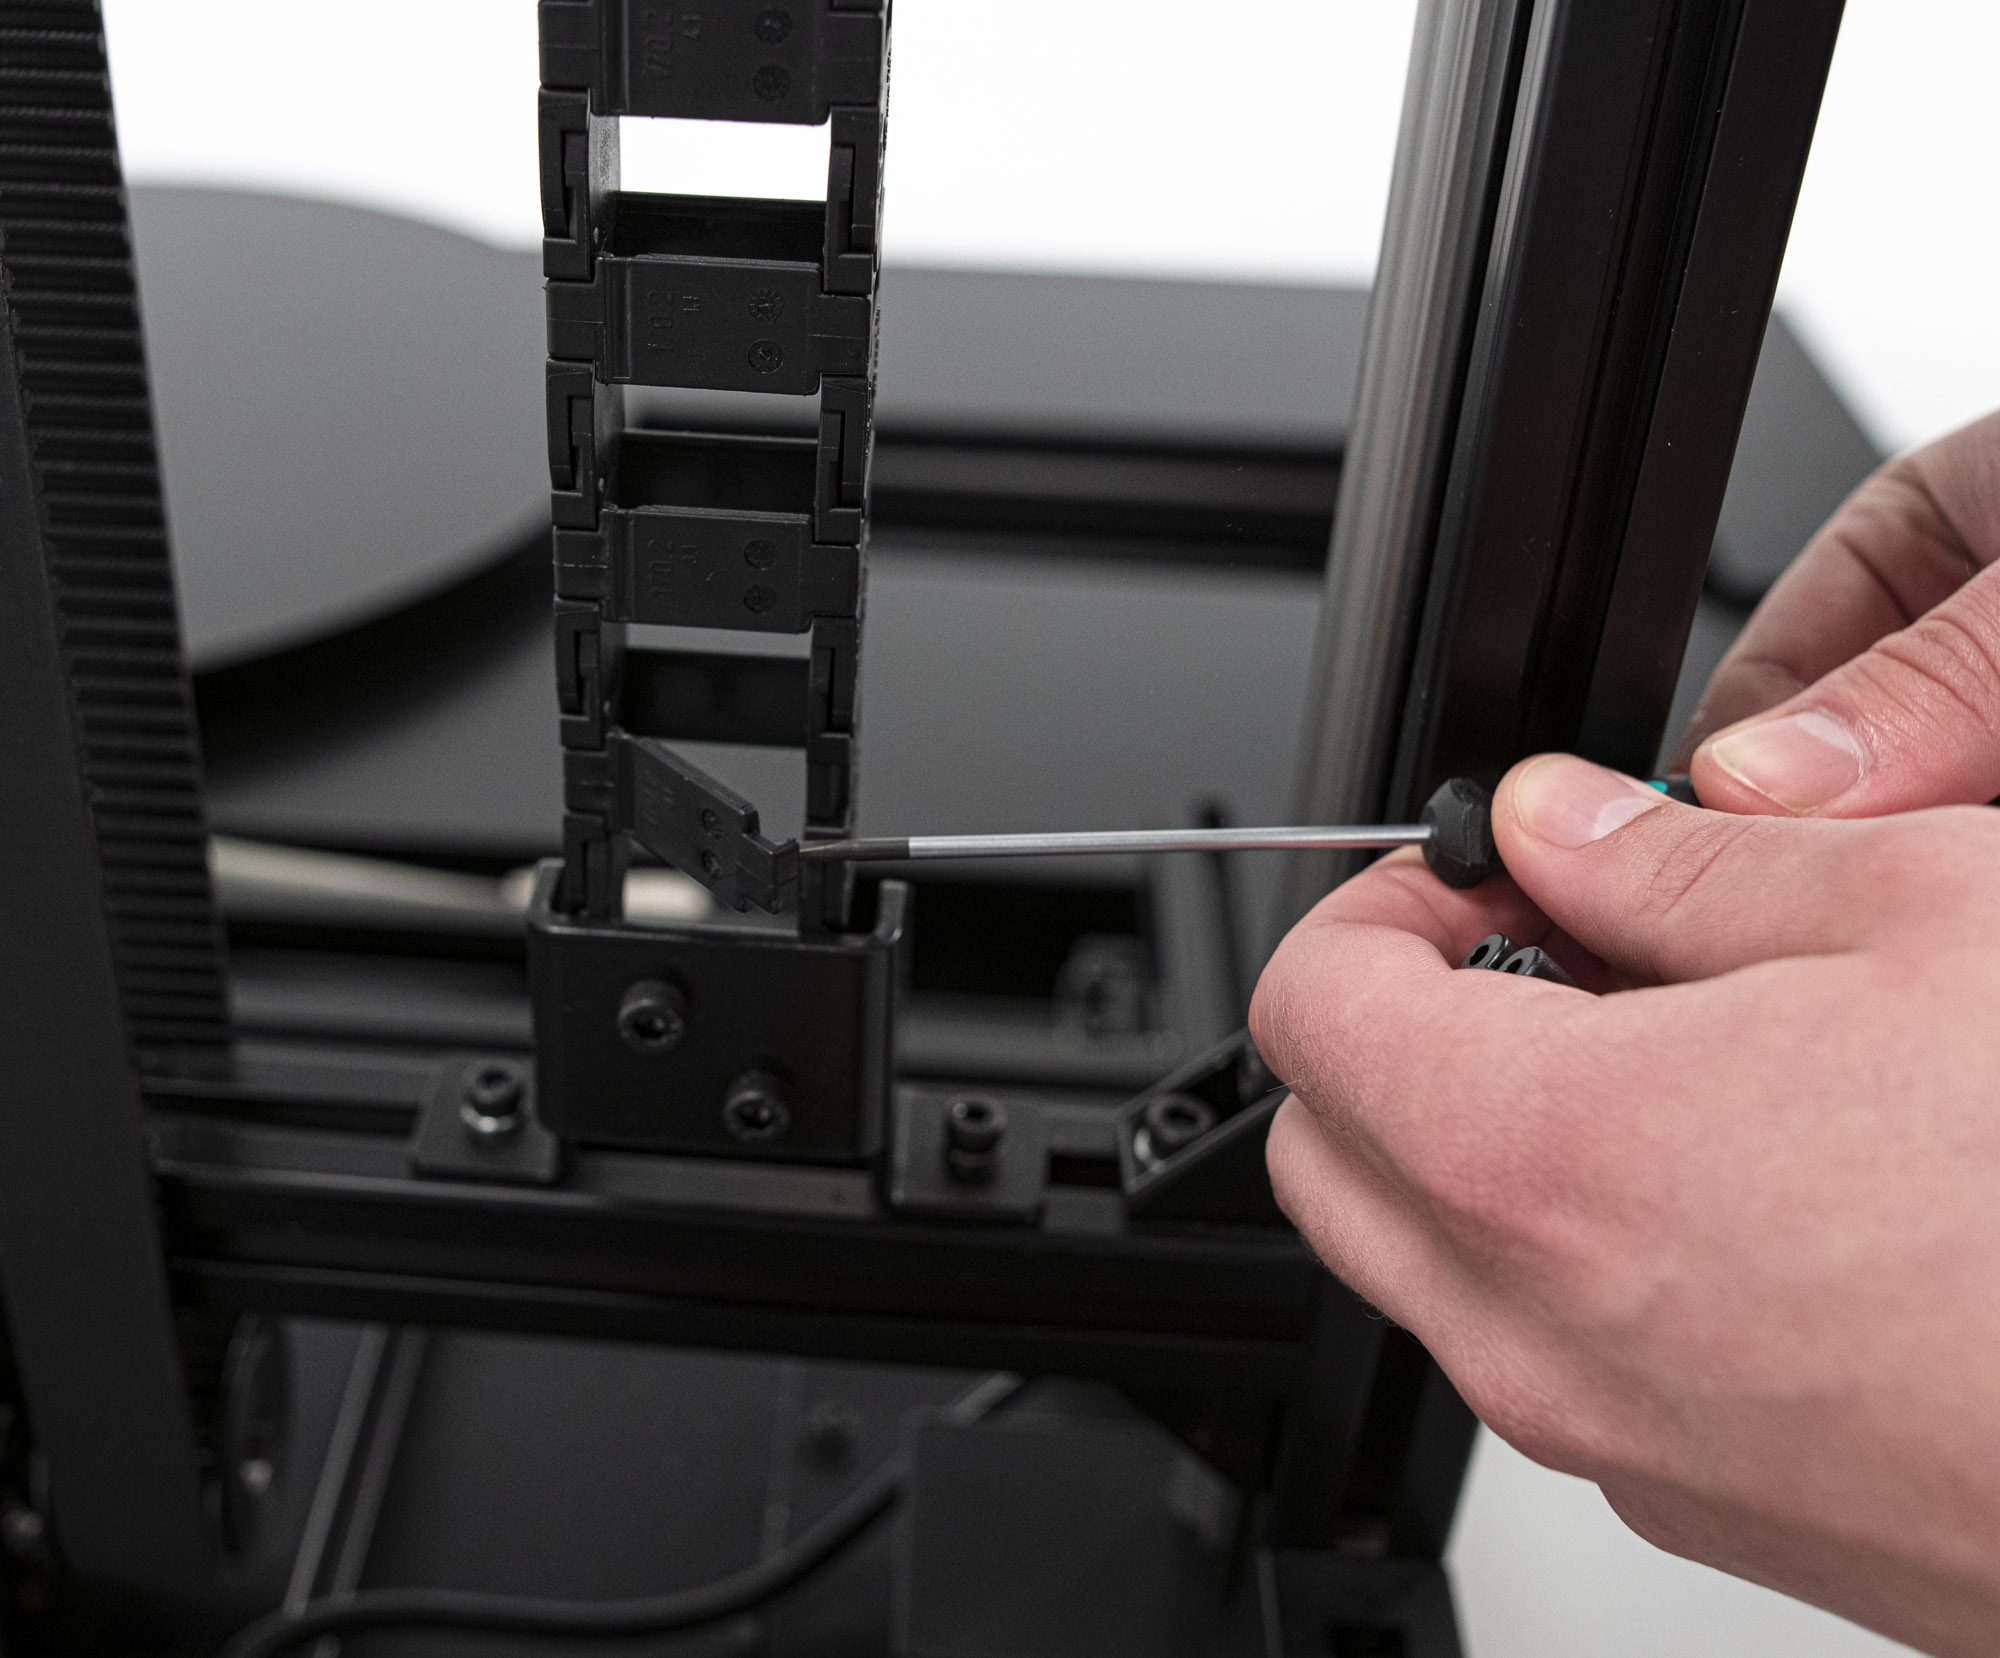
2. Open Cable Chain
Unlock the cable chain positioned over the power extender by disengaging the joints. The most convenient method is to utilize a small screwdriver.
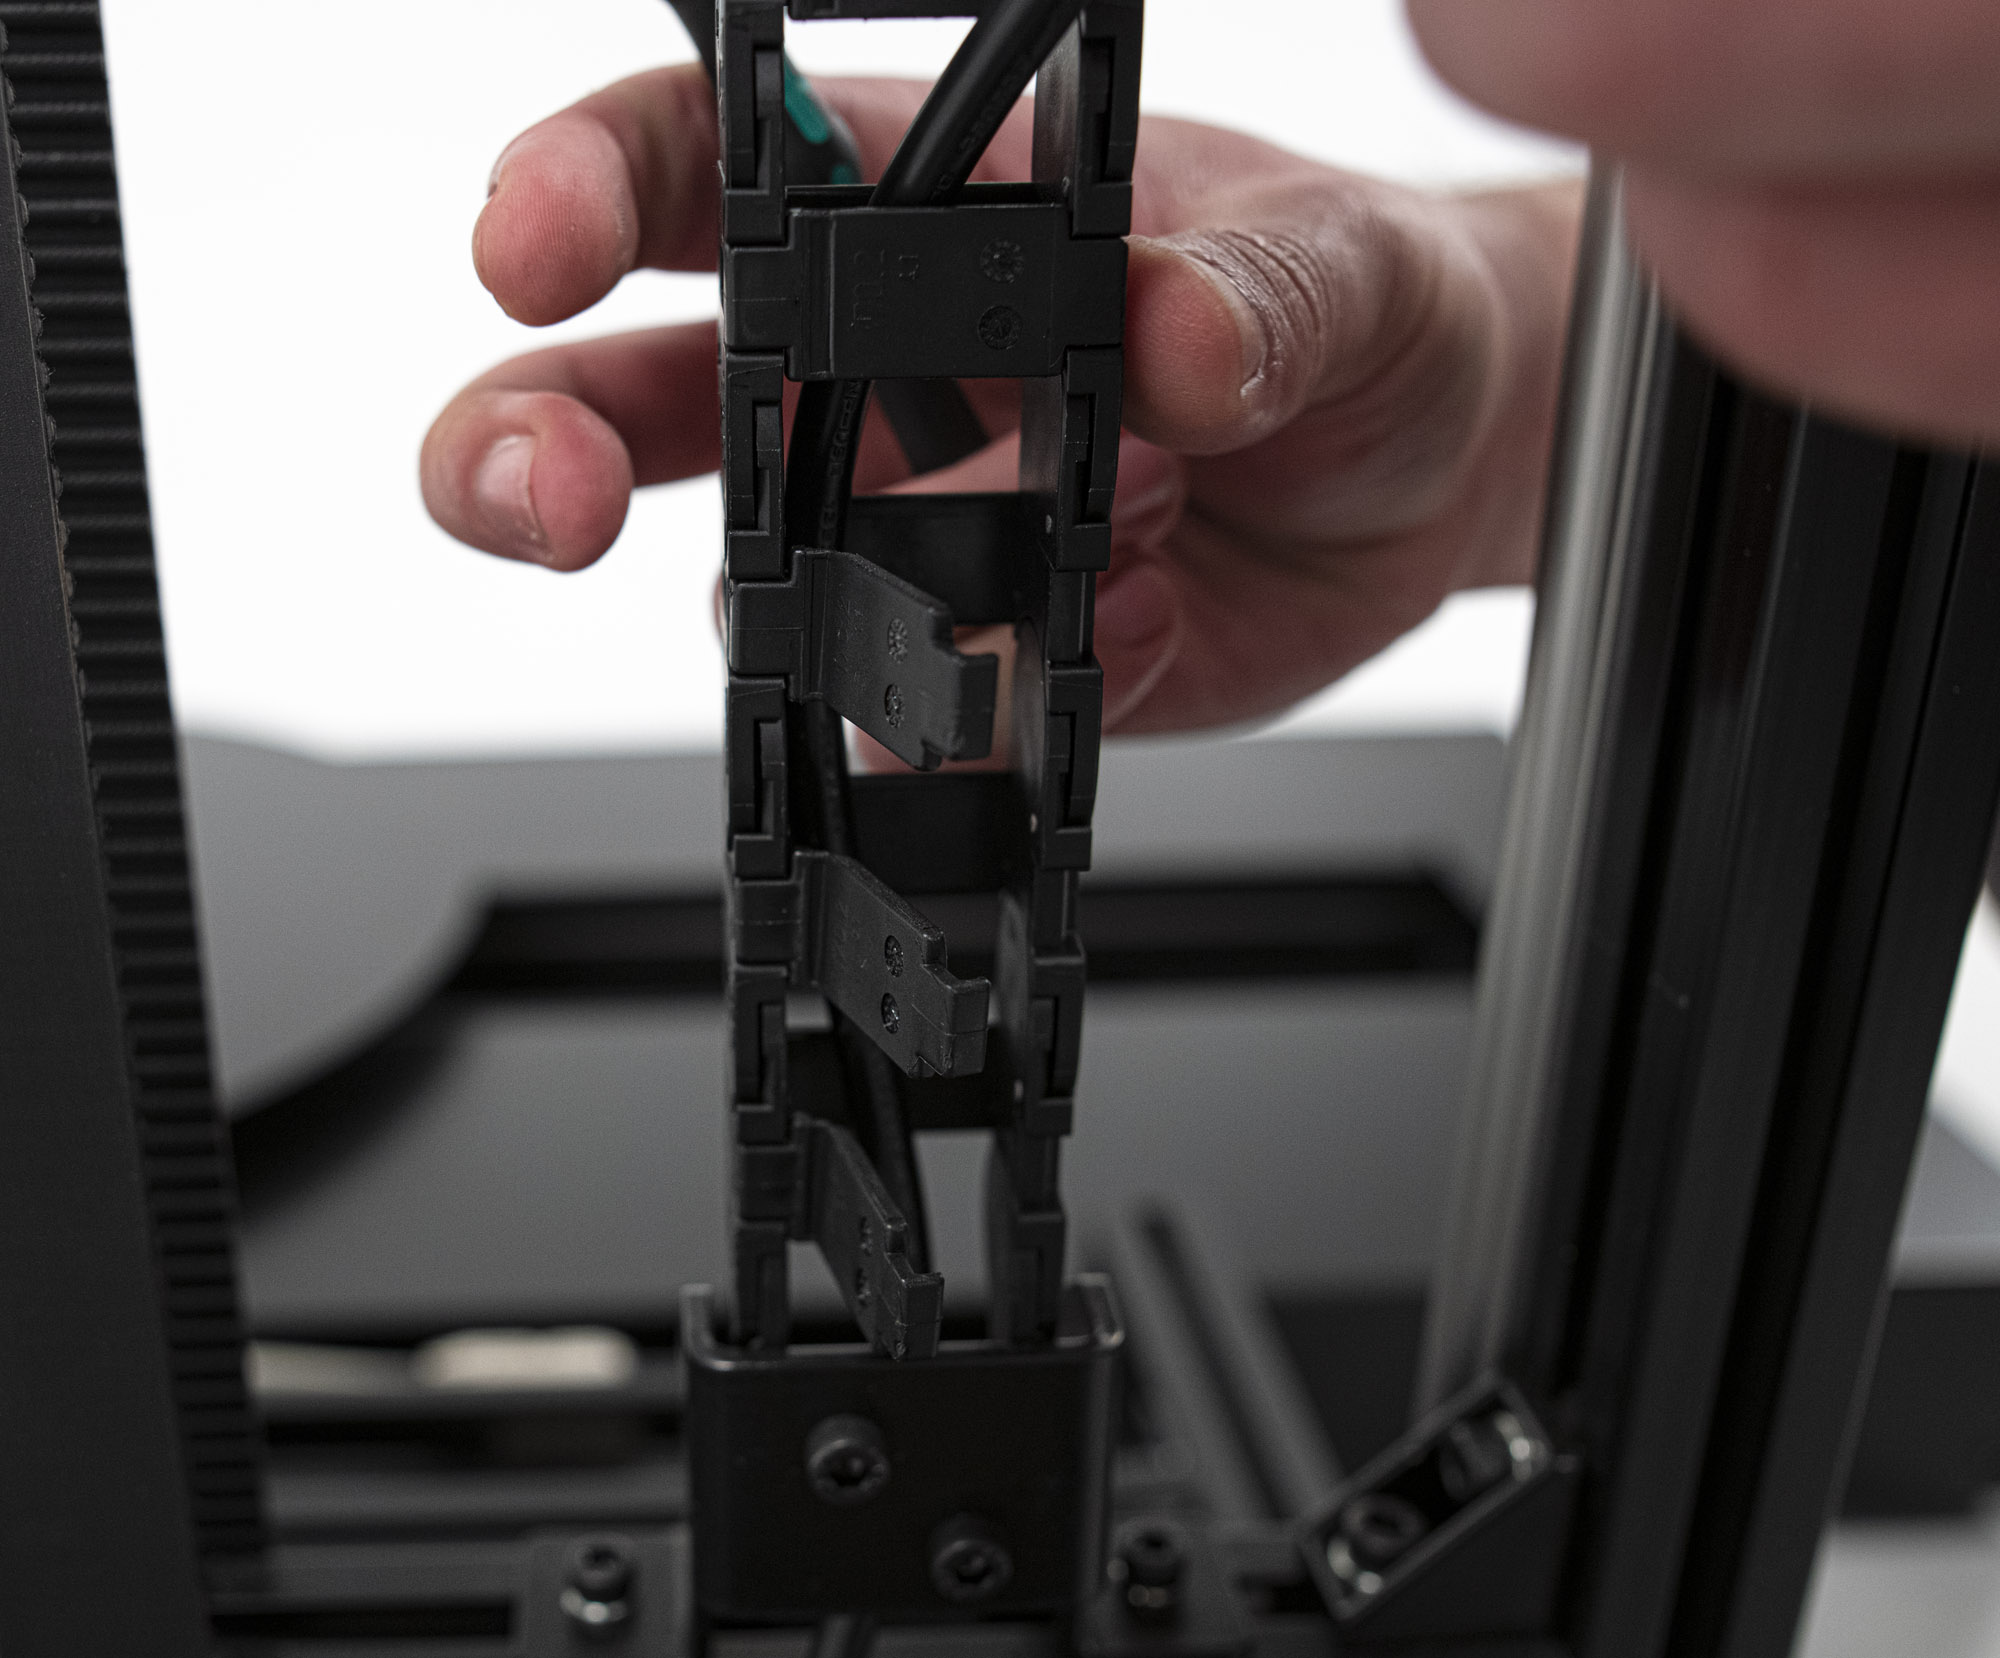
3. Pass Cable Through
Pass the cable through the cable chain and lock the joints by clicking them back in.
4. Use the Tray
Optionally, place the excess cable, power adapter or similar items into the tray at the exit of the cable chain.
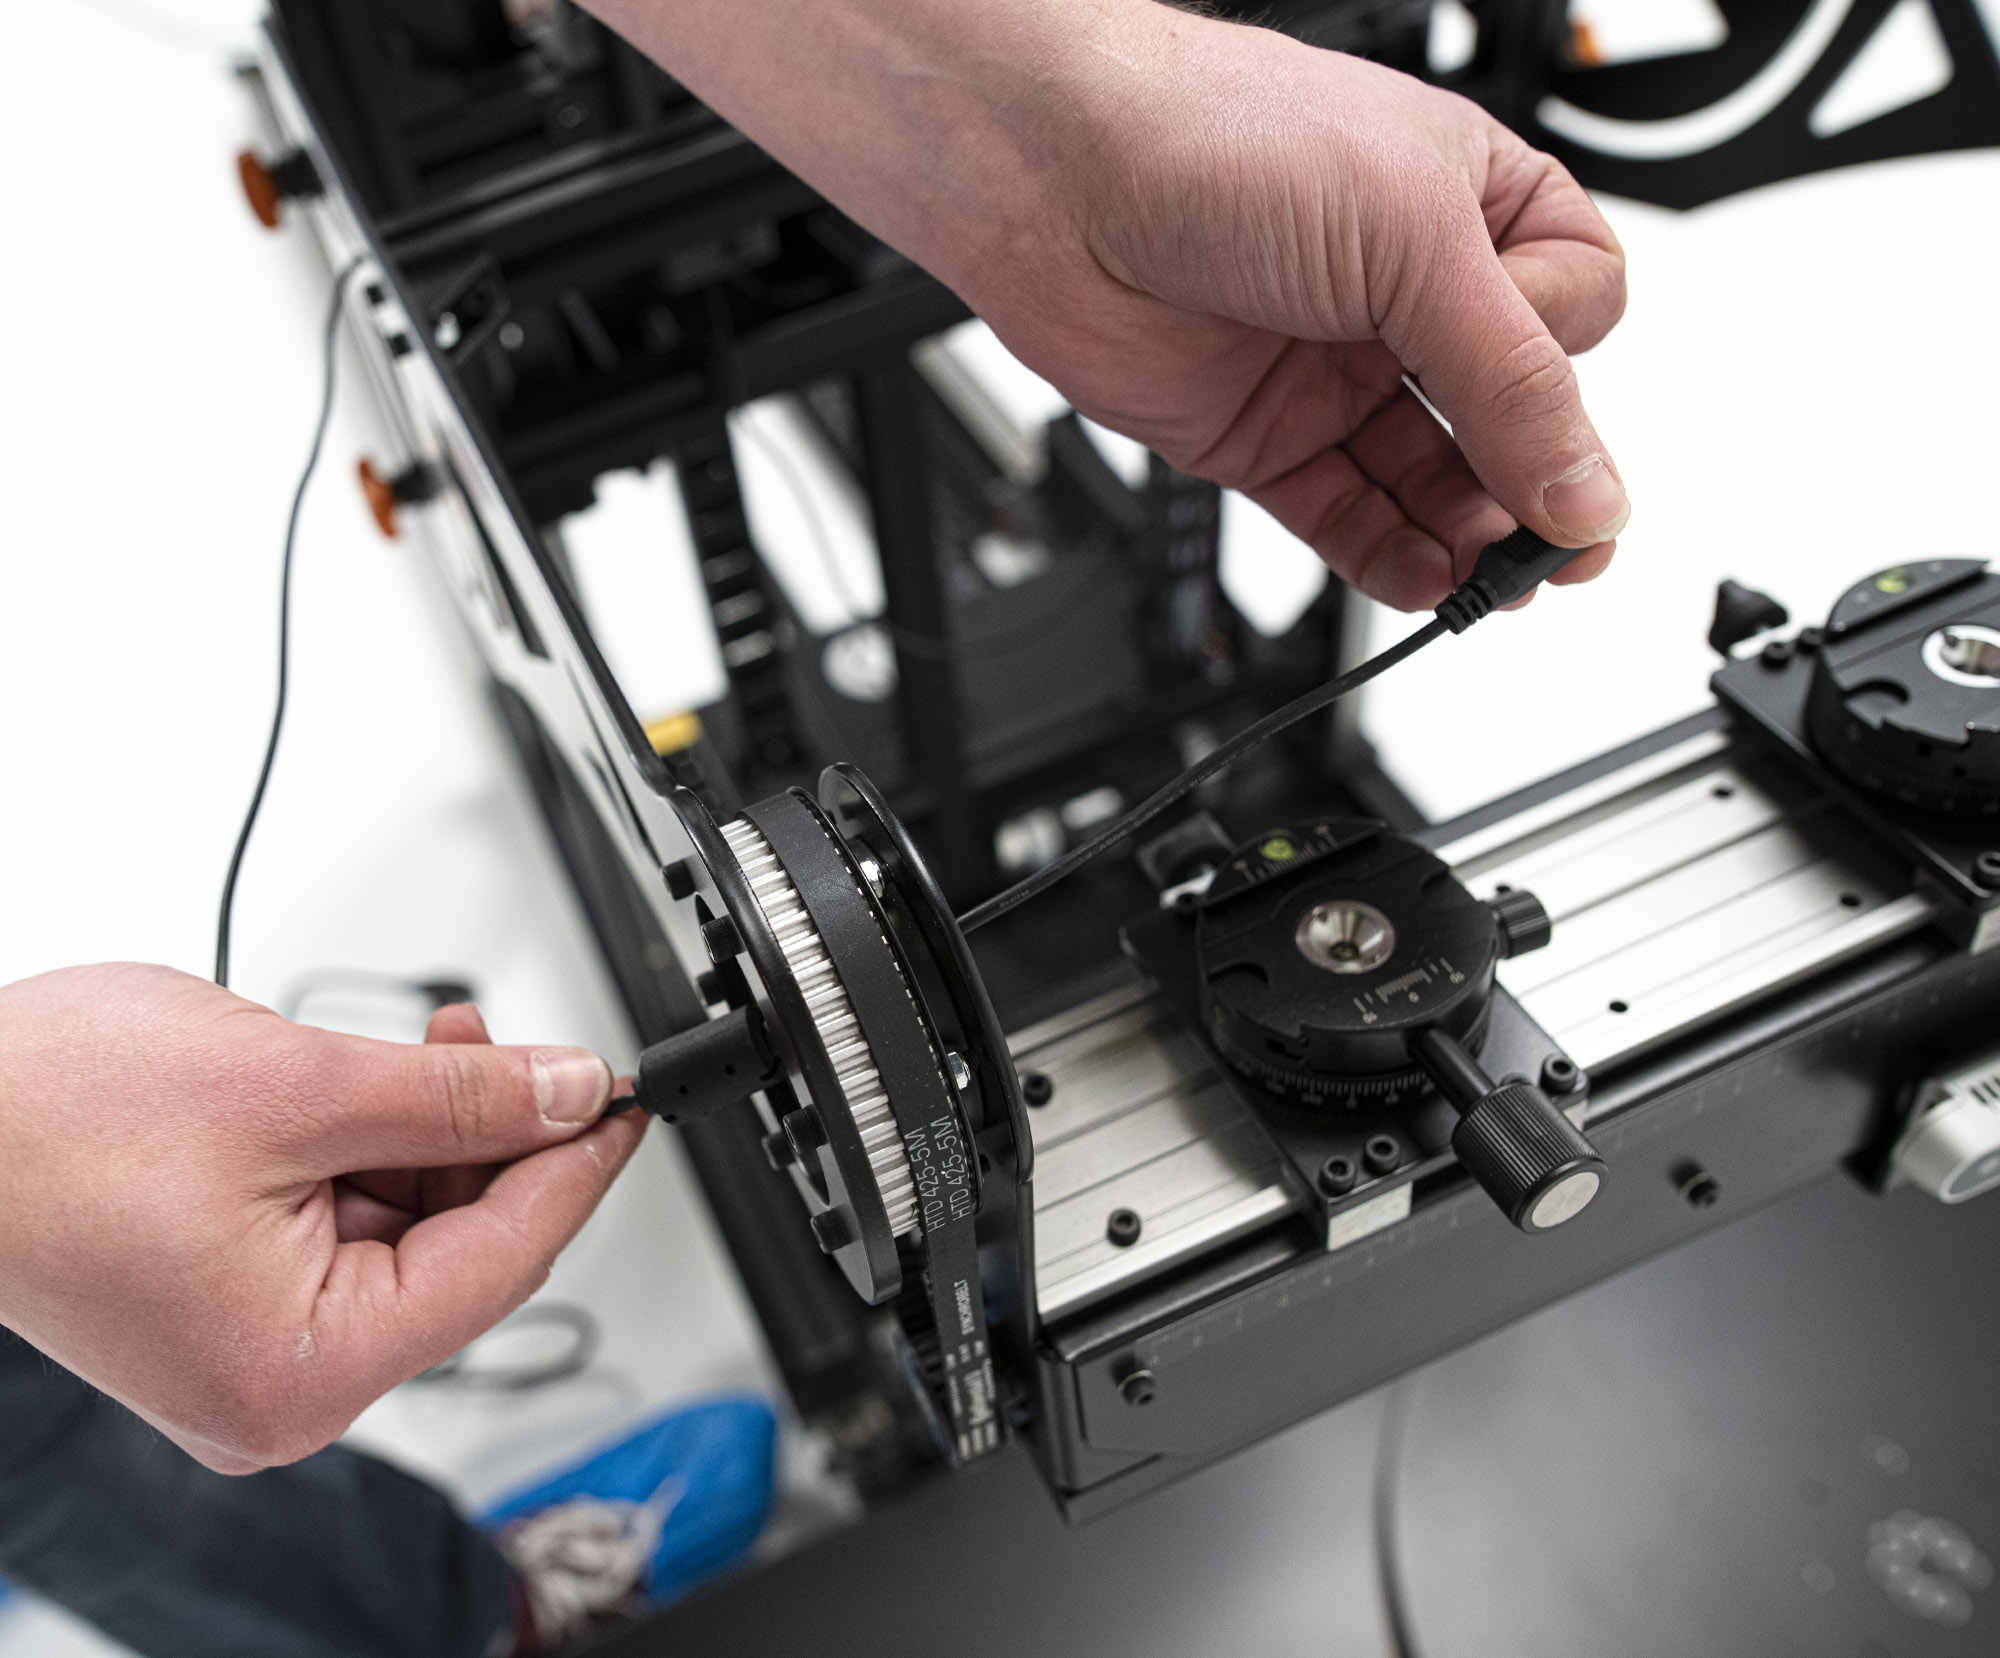
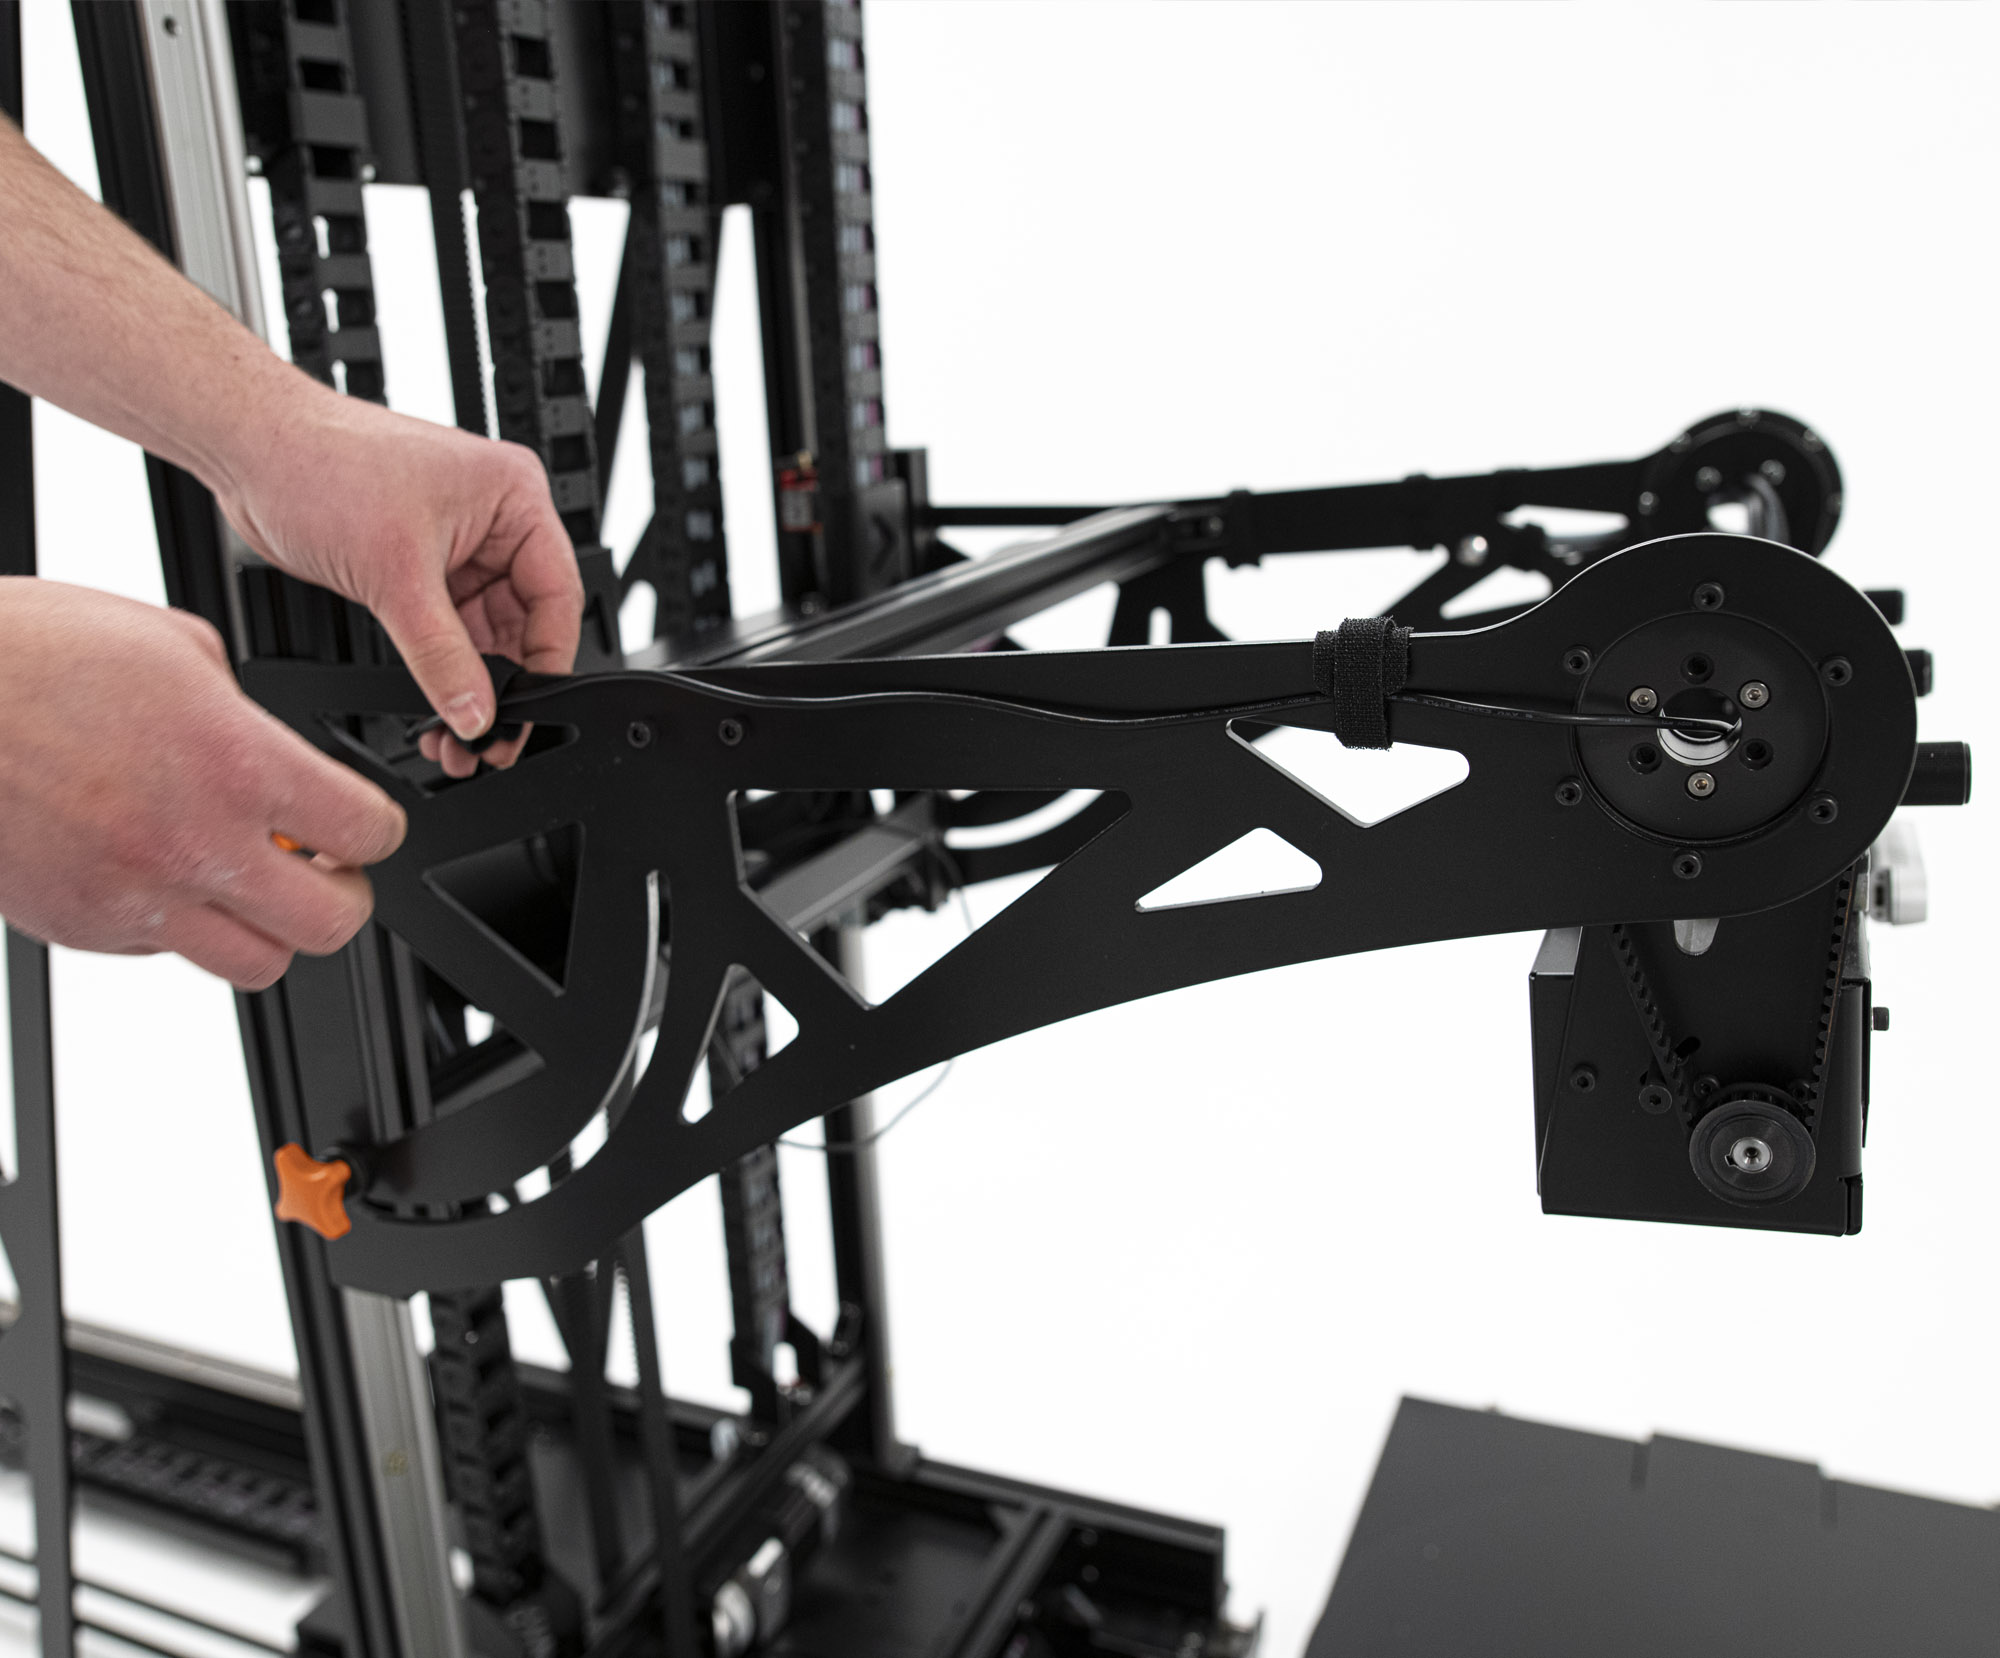
5. Pass Cable to Tilt
Pass the cable through a top back cutout of the Til head and pull it forward through a round cutout in front as illustrated. Secure the cable in place with velcro strips.