How Can We Help?
-
Introduction
-
System Operation and Safety
-
Arago Assembly and Installation
-
Arago Control
-
FAQs
Installer Guide
Installer
In case you already have a version of the software installed, please uninstall it prior to installing a new version.
Run the Arago Control Installer file downloaded from a shared direct link received from Rigsters ApS or from downloading a flashing Update within the software.
Initially, the wizard will detect if CaptureGrid 4 (required for Camera Tethering) is already installed on your machine.
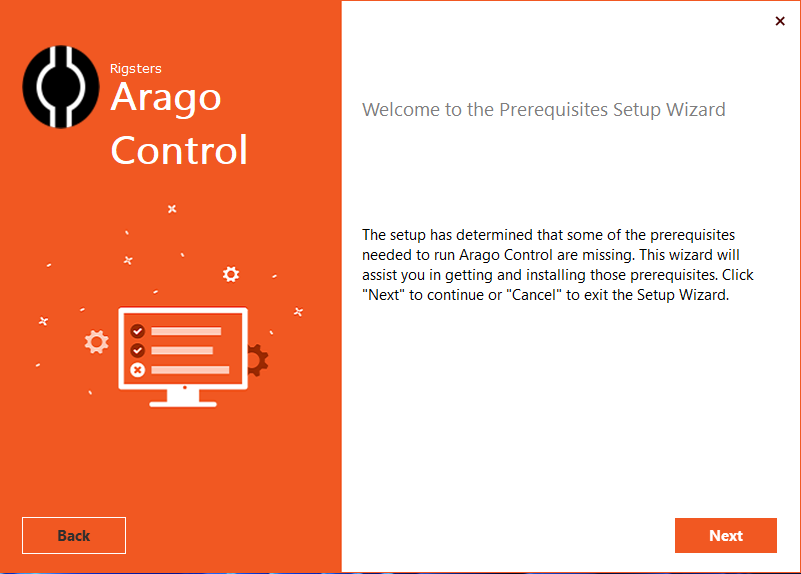
Install CaptureGRID 4 if it’s identified as a missing prerequisite.
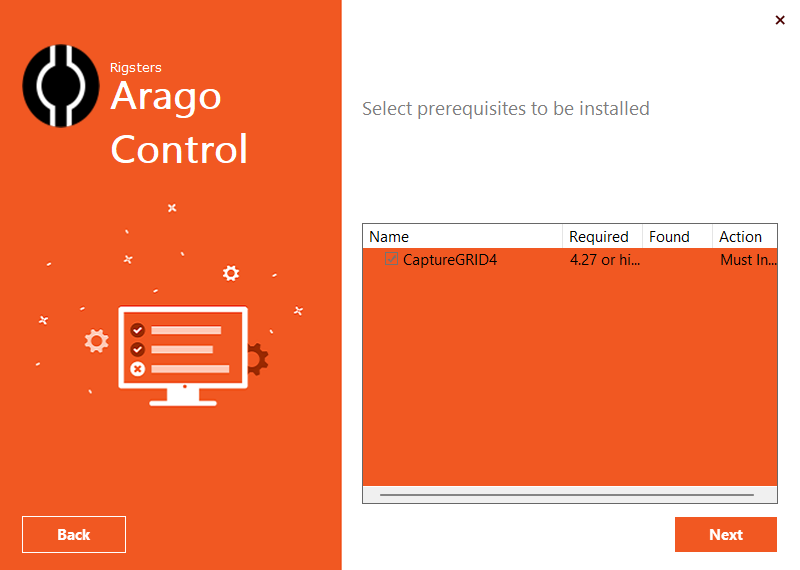
It is imperative that CaptureGRID 4 is installed at the default location suggested by the installer, for Arago Control to find it and use it.

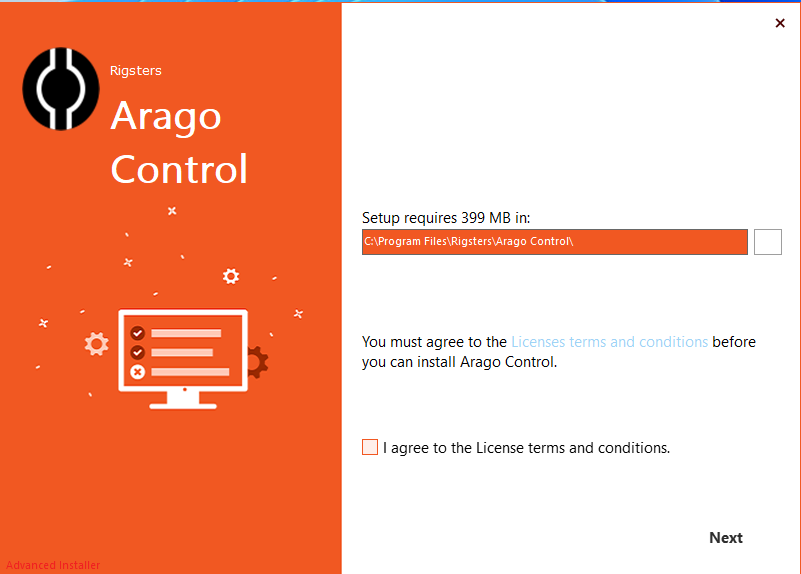
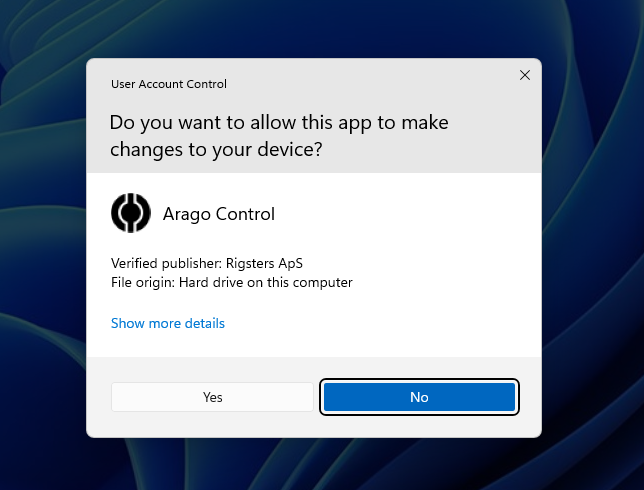
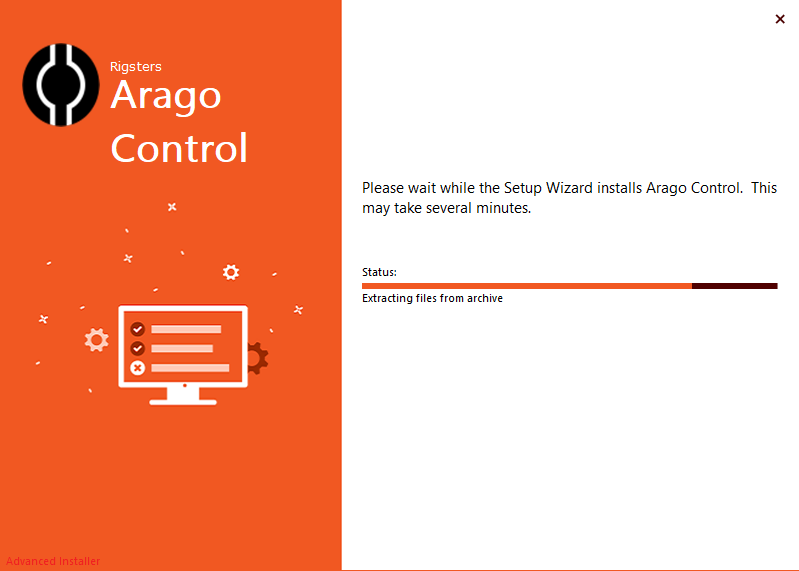 Once complete, configure your network setup to ensure Arago Control can establish communication with the device, as explained in the next section.
 Network setup
For optimal communication, we strongly recommend to connect Arago to the computer via a direct ethernet cable.
In case Arago is connected to a computer through an intermediary network governed by a router, this step can be ignored.
When Arago is connected directly to a computer via network cable connection, you must set up a static IP address for the network adapter used. Follow these steps to set it up:
- Navigate to Control Panel -> Network and Internet -> Network Connection. Right-click on the Network adapter used by Arago and go to Properties
- In the Networking tab, navigate to Internet Protocol Version 4 (TCP/IPv4) and go to Properties
- Select the Use the following IP address bullet-point and type in the following:
IP address: 192.168.0.100
Subnet mask: 255.255.255.0
