How Can We Help?
-
Introduction
-
System Operation and Safety
-
Arago Assembly and Installation
-
Arago Control
-
FAQs
Interface Overview
You are here:
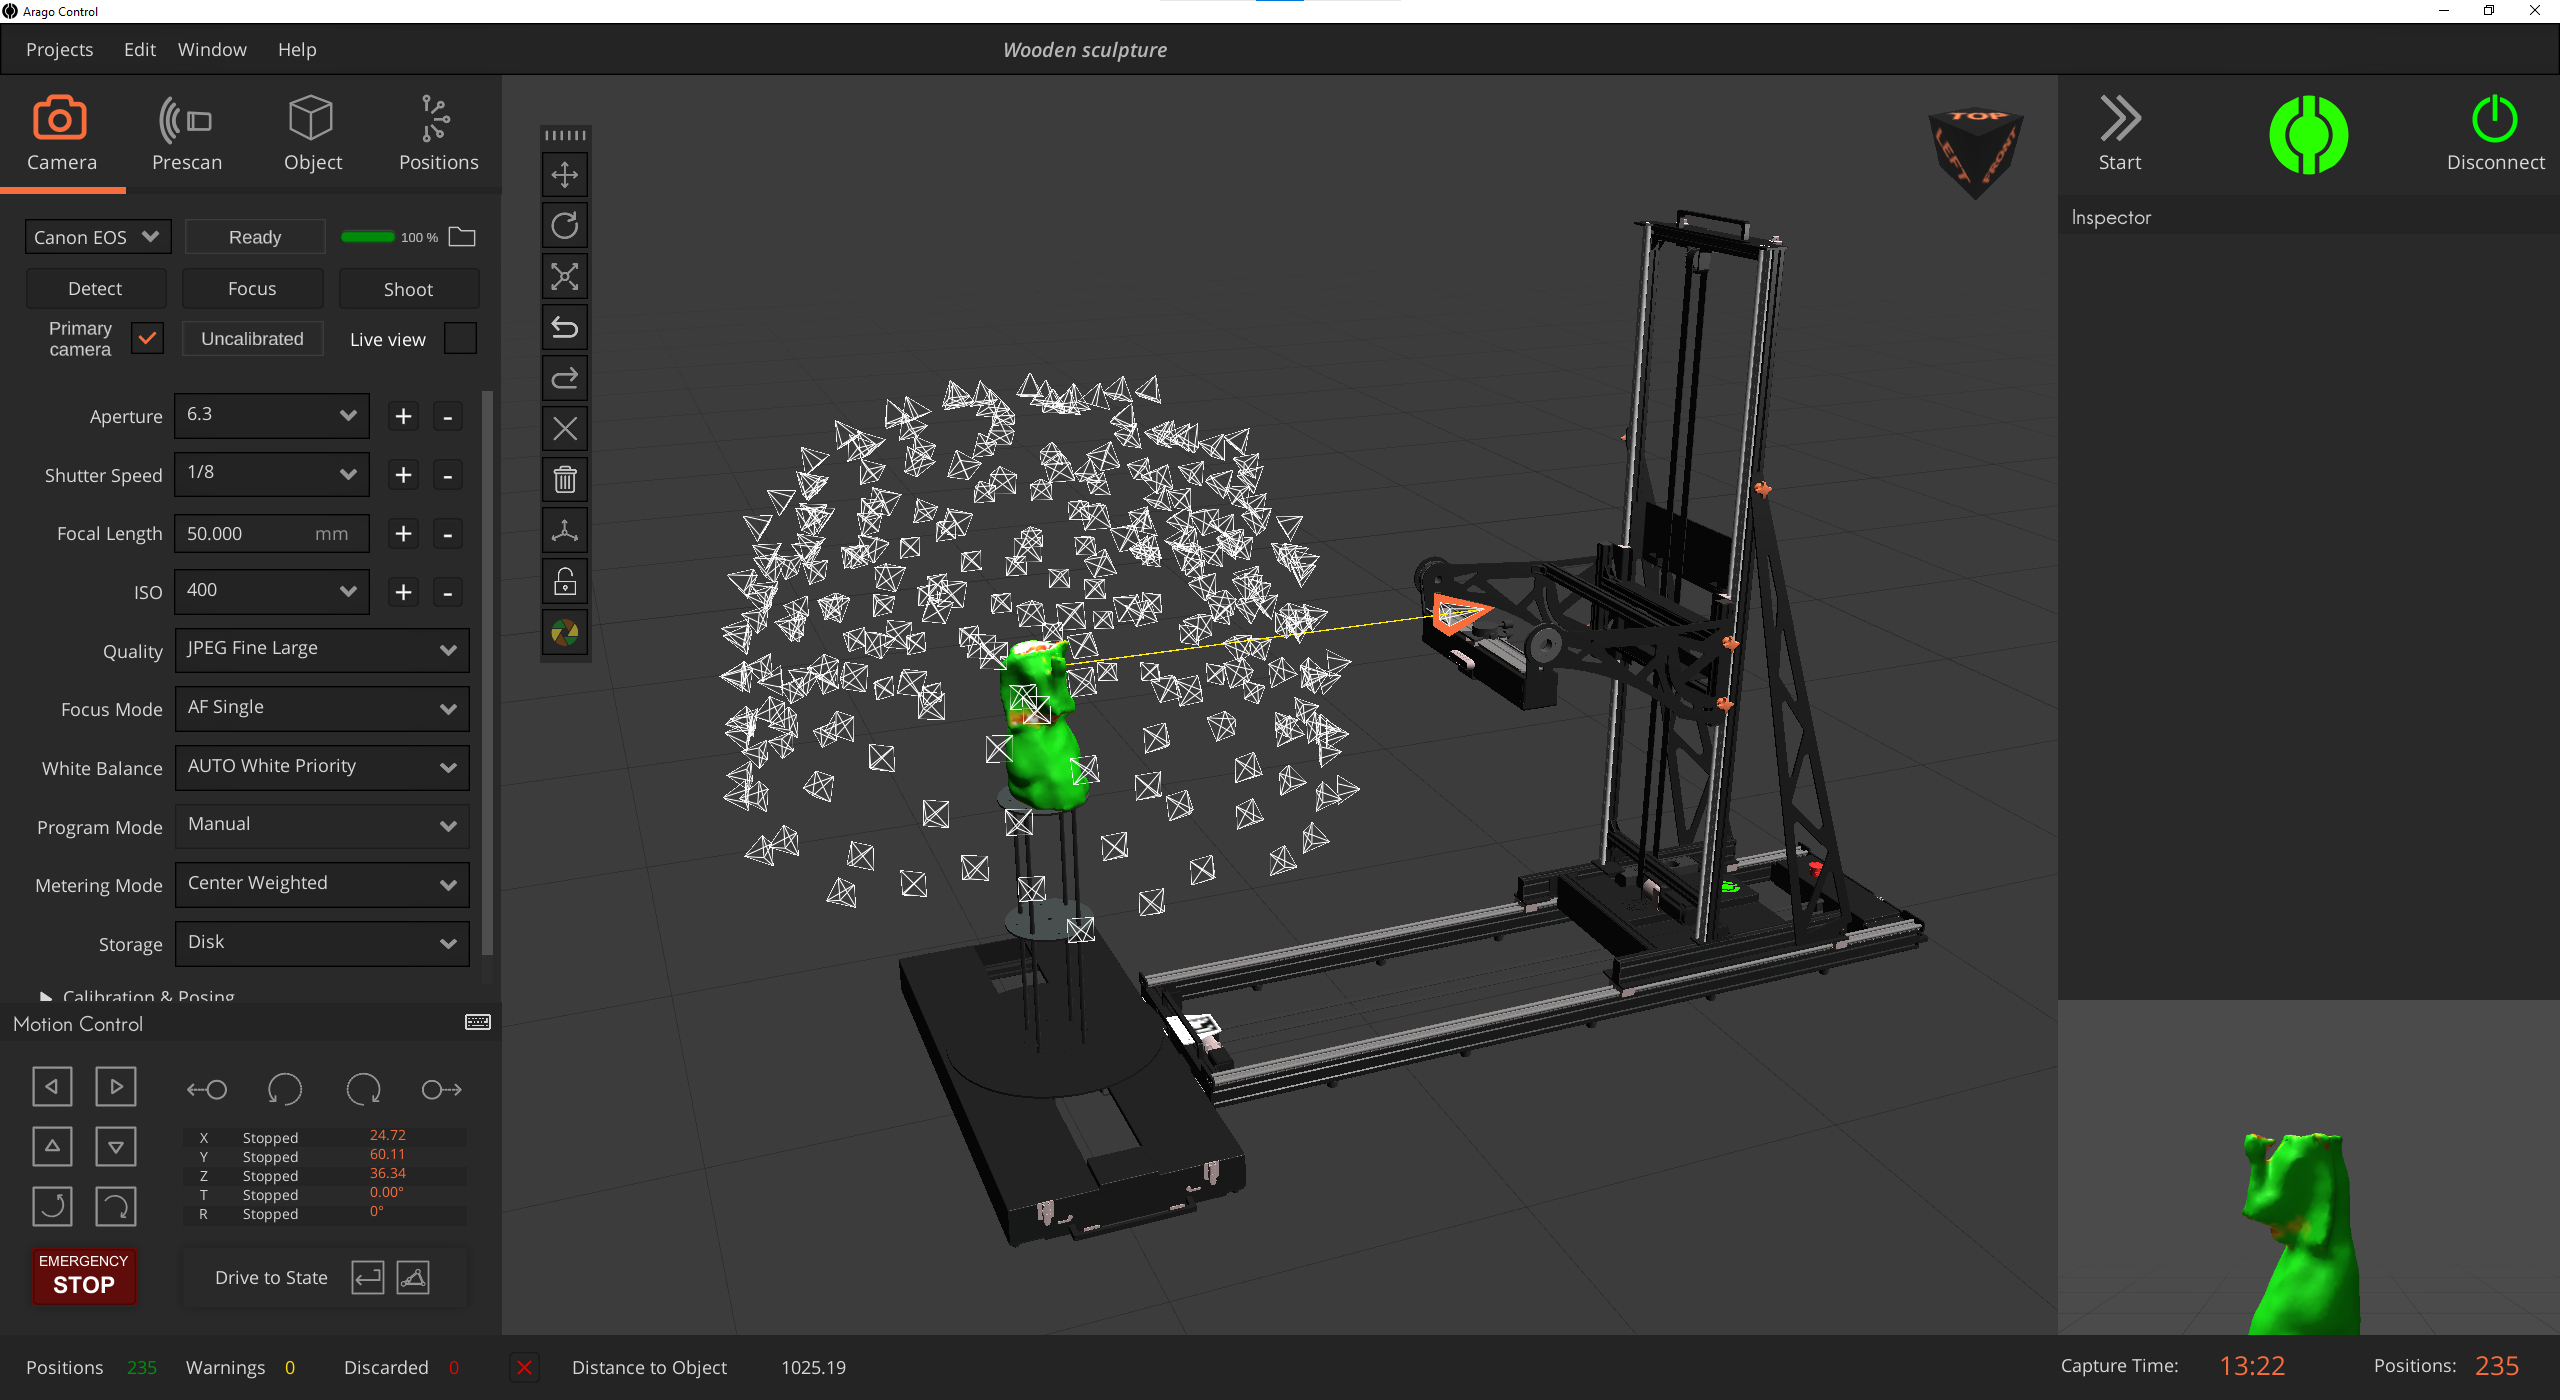
The interface of the Arago Control software features multiple panels, each tasked with specific functions or steps within your workflow.
Startup Panel
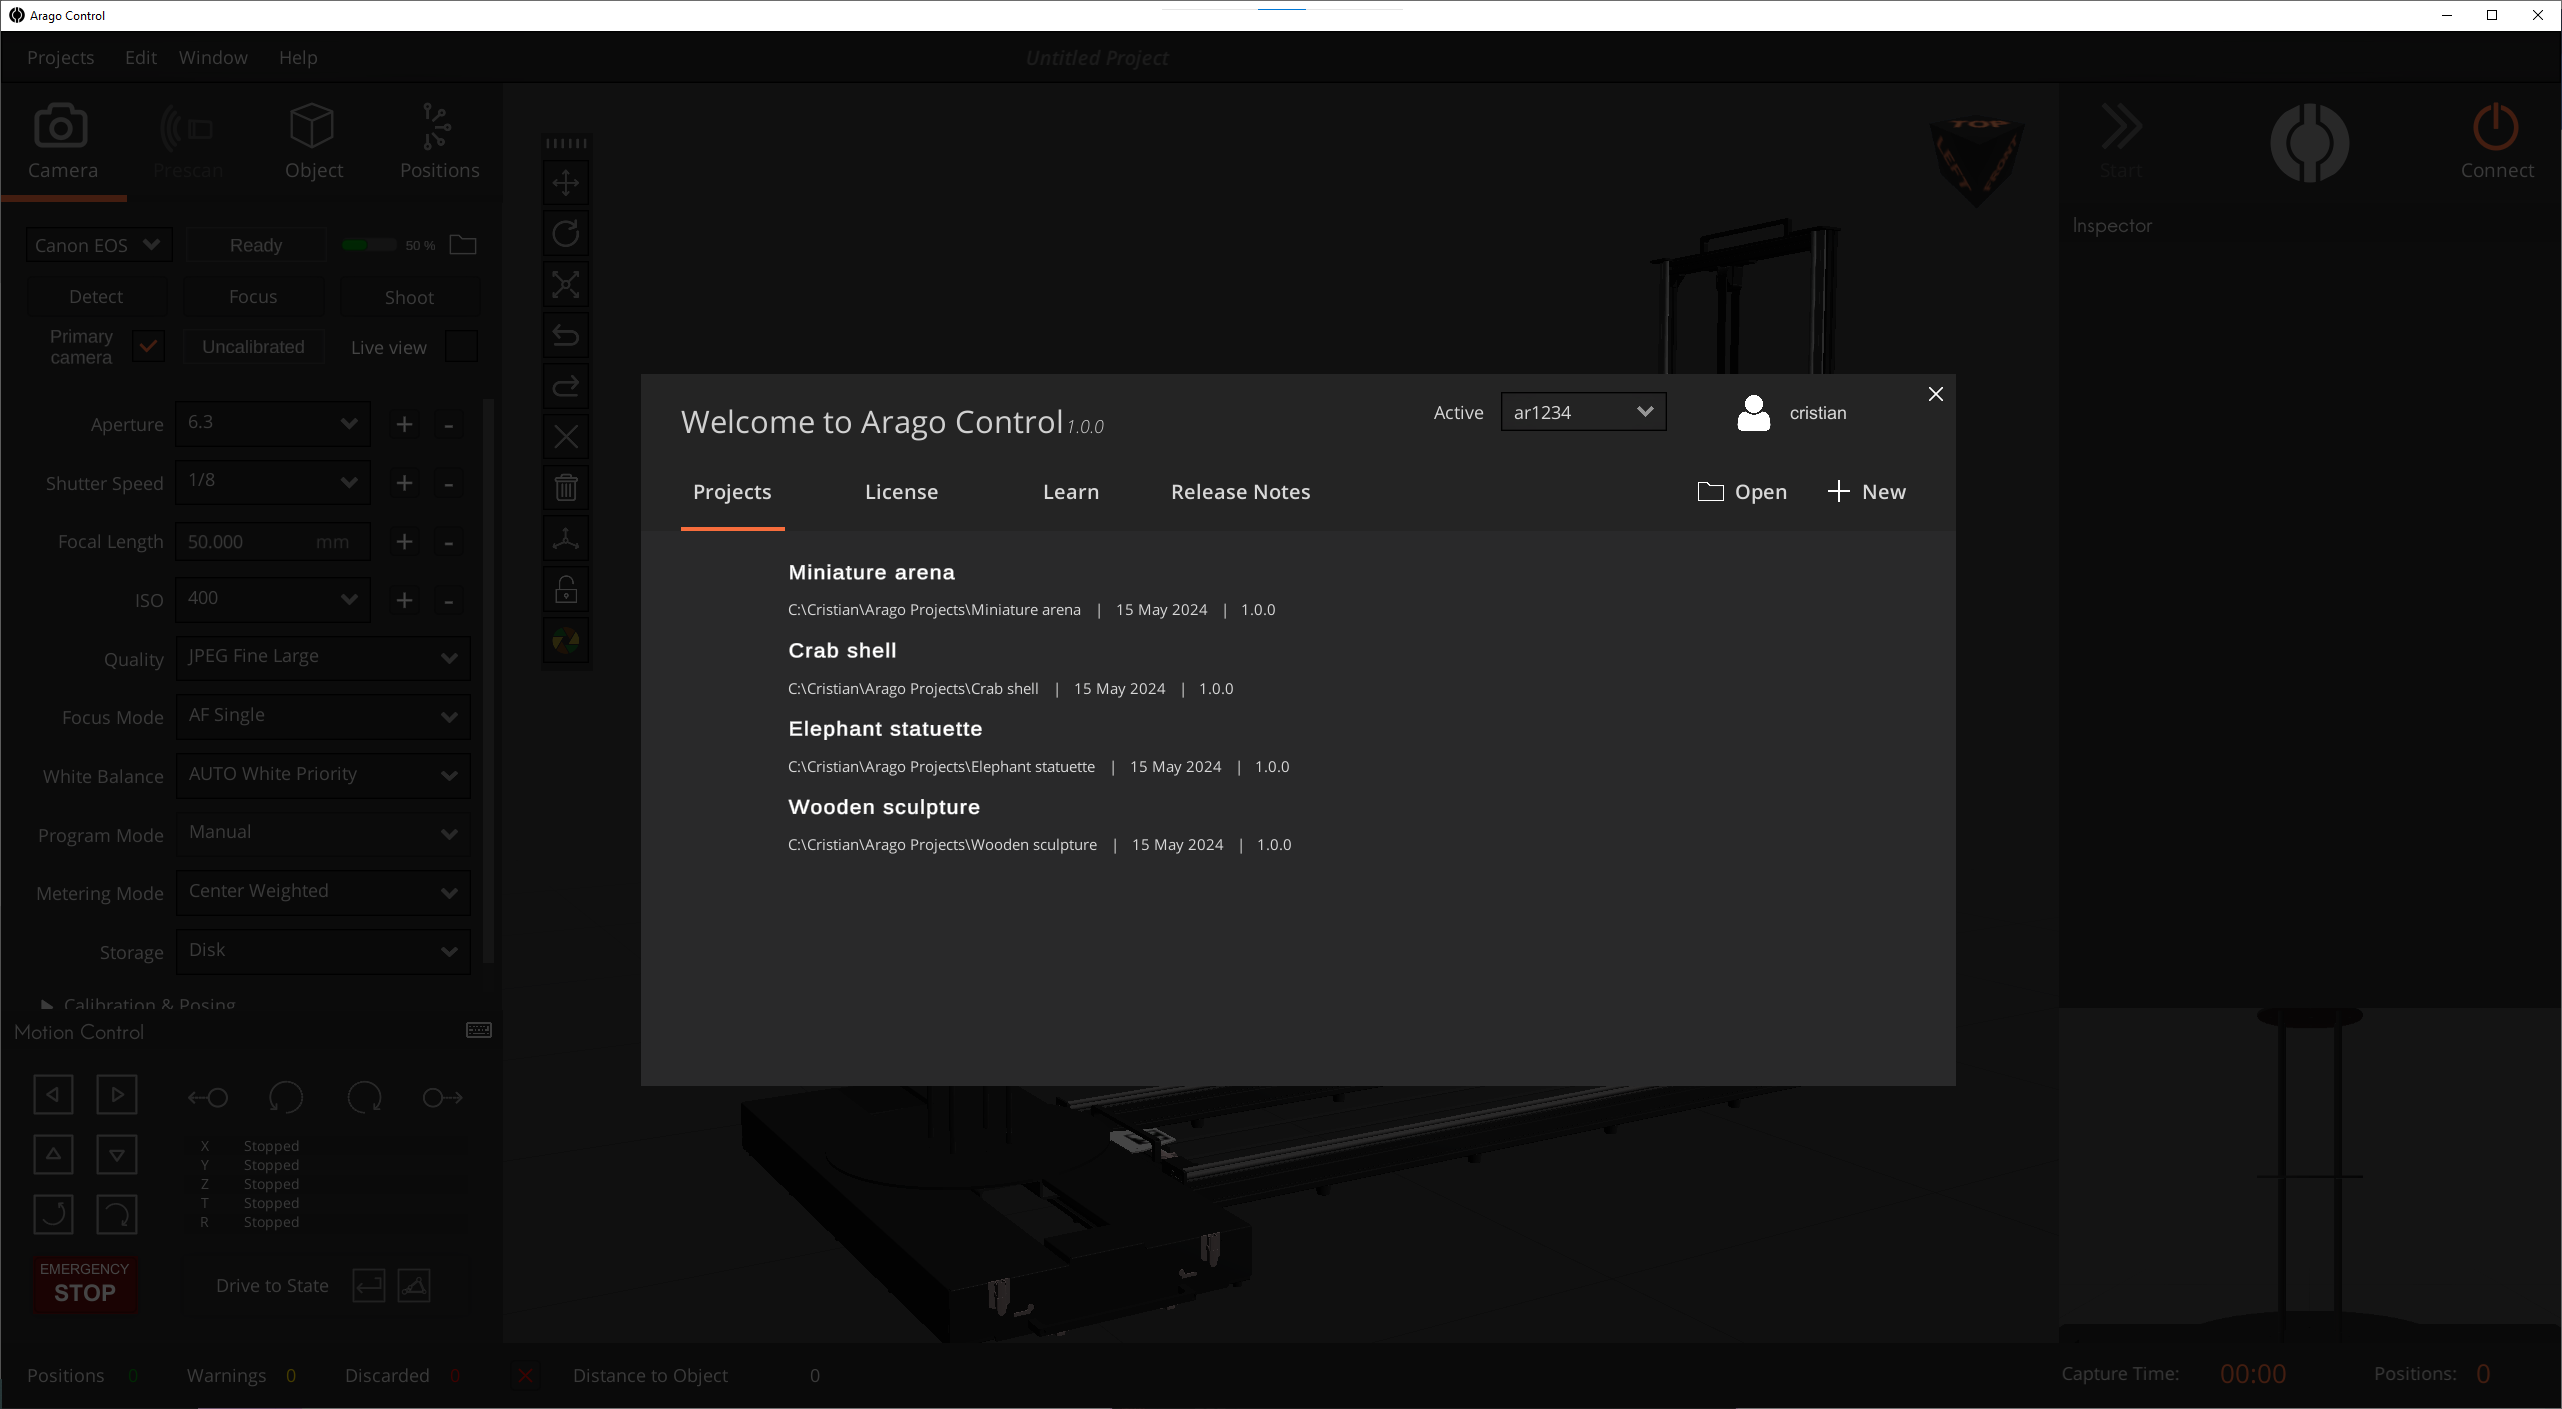
Upon opening Arago Control, you are welcomed by the Startup Panel, where all your recent projects are presented in the sequence of their last access.
The first panel available within the software is the Startup panel, which provides the following functionality:
- “Projects” providing access to recently saved projects
- “Learn” tab containing links to this documentation
- “Release Notes” tab outlines new features and fixes for all released Arago Control versions
- “Open” and “New” options for opening or creating a new project
Creating a New Project
In the Startup Panel click “+ New” button. This will open the New Project panel.

Set a descriptive Project name. We suggest creating one project per subject to scan to ensure segregation of images. The project name will become the name of the project parent folder.
The location of your project can be optionally set. By default, all projects go to “Documents” folder unless specified differently.
The “Create new folder” checkbox ensures a new folder is created at chosen location.
When all set click “Create Project” and the new project will be created and automatically loaded as empty (no positions or scan volumes defined in the scene).
Main Workspace
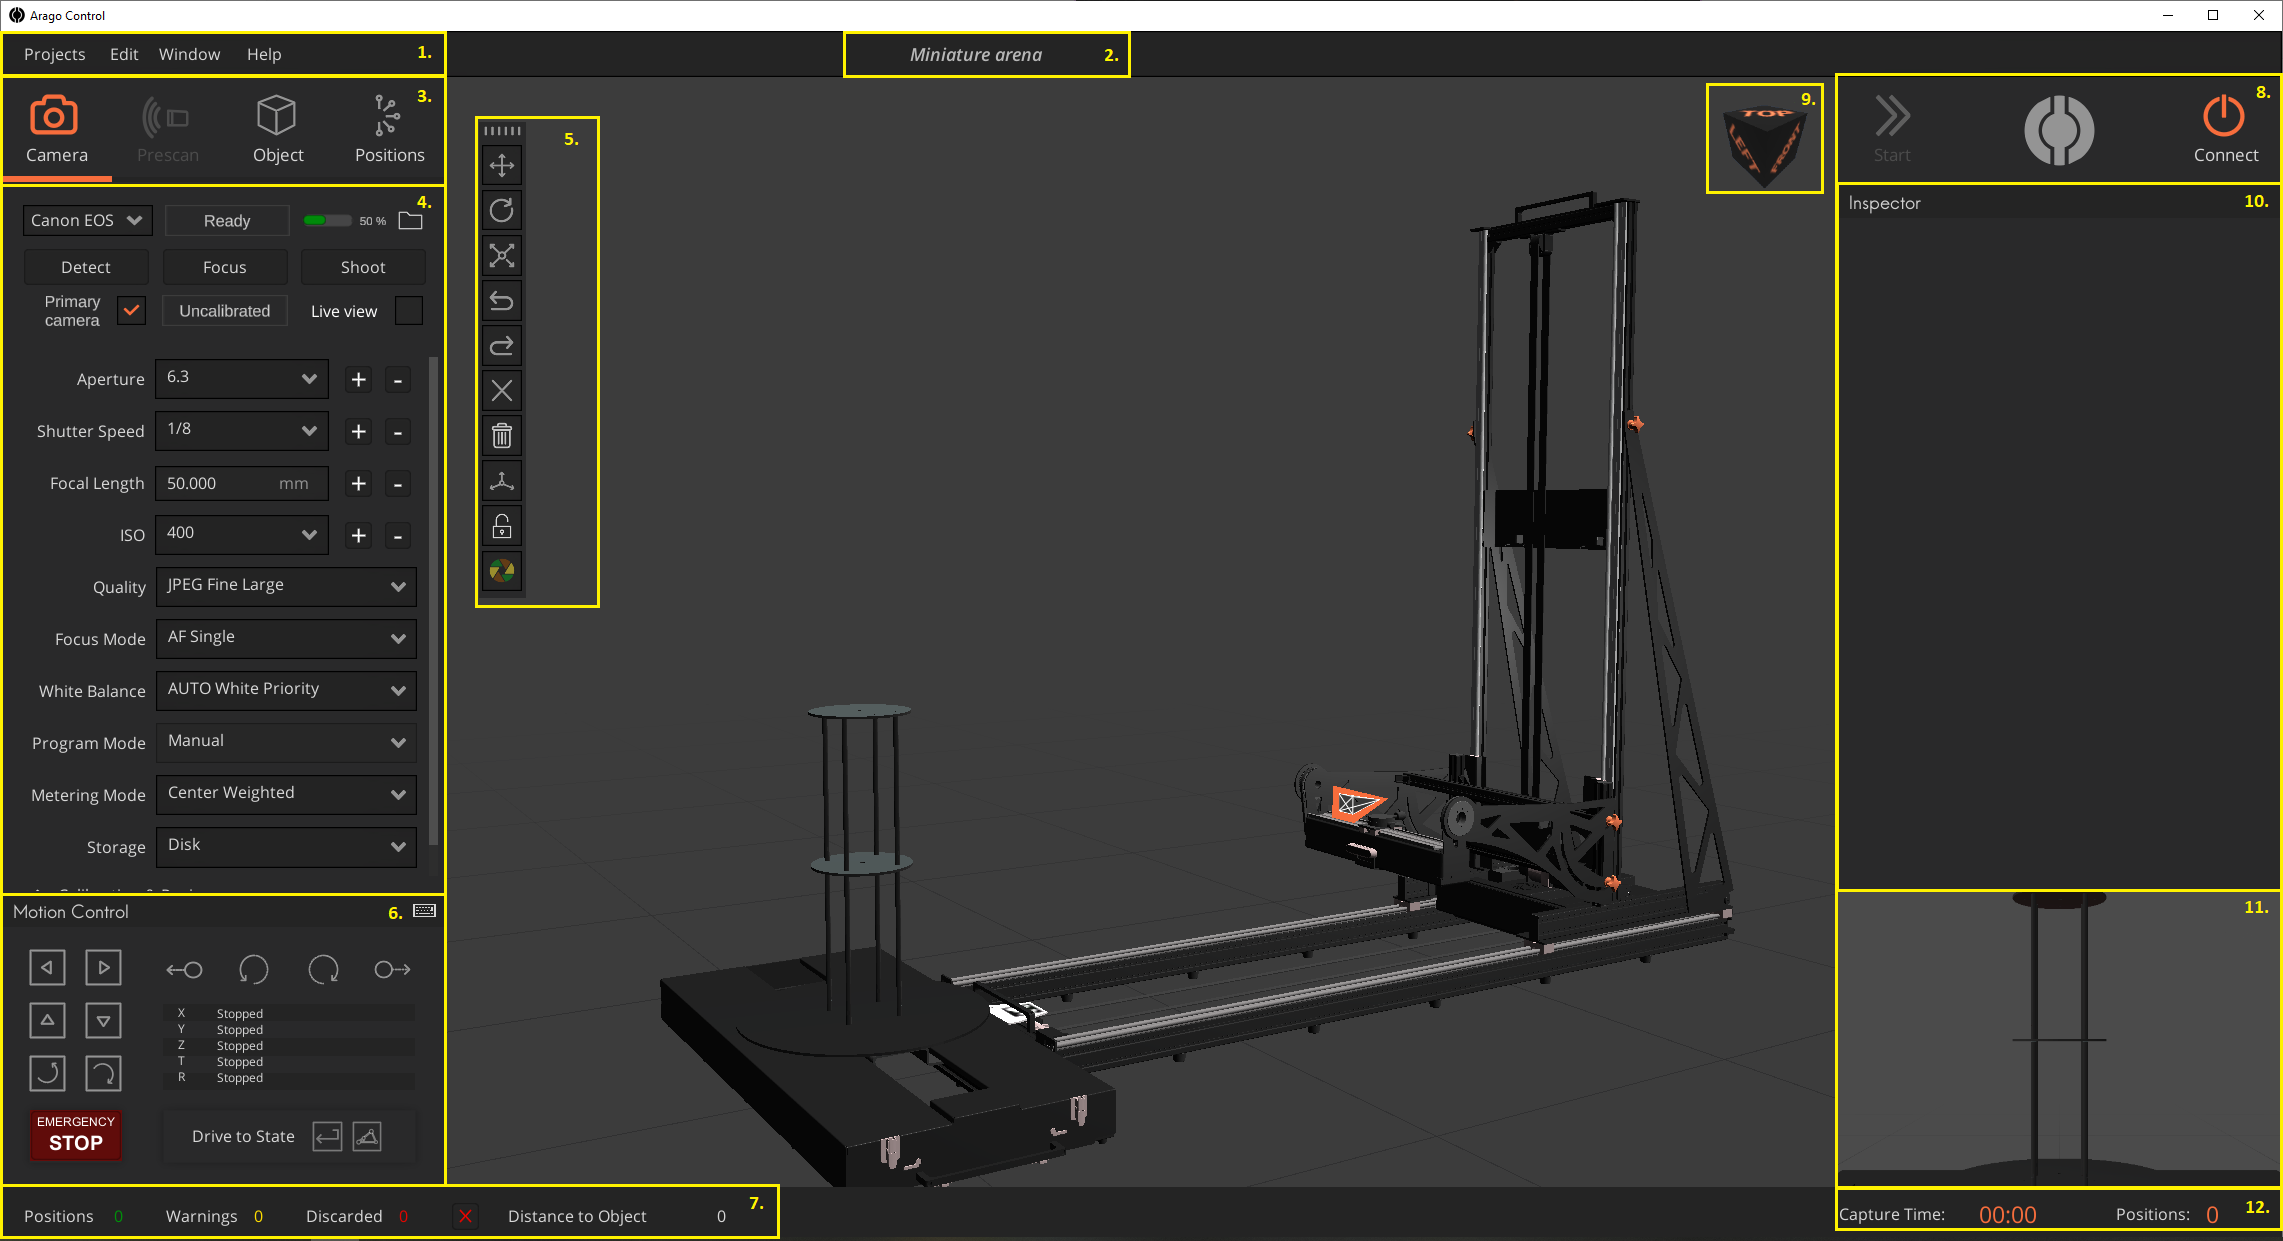
In this section, we delineate the primary interface components. The subsequent image is annotated with numbers corresponding to each section.
- Top toolbar menu
- Project name. The name acts as a button that opens the project folder location with Windows File Explorer.
- Menu with main Arago Control features for preparing the scan. The “Prescan ” option becomes available only after connecting to Arago.
- Space for selected option i.e. Camera
- 3D tool for interacting with elements in the scene such as positions or scan volumes
- Motion control panel for Arago. Buttons are functional only after connecting to Arago.
- Counts for positions in scene by color coding.
Green – Count of positions that are looking at the scan volume and Arago is able to traverse.
Yellow – The number of positions without a clear line of sight to the scan volume or where the view is obstructed. Arago will still navigate through these positions regardless.
Red – Invalid positions count existing in scene. Arago is physically unable to travel traverse these positions.
Lastly, here we display the “Distance to Object” from primary camera mounted on the rig to the scan volume, if the scan volume is in sight. - Connect and Motion buttons. “Start” button becomes available if the connection to Arago is established and if there are any valid positions in the scene.
- 3D – Ortographic scene view toggle
- Inspector – populated when selecting either loops, positions or scan volumes.
- 3D Virtual camera live view
- Total valid positions and estimated Capture Time
Table of Contents


