How Can We Help?
Packing Arago
Below is a 9-step guide outlining the process of packing Arago into the transportation box.
1. Dismount the turntable extensions
If mounted, make sure that any turntable extensions are removed from the turntable and disabled from software settings under Window -> Settings -> Safety -> Turntable Extension.
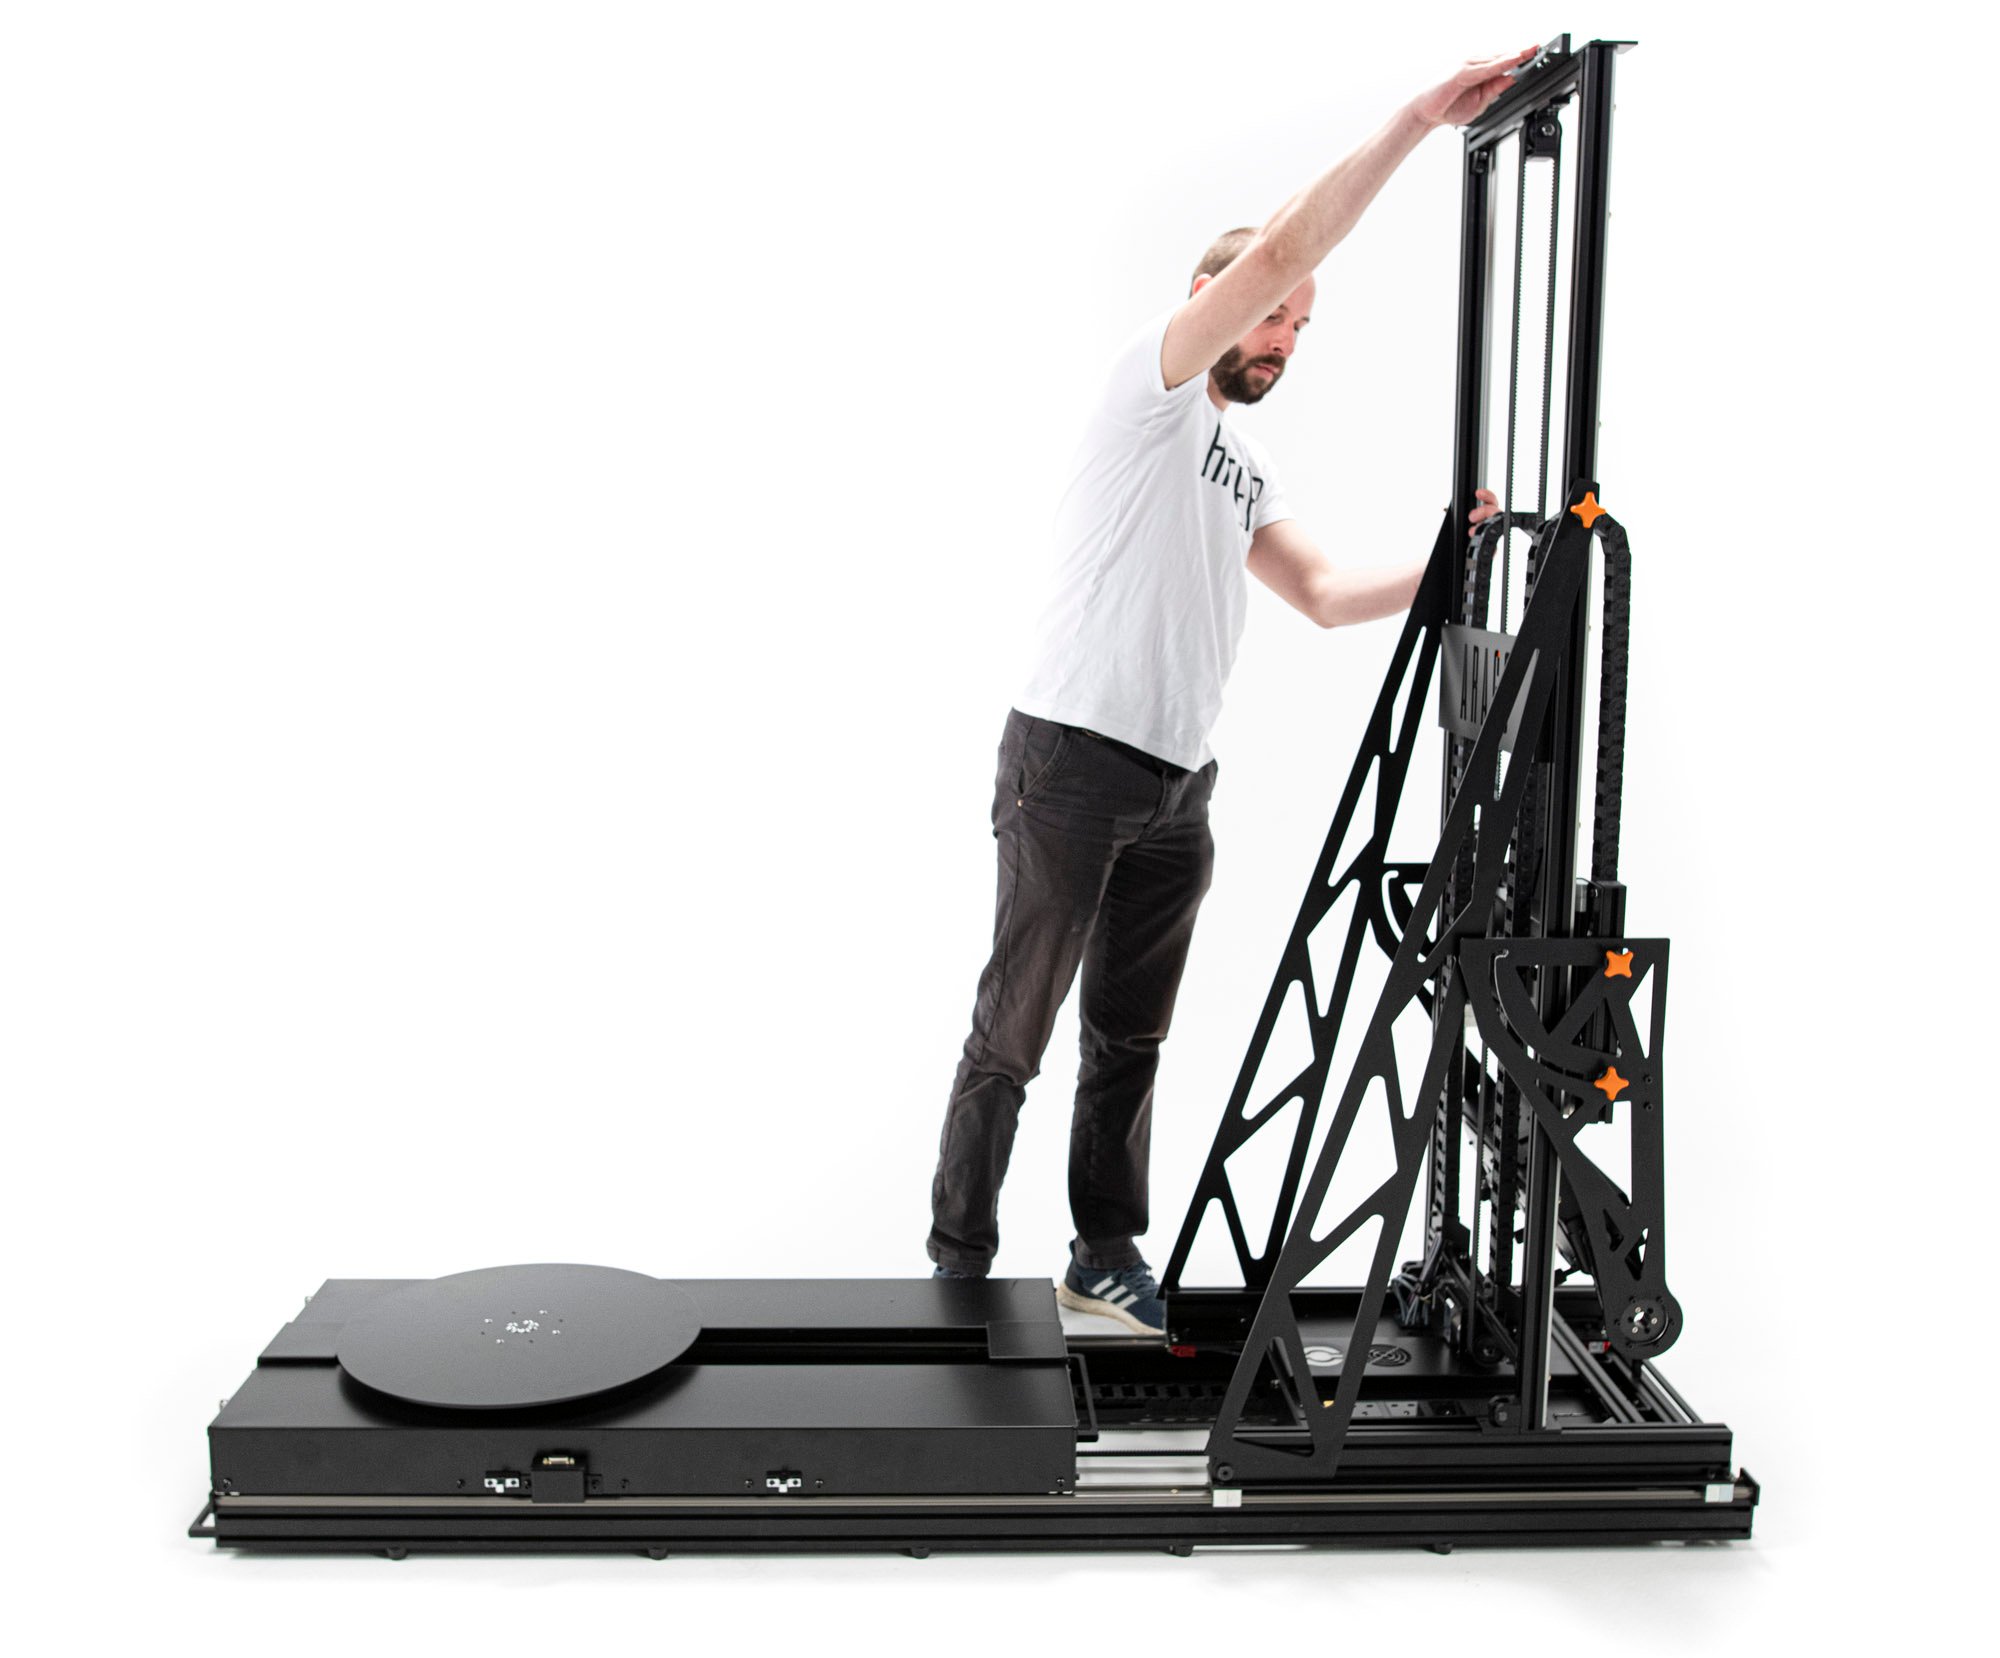
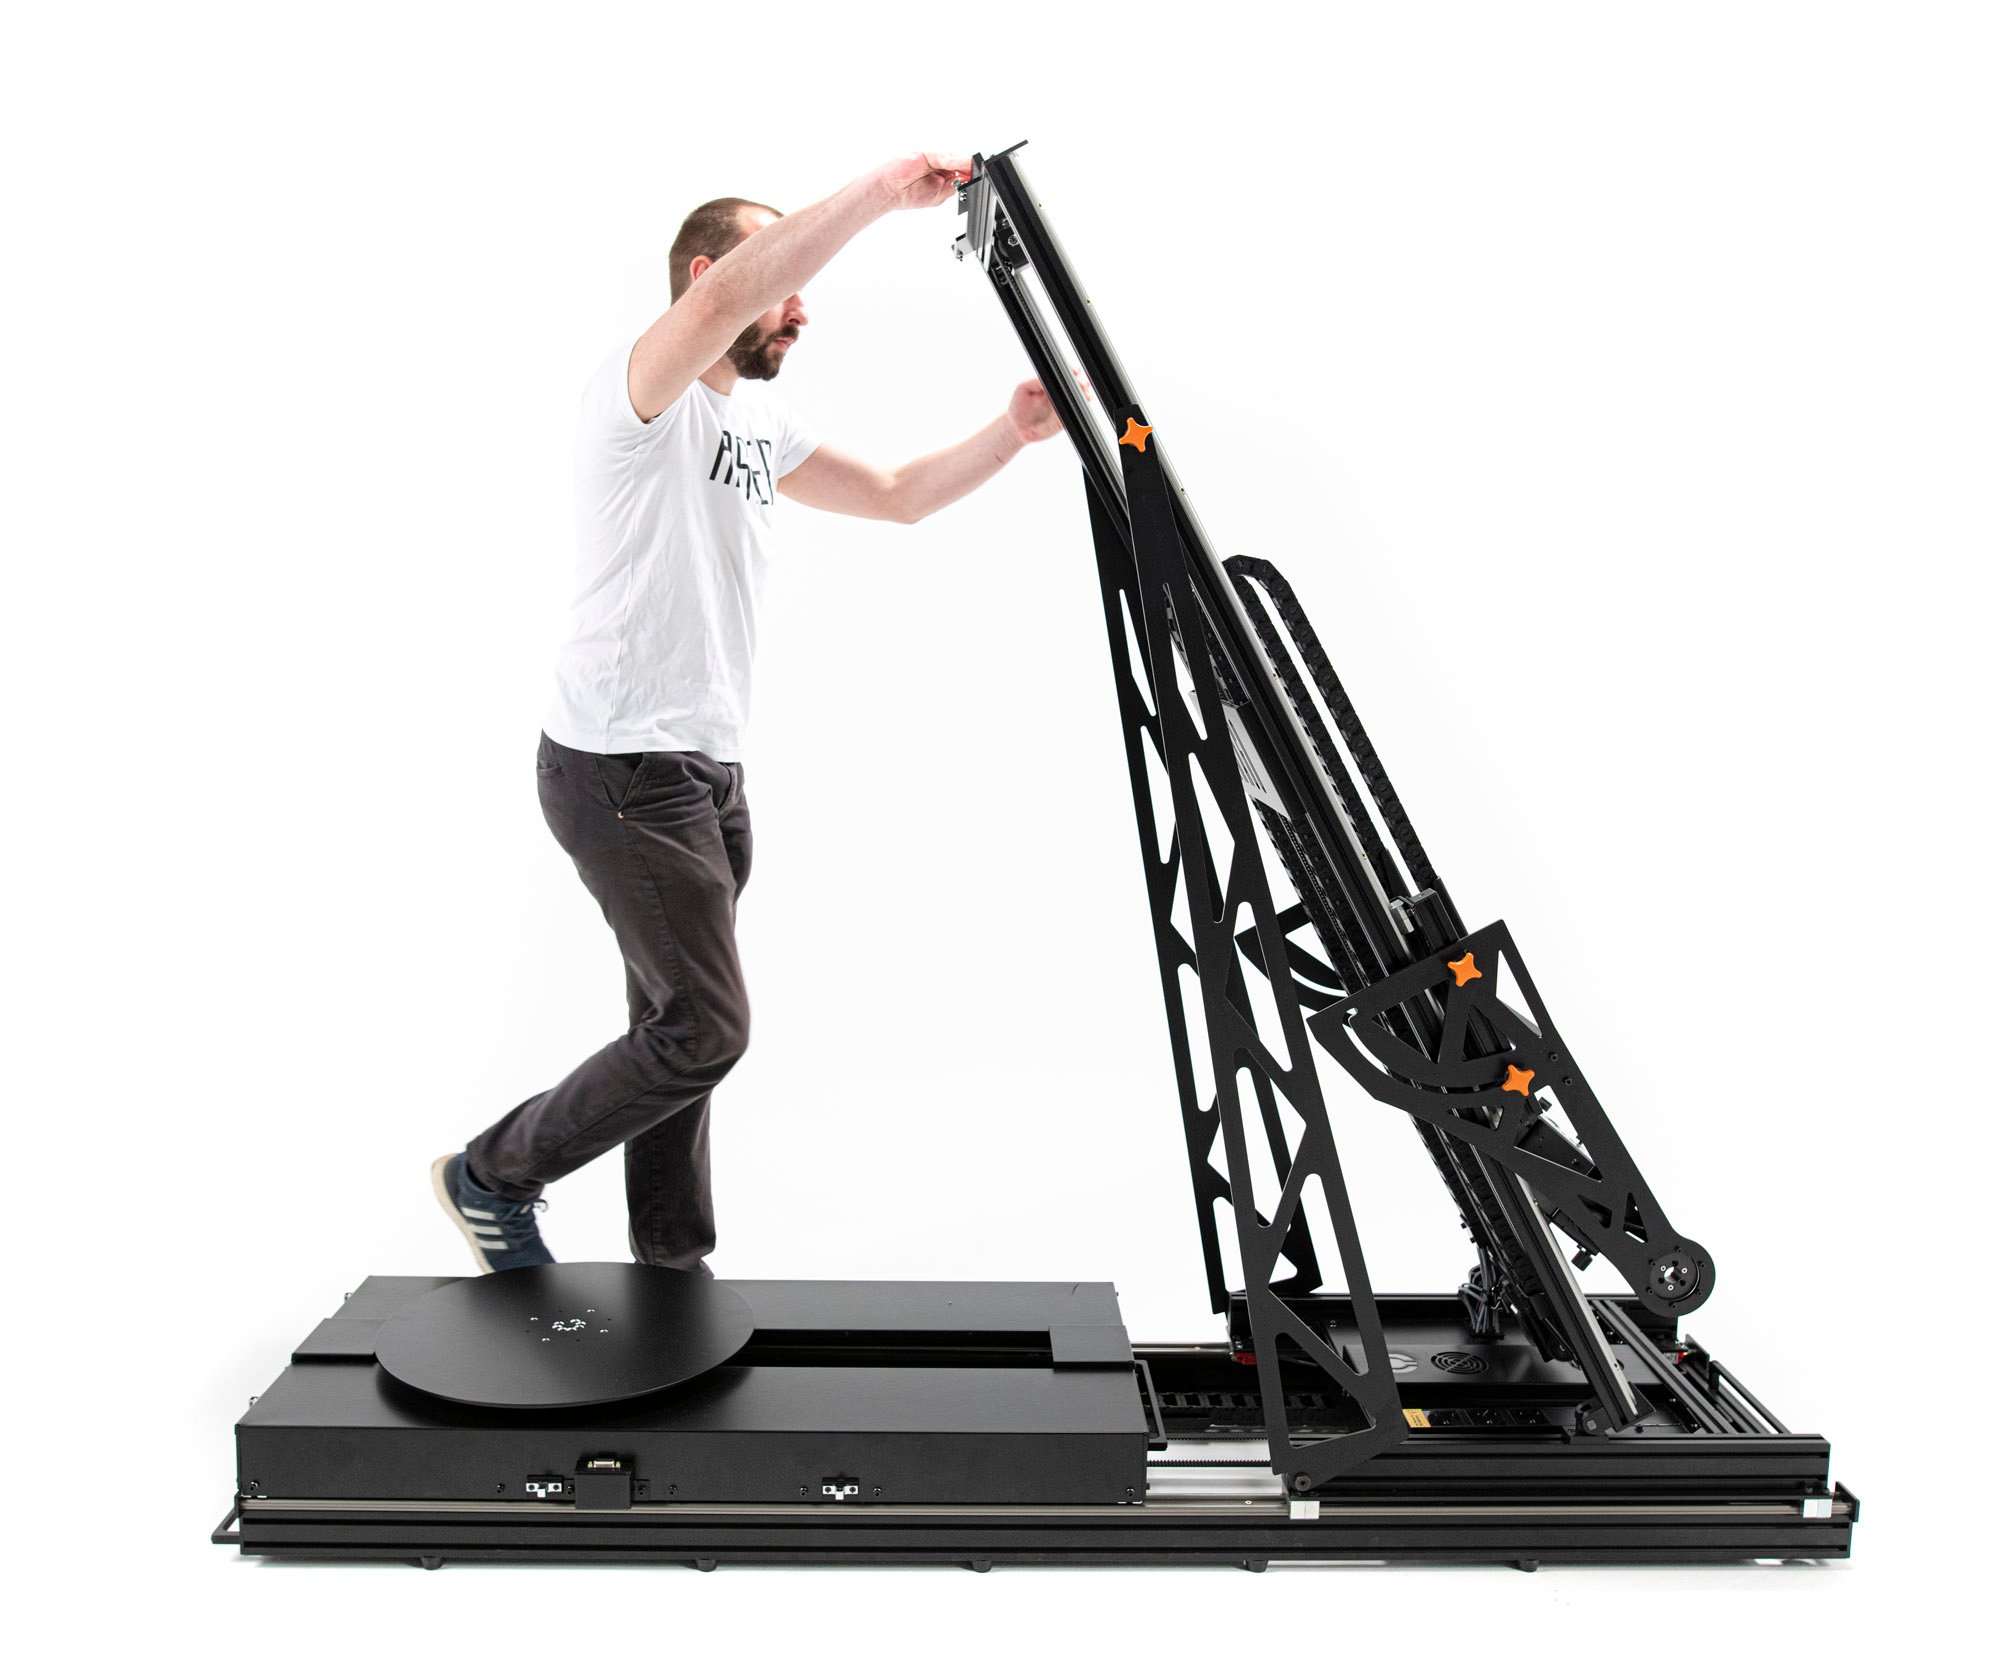
2. Drive Arago to Folding position
Whilst Arago is Connected and Initialised in AragoControl – drive it to the folding position by using Drive to folding position button located in the Motion Control panel.

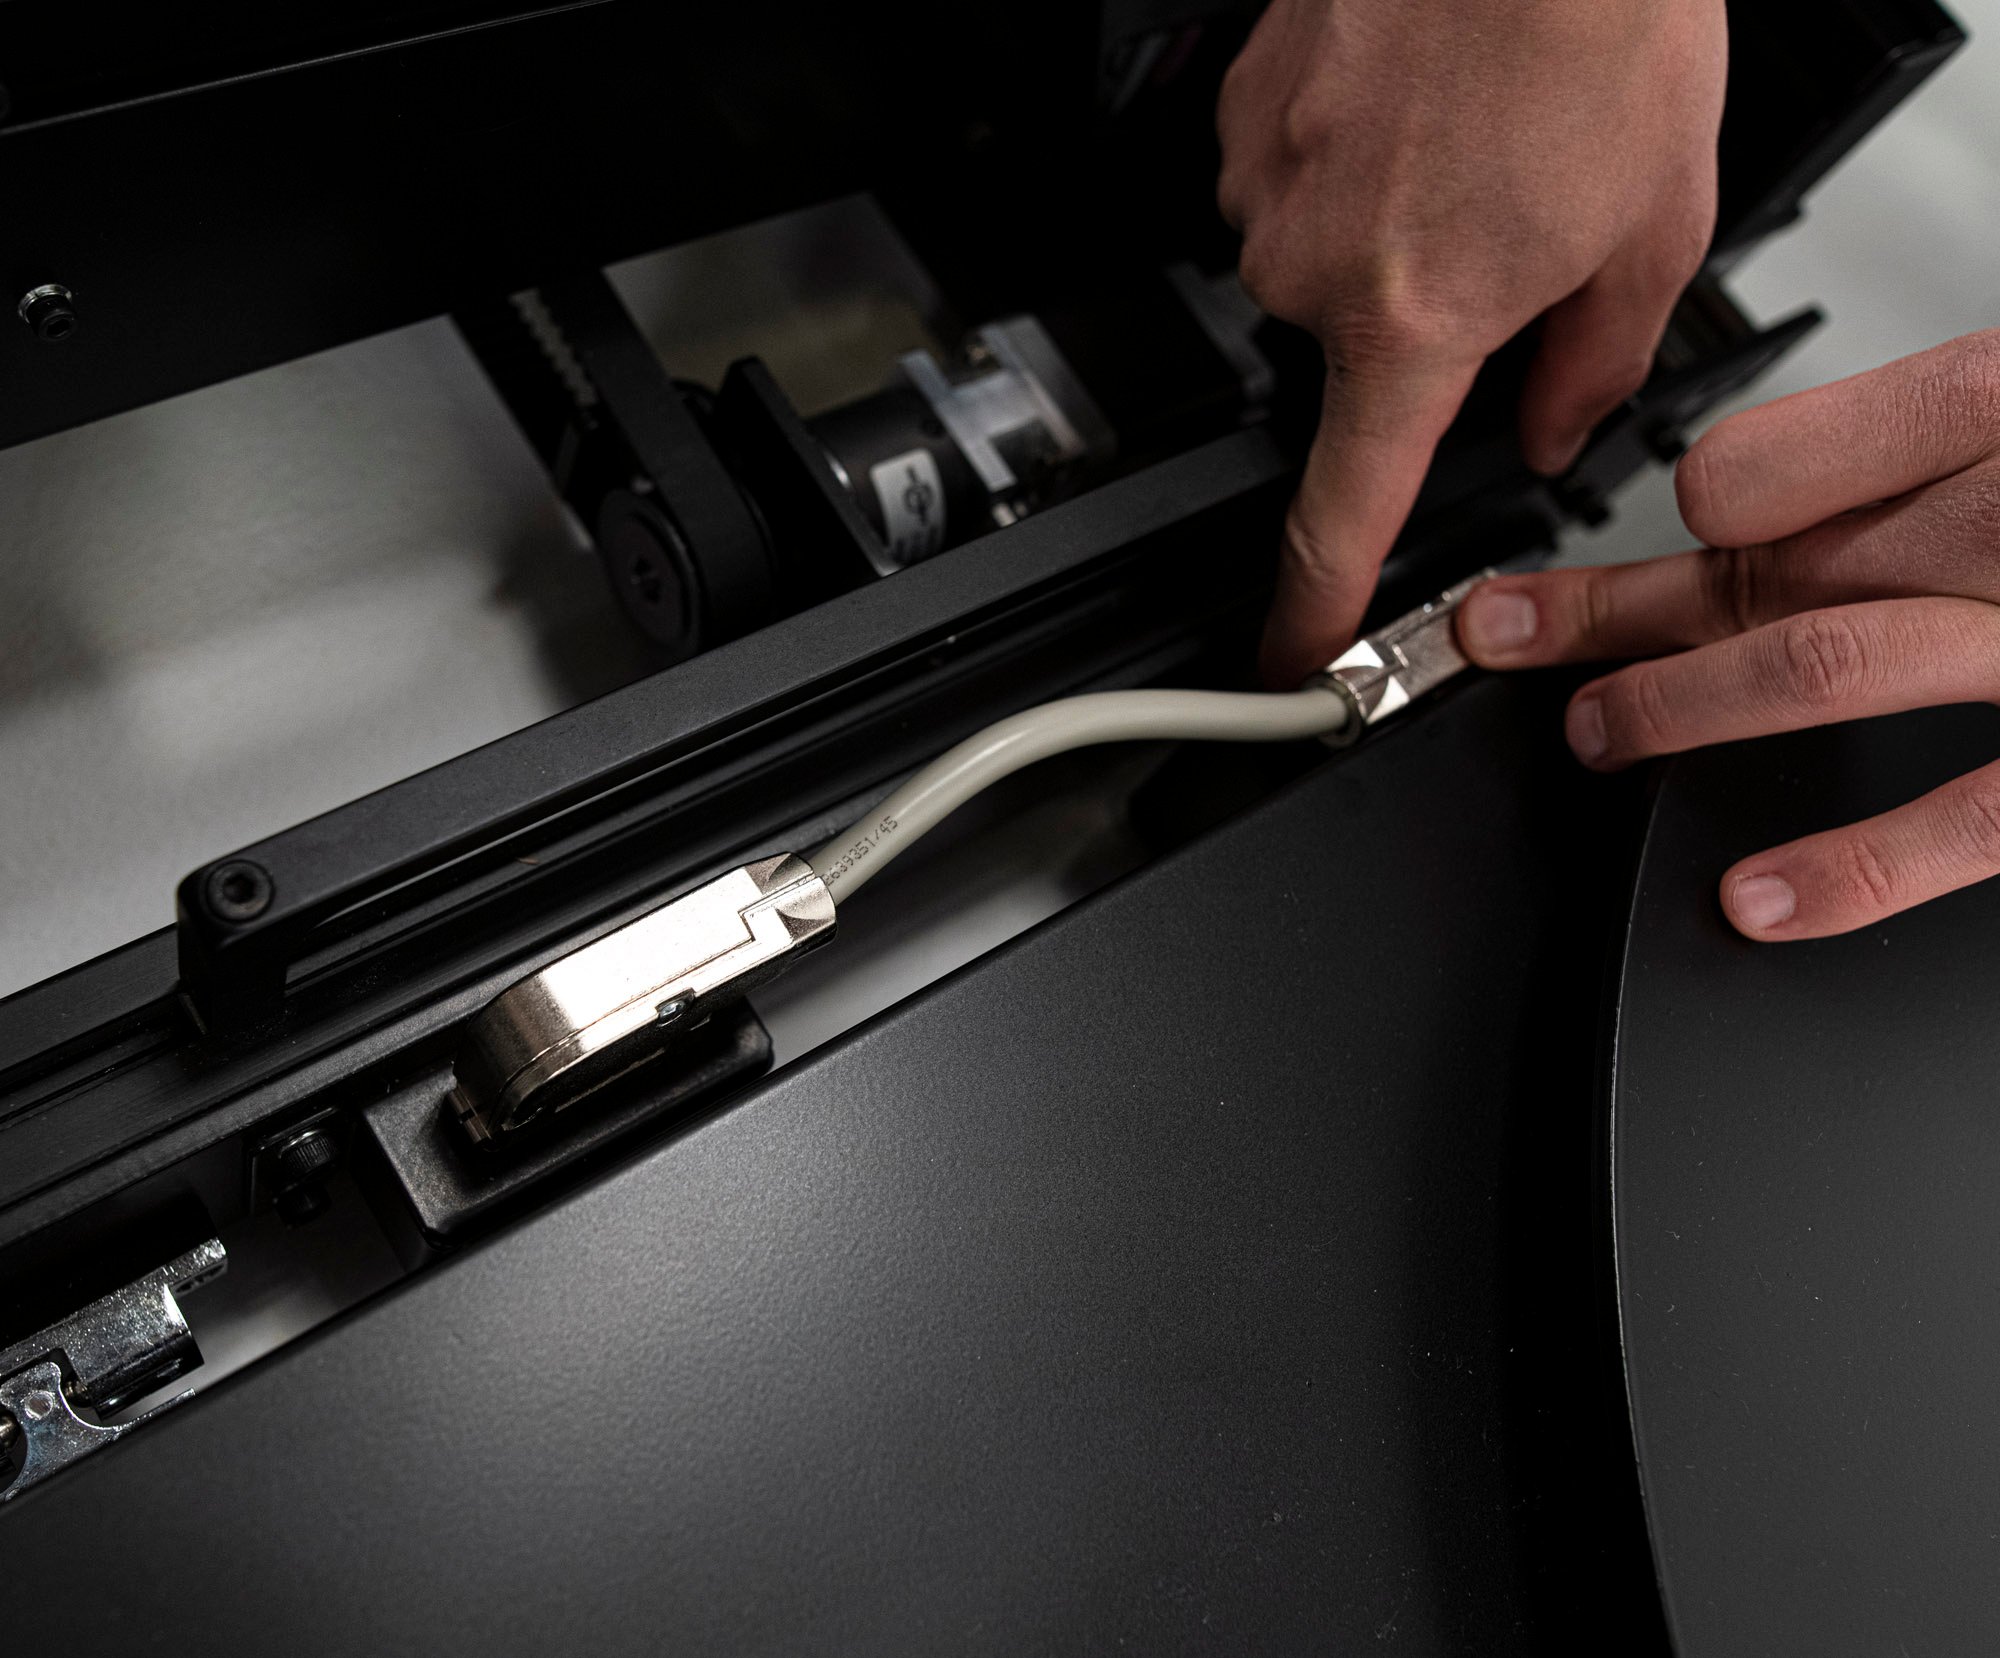
3. Disconnect the Turntable
4. Fold the Tilt
Before proceeding to this step, ensure all the additional gear such as the camera and lights are removed from the Tilt head and the mounting plates locked in place to prevent sliding.
Untighten the four side knobs of the tilt head element by rotating them counterclockwise, but do not completely unscrew them from the unit.
Fold the Tilt by gently lifting it by the side handles and letting it fully fold down while holding the handles.
In case the Tilt head box is preventing the Tilt from folding fully – gently rotate it upwards by hand.
Finally, fully tighten 4 side knobs.
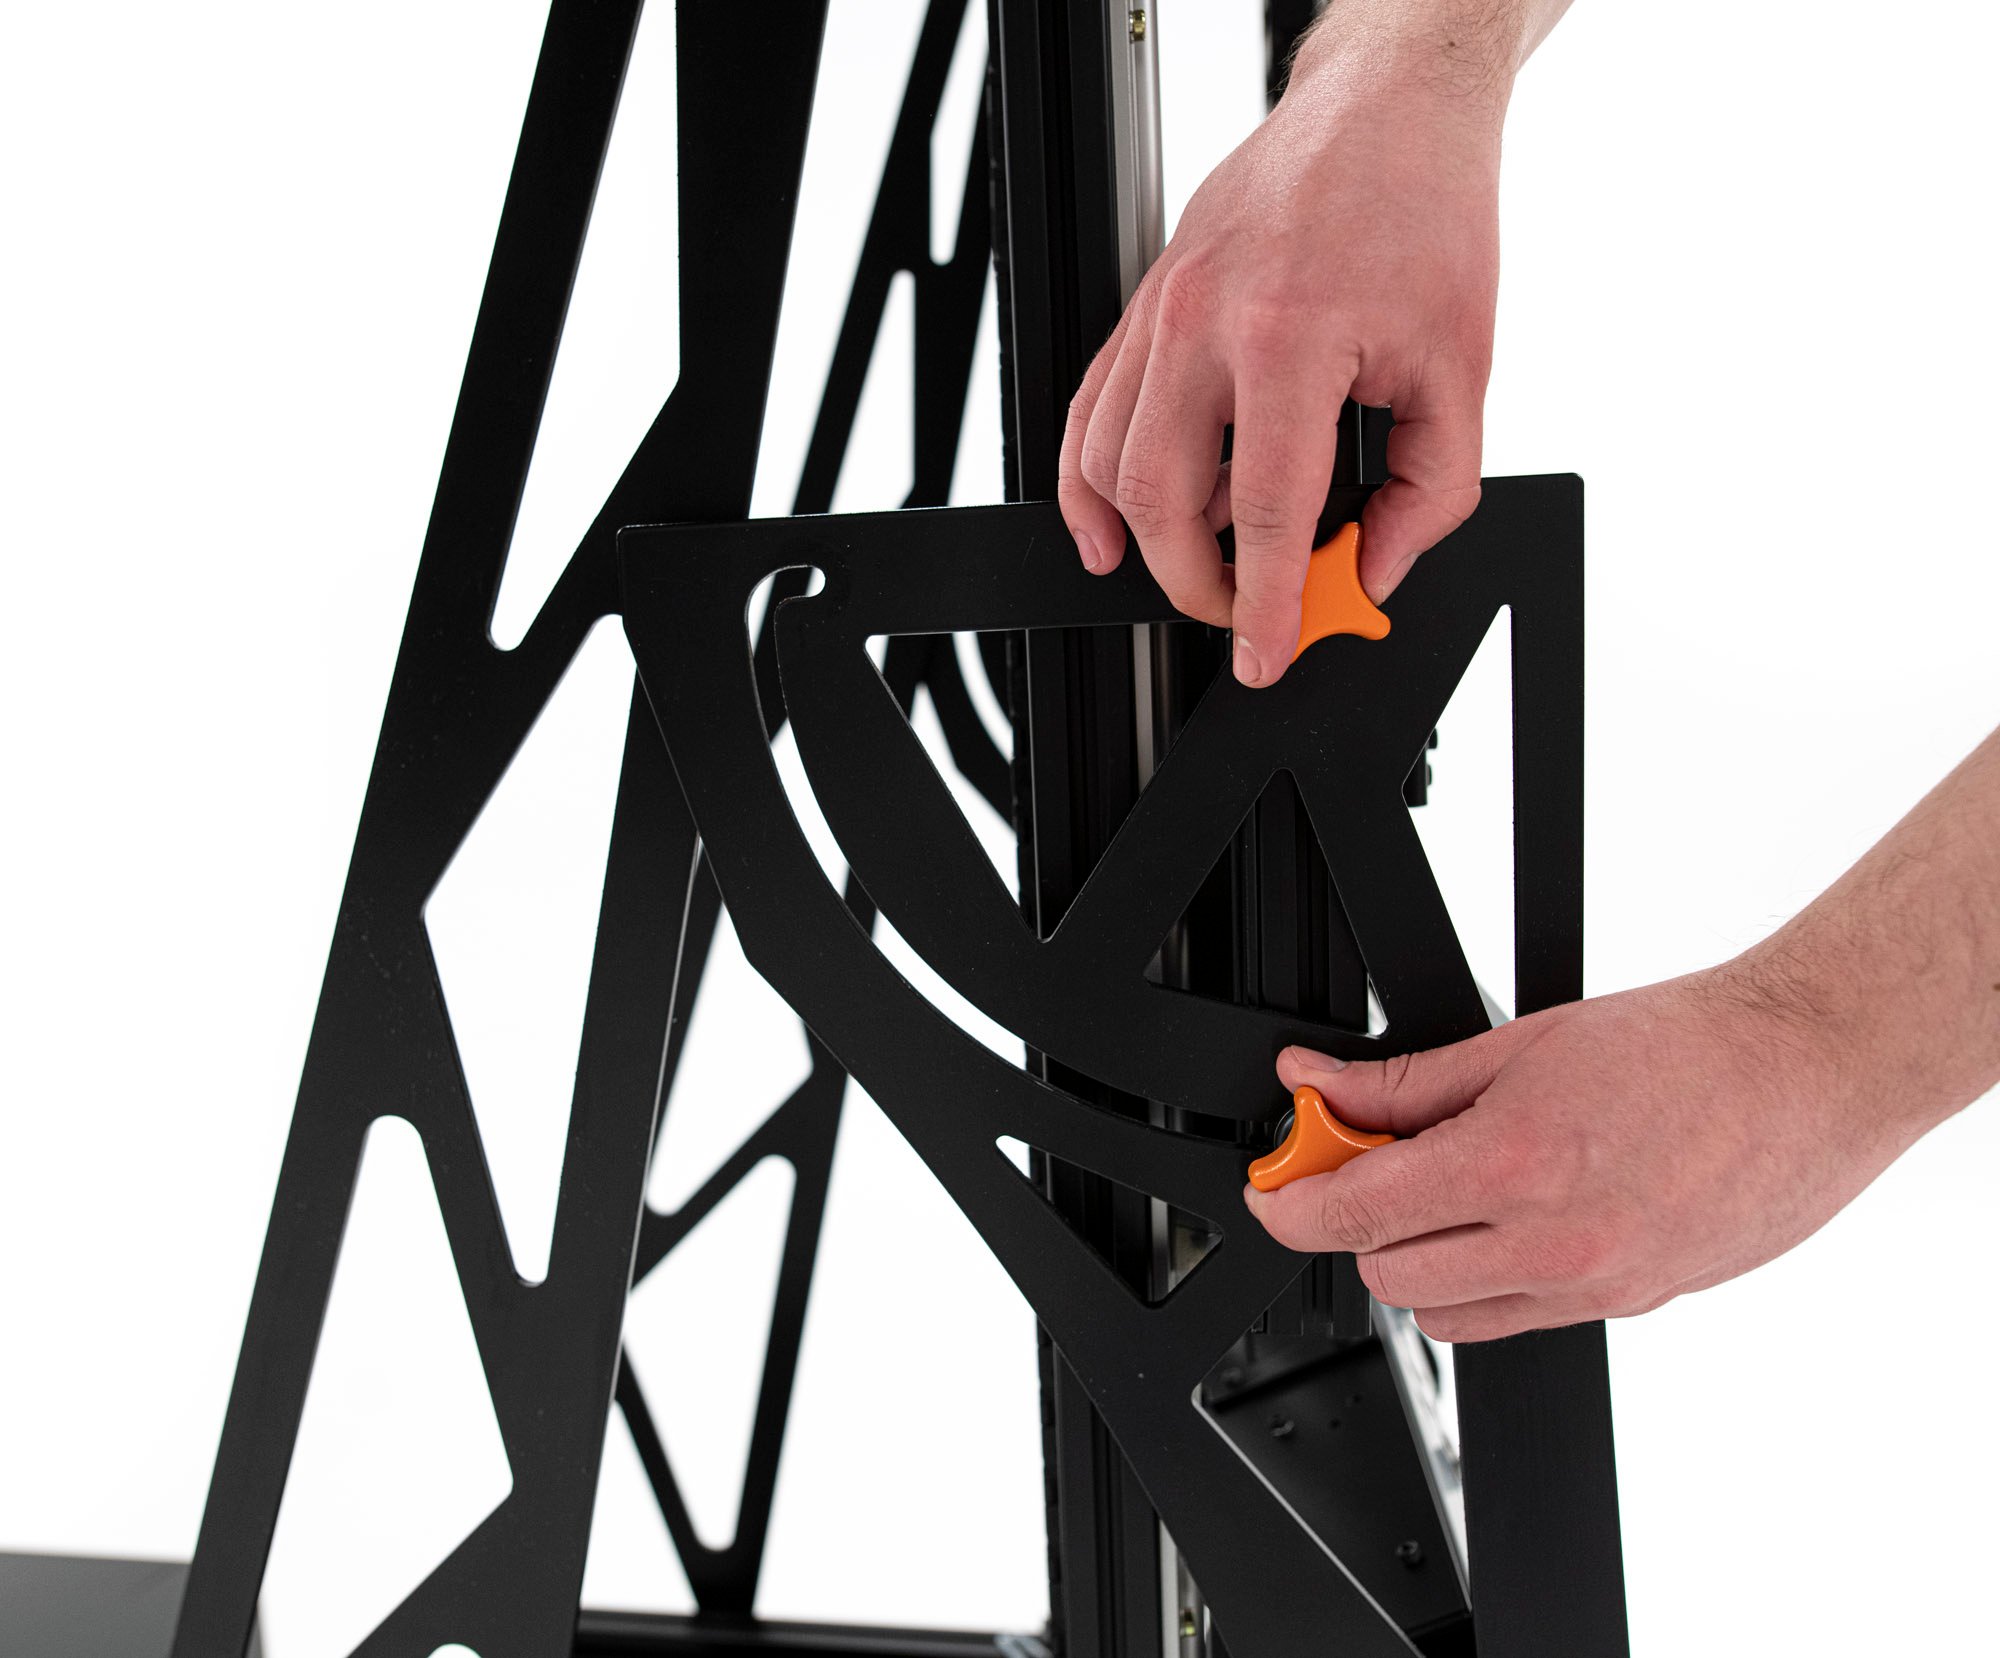
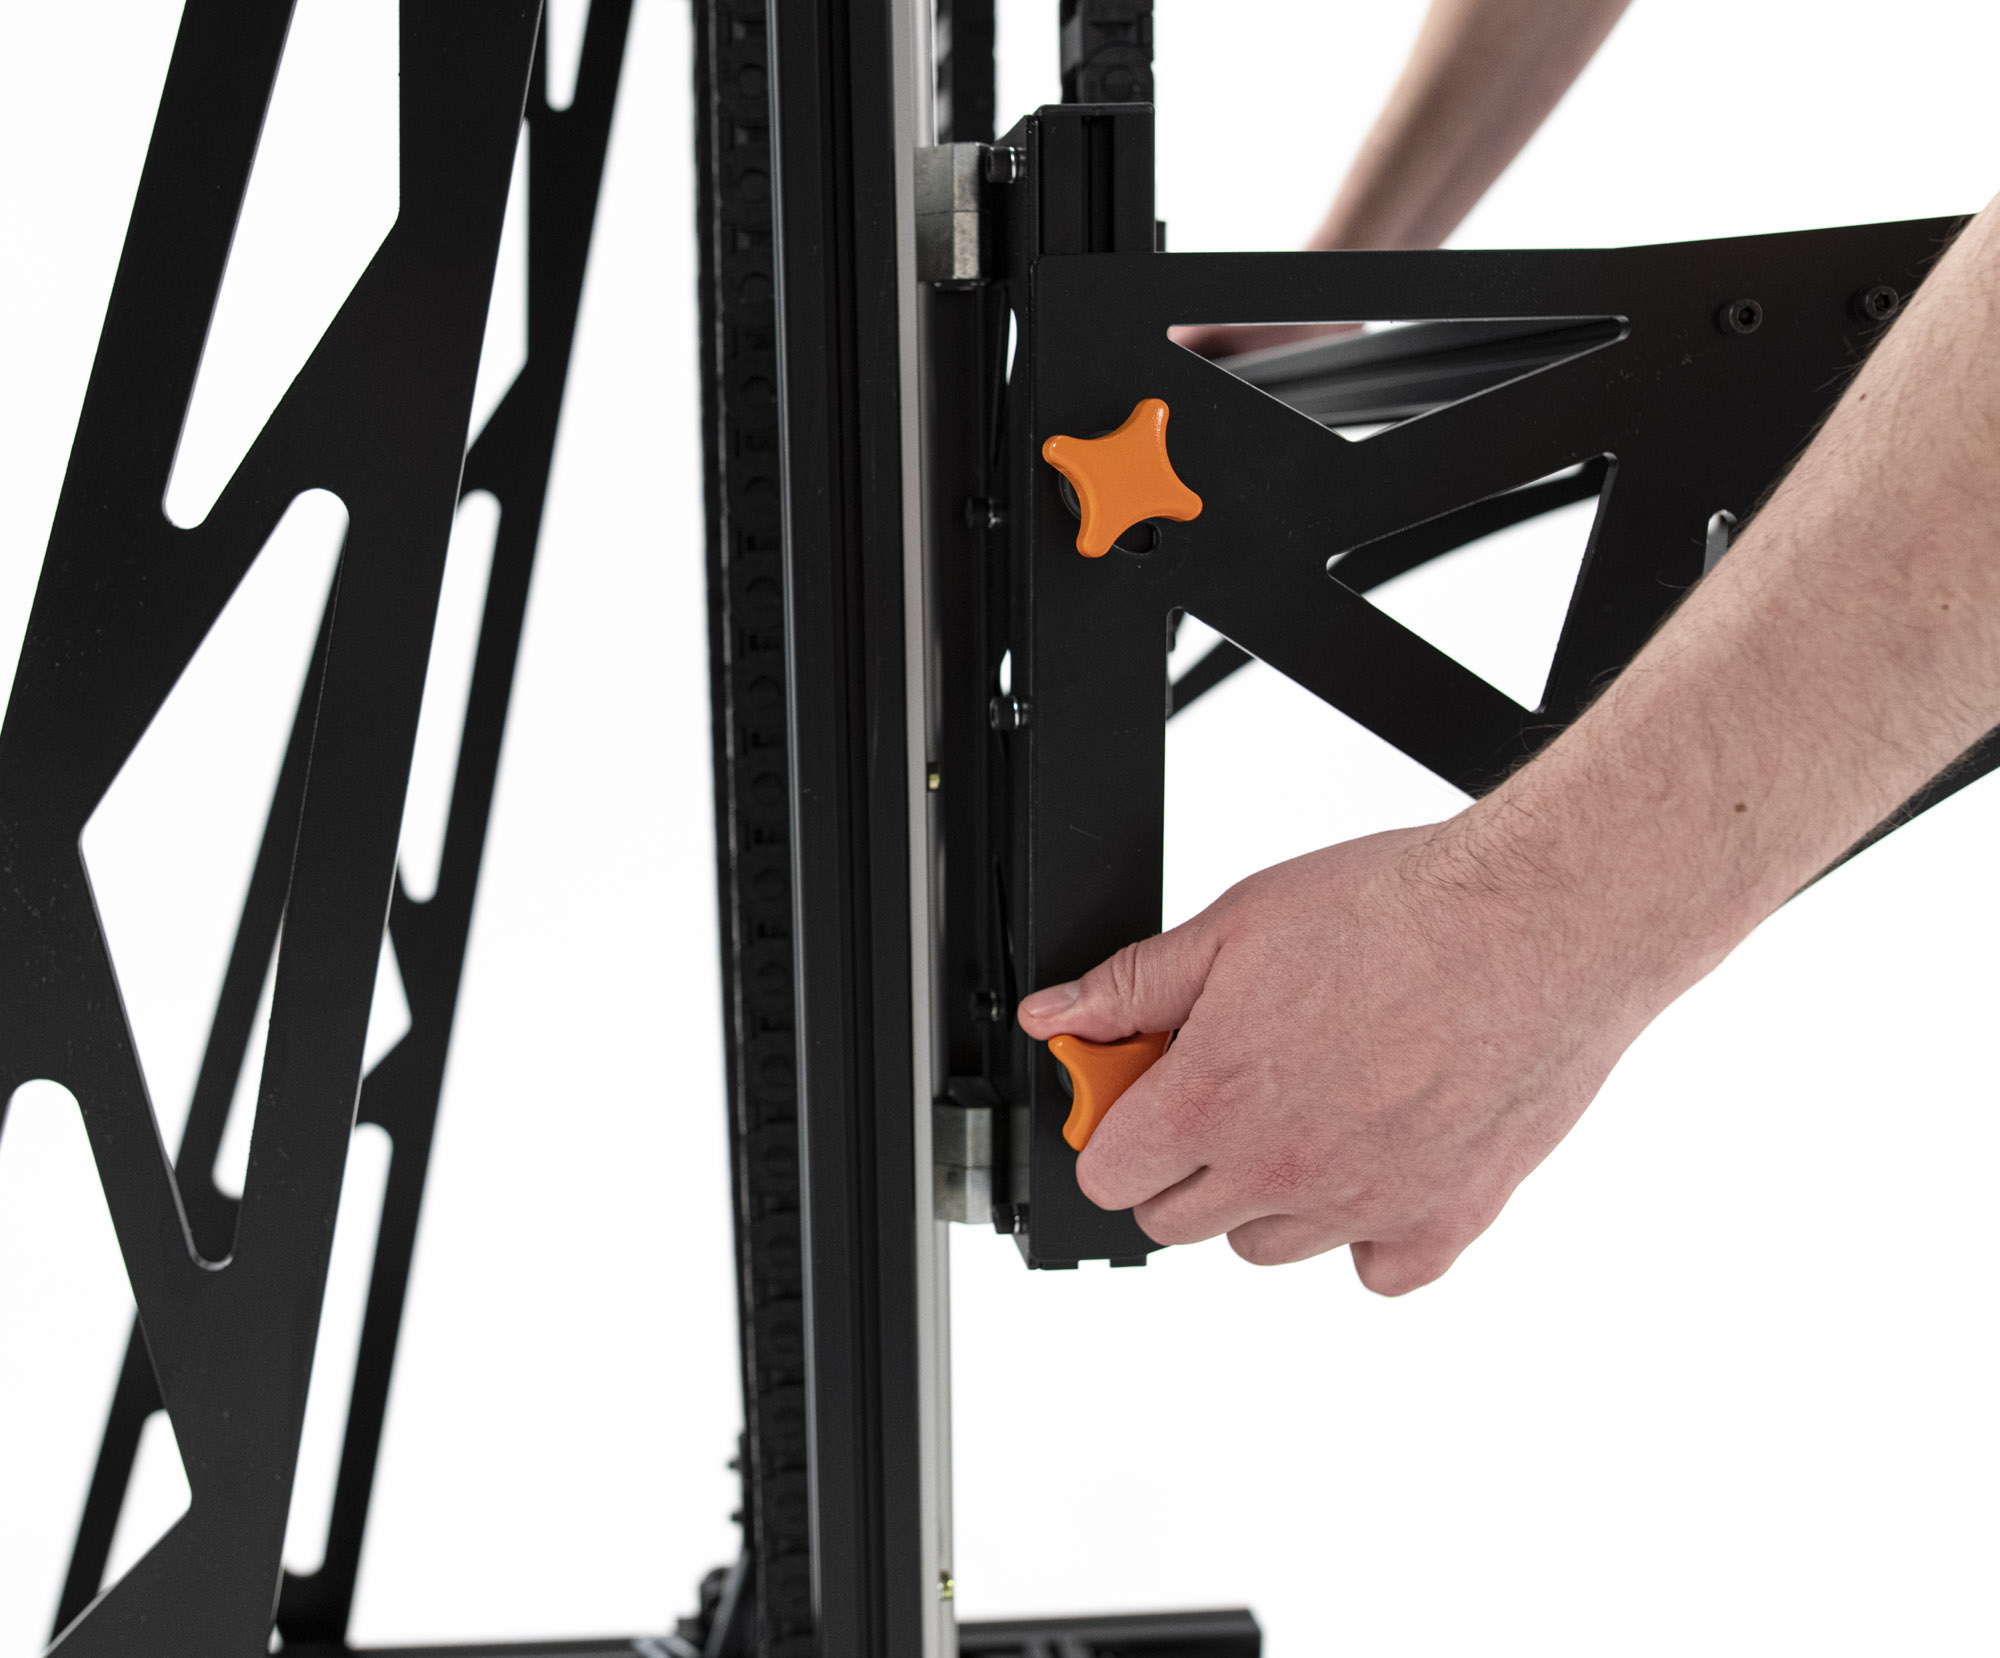
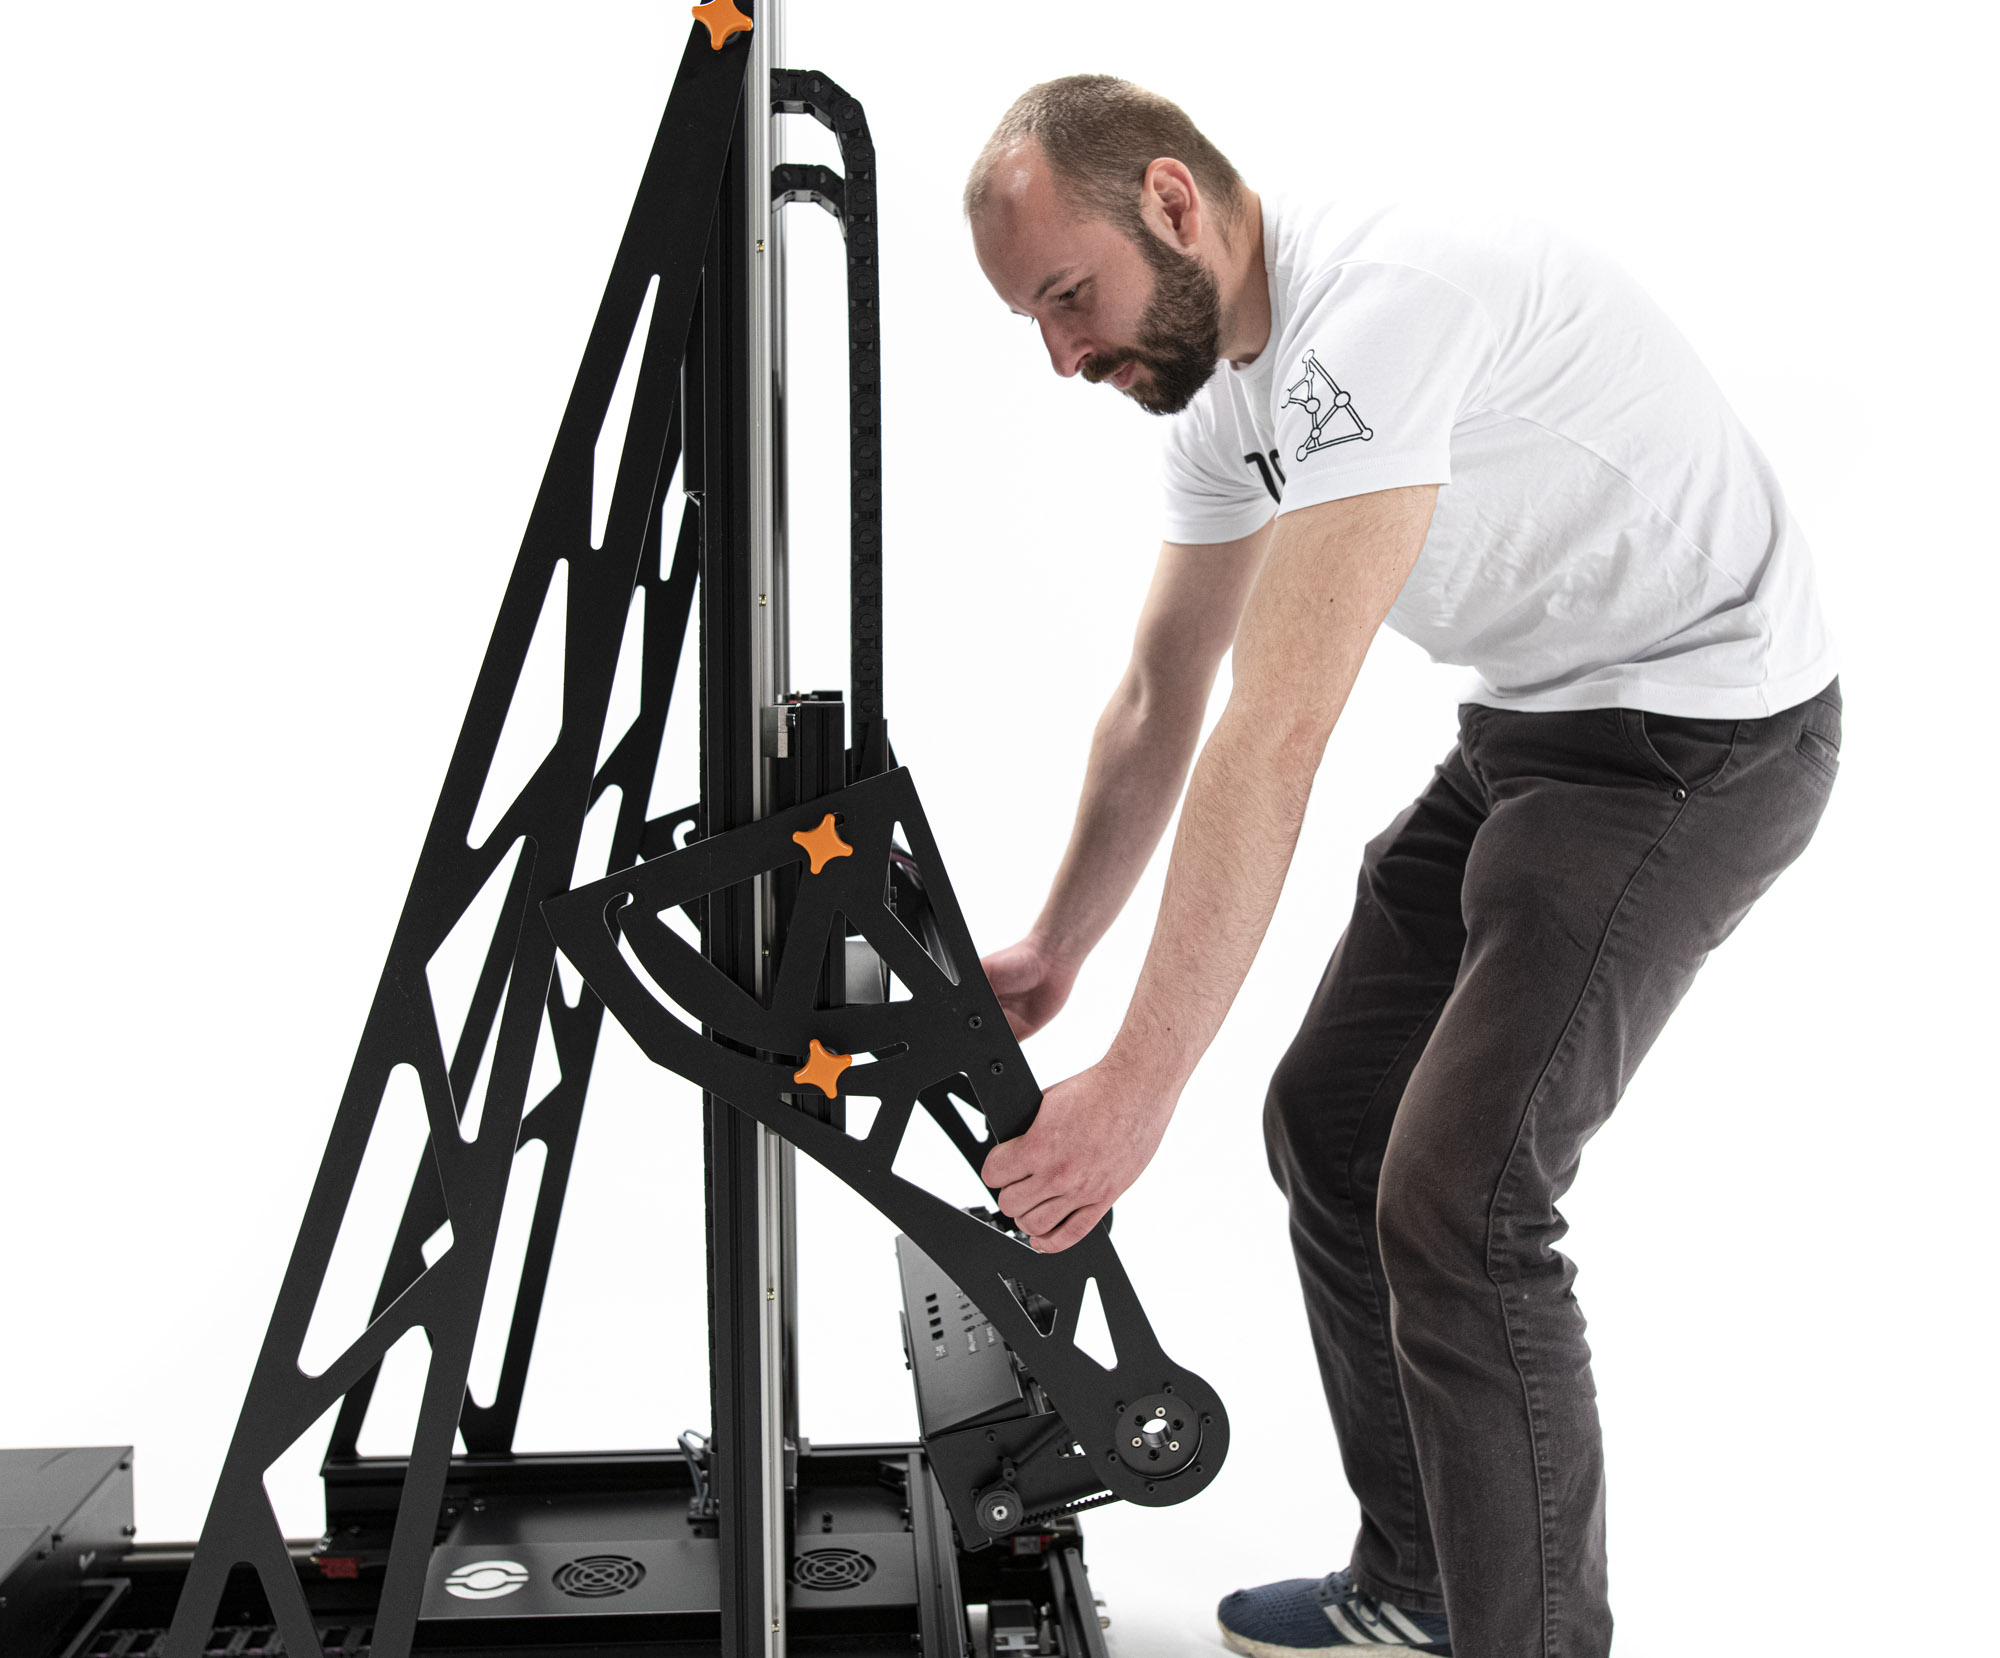
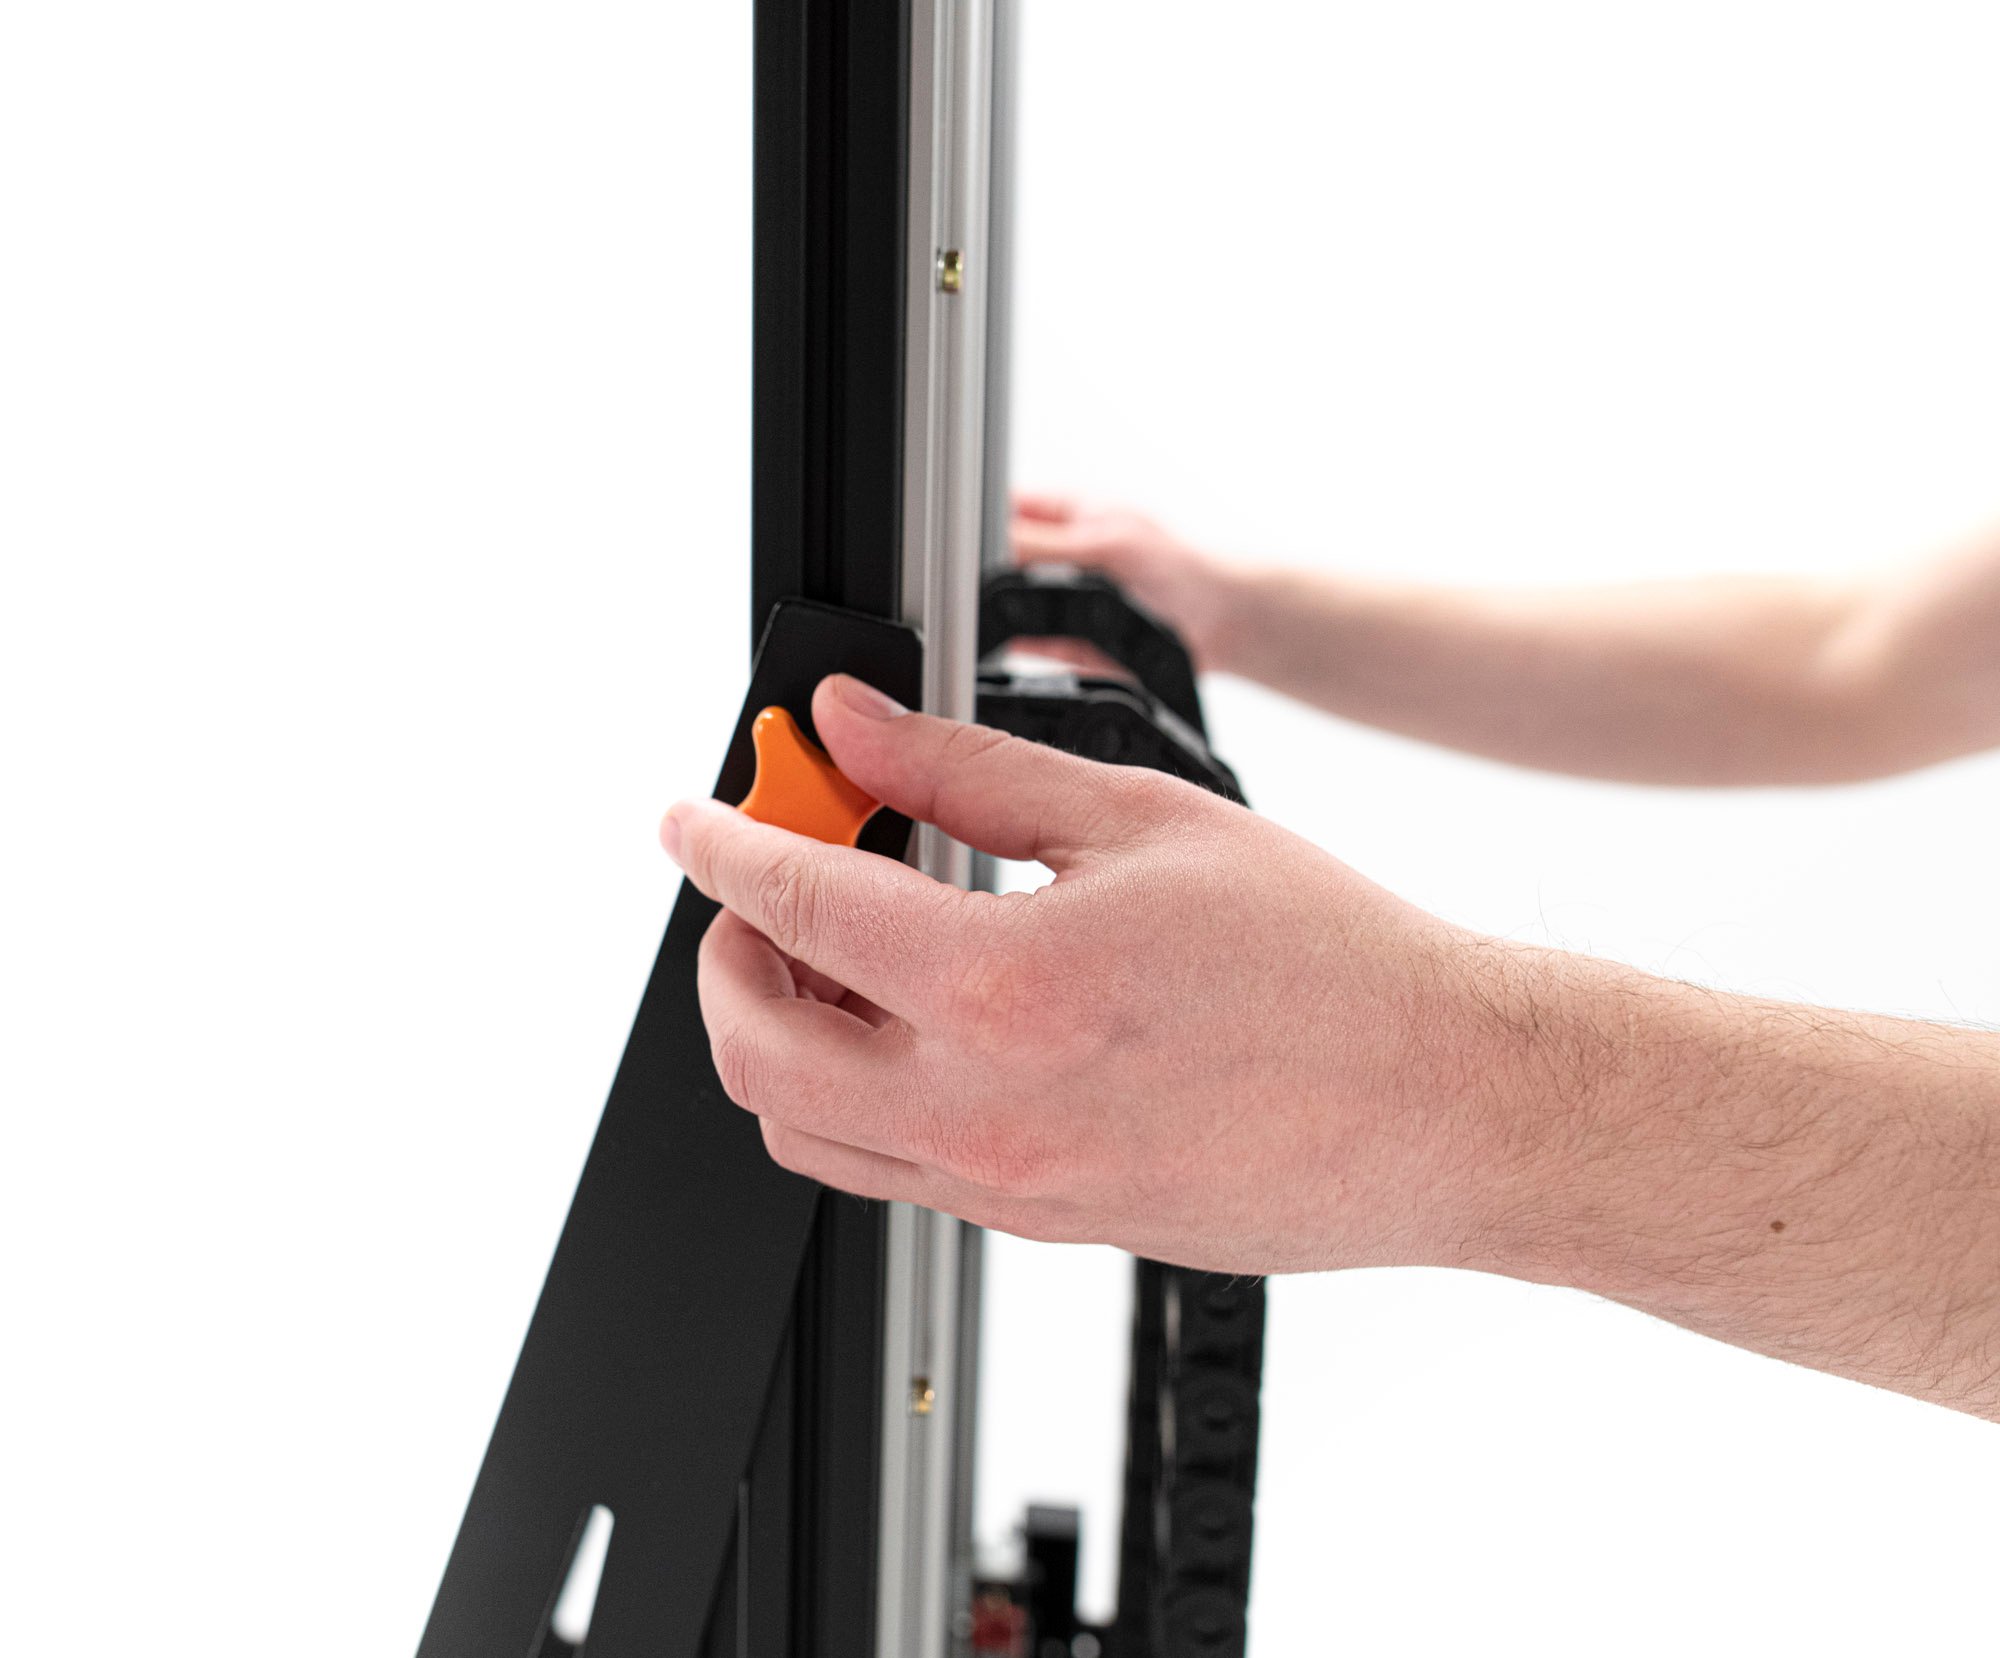
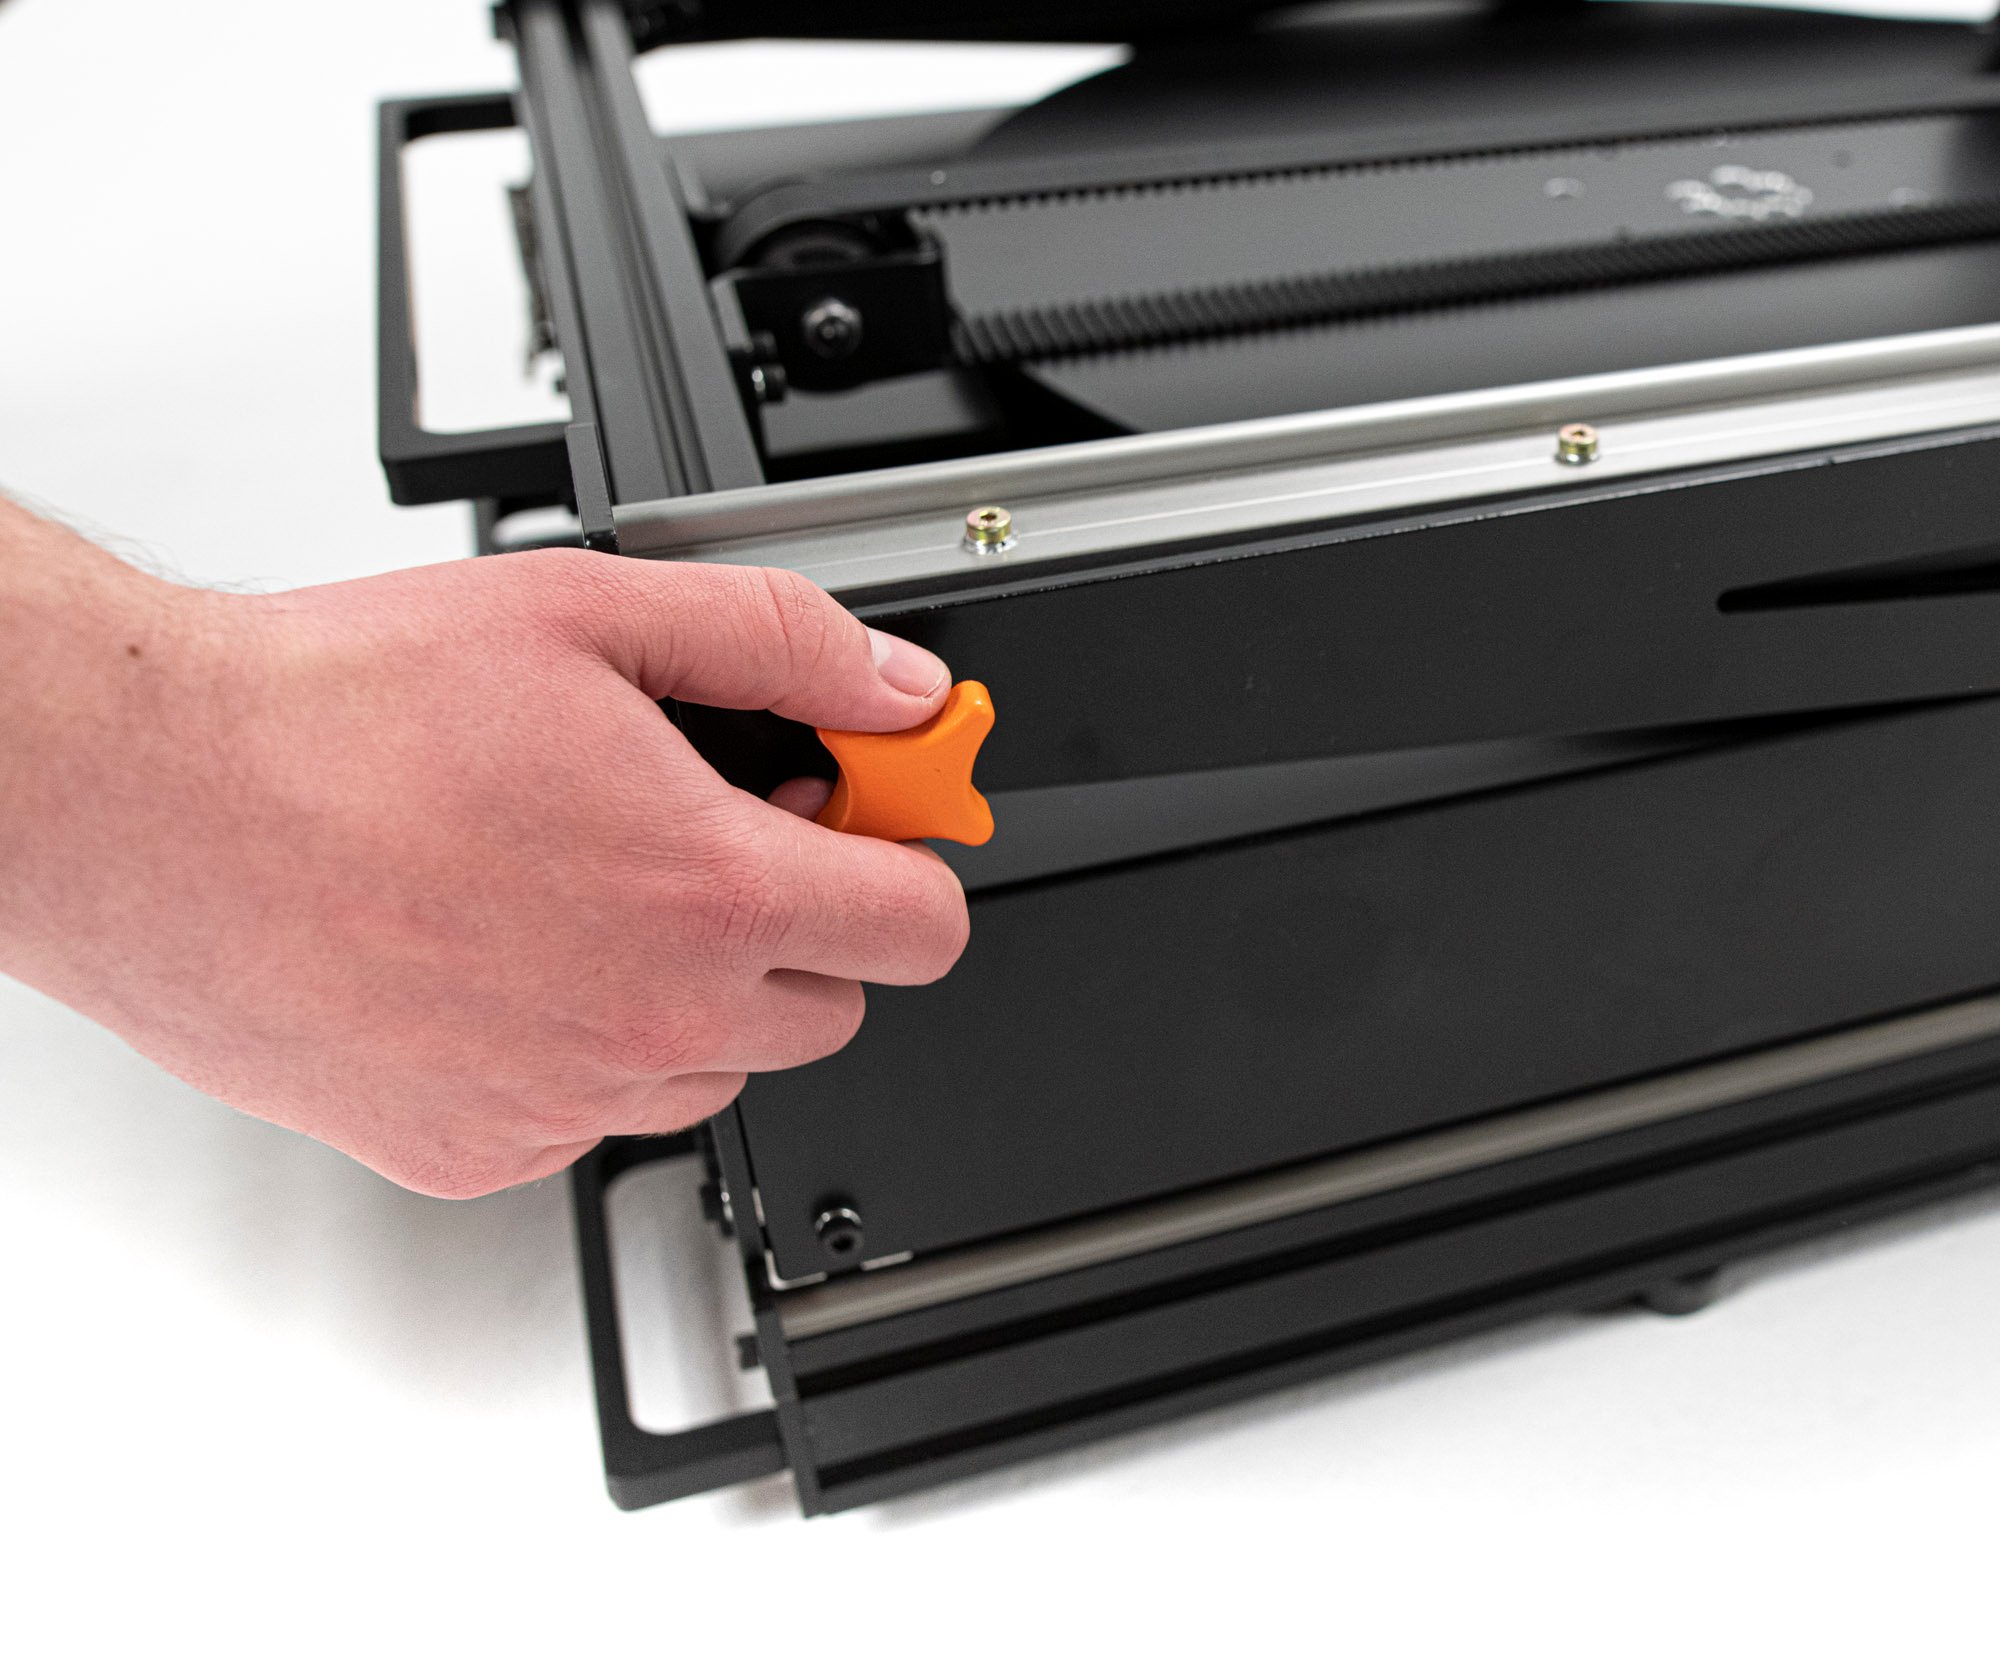
5. Fold Arago
Loosen the two knobs located on each side of Arago’s vertical (Y) component. Turn the knobs counterclockwise to release, but do not completely unscrew them from the unit.
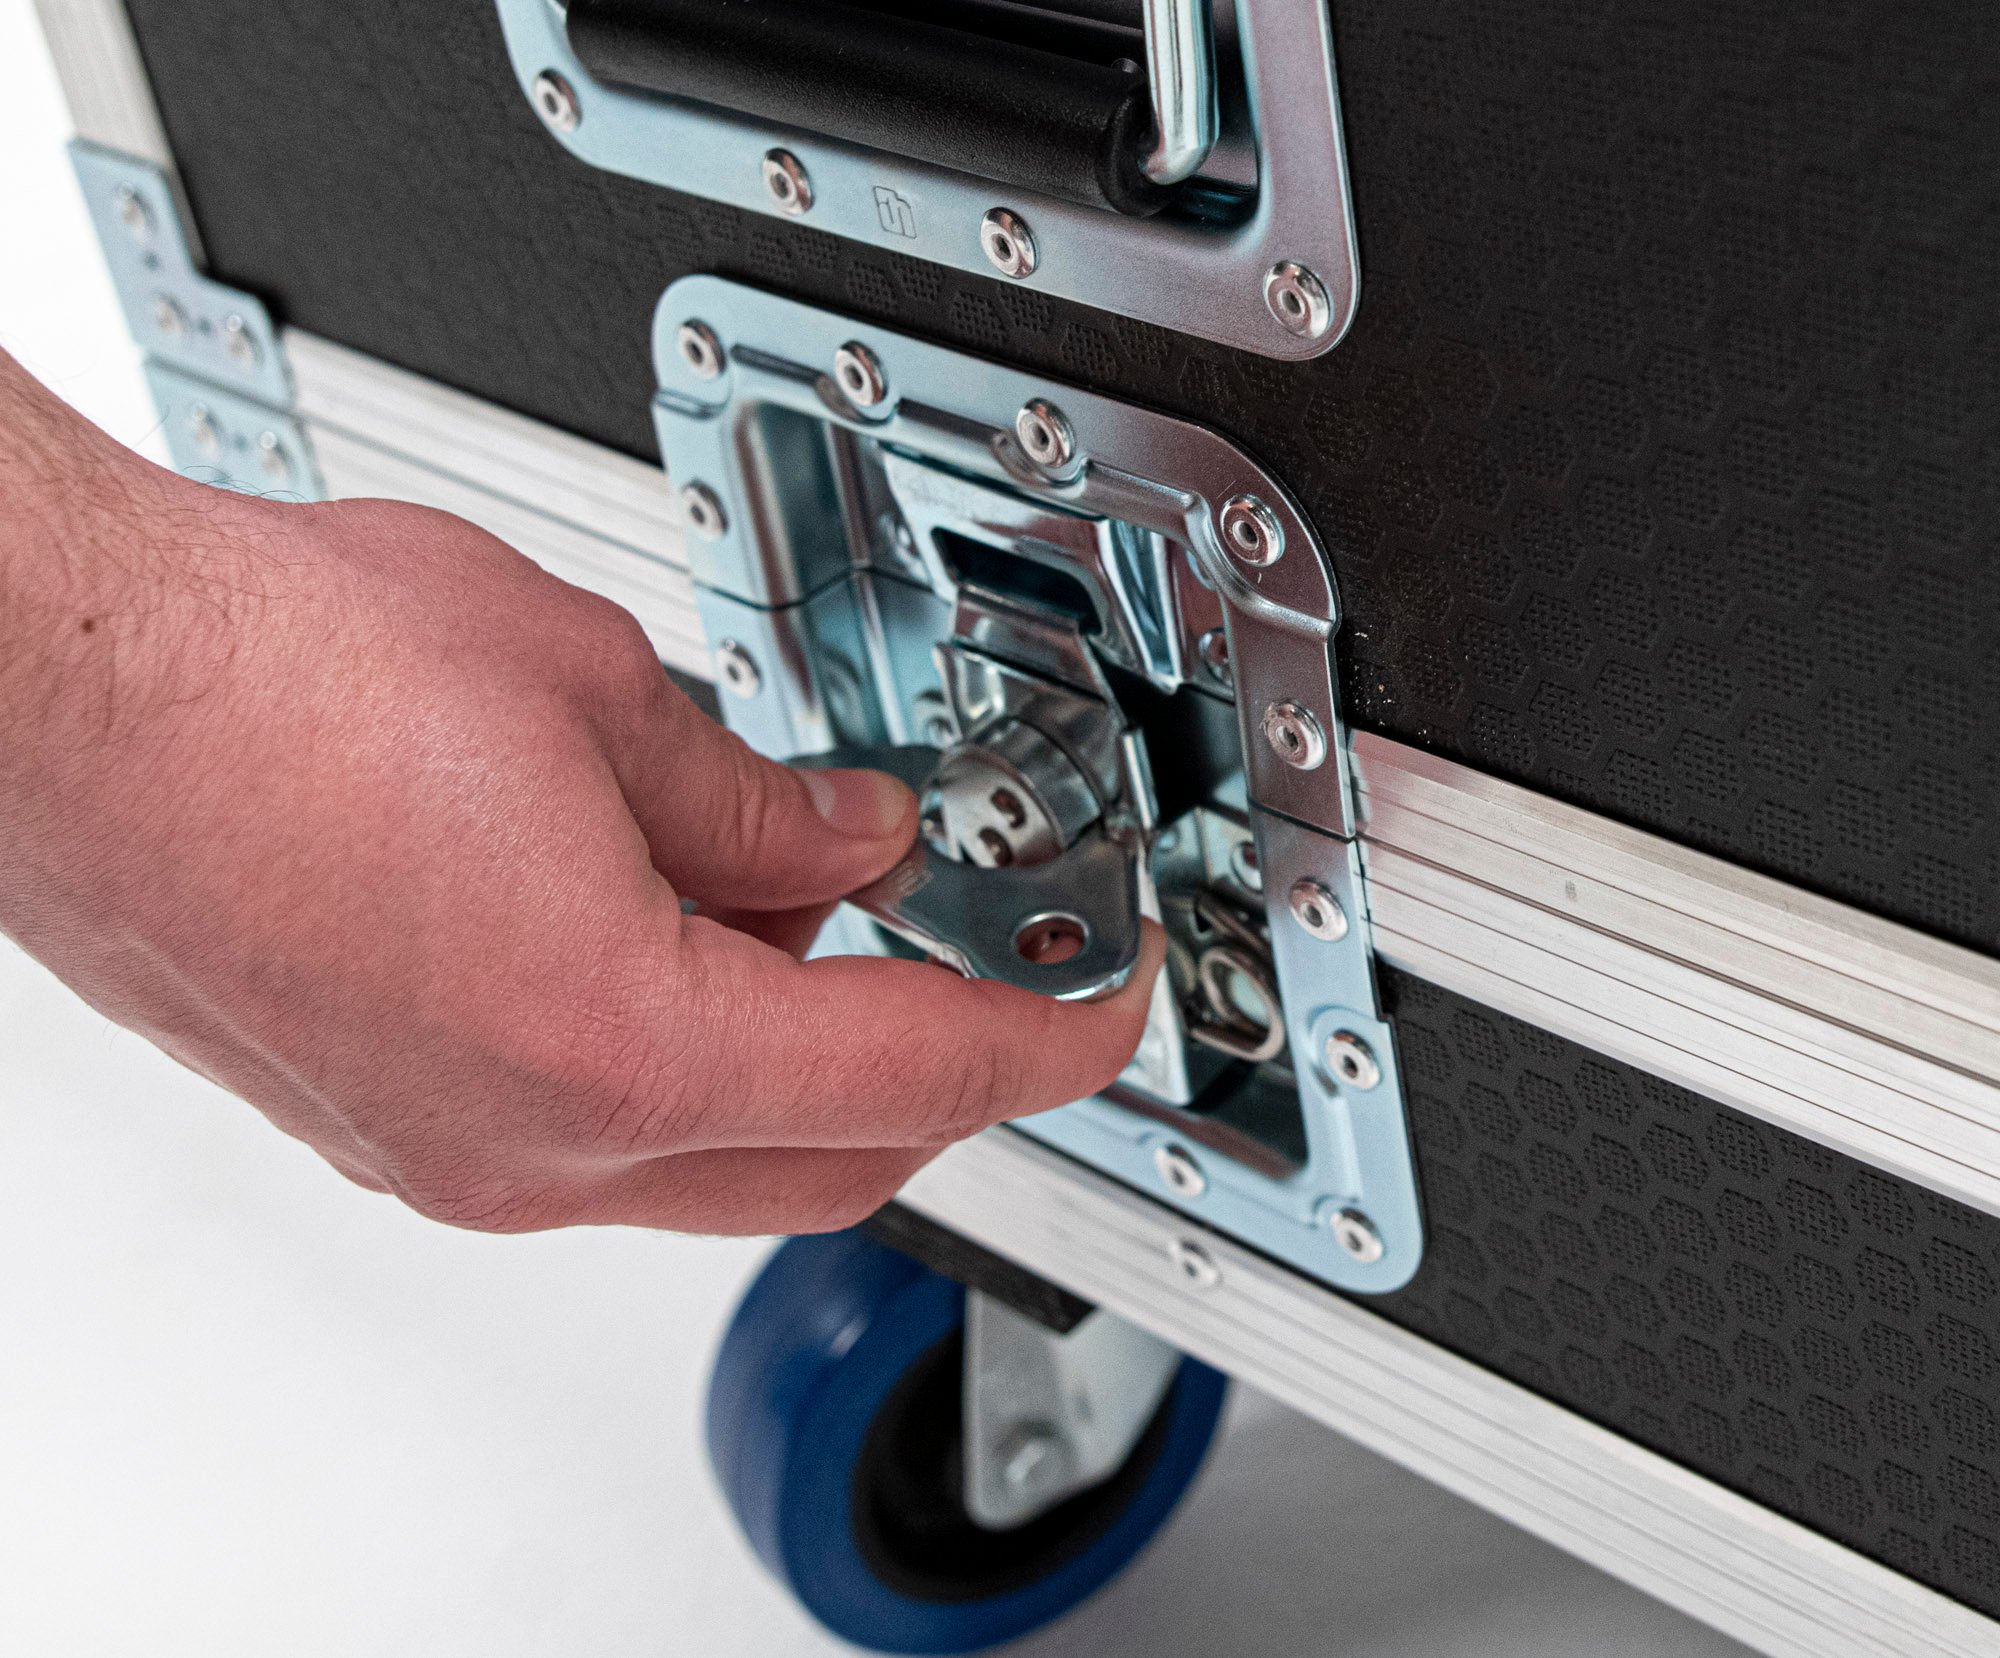
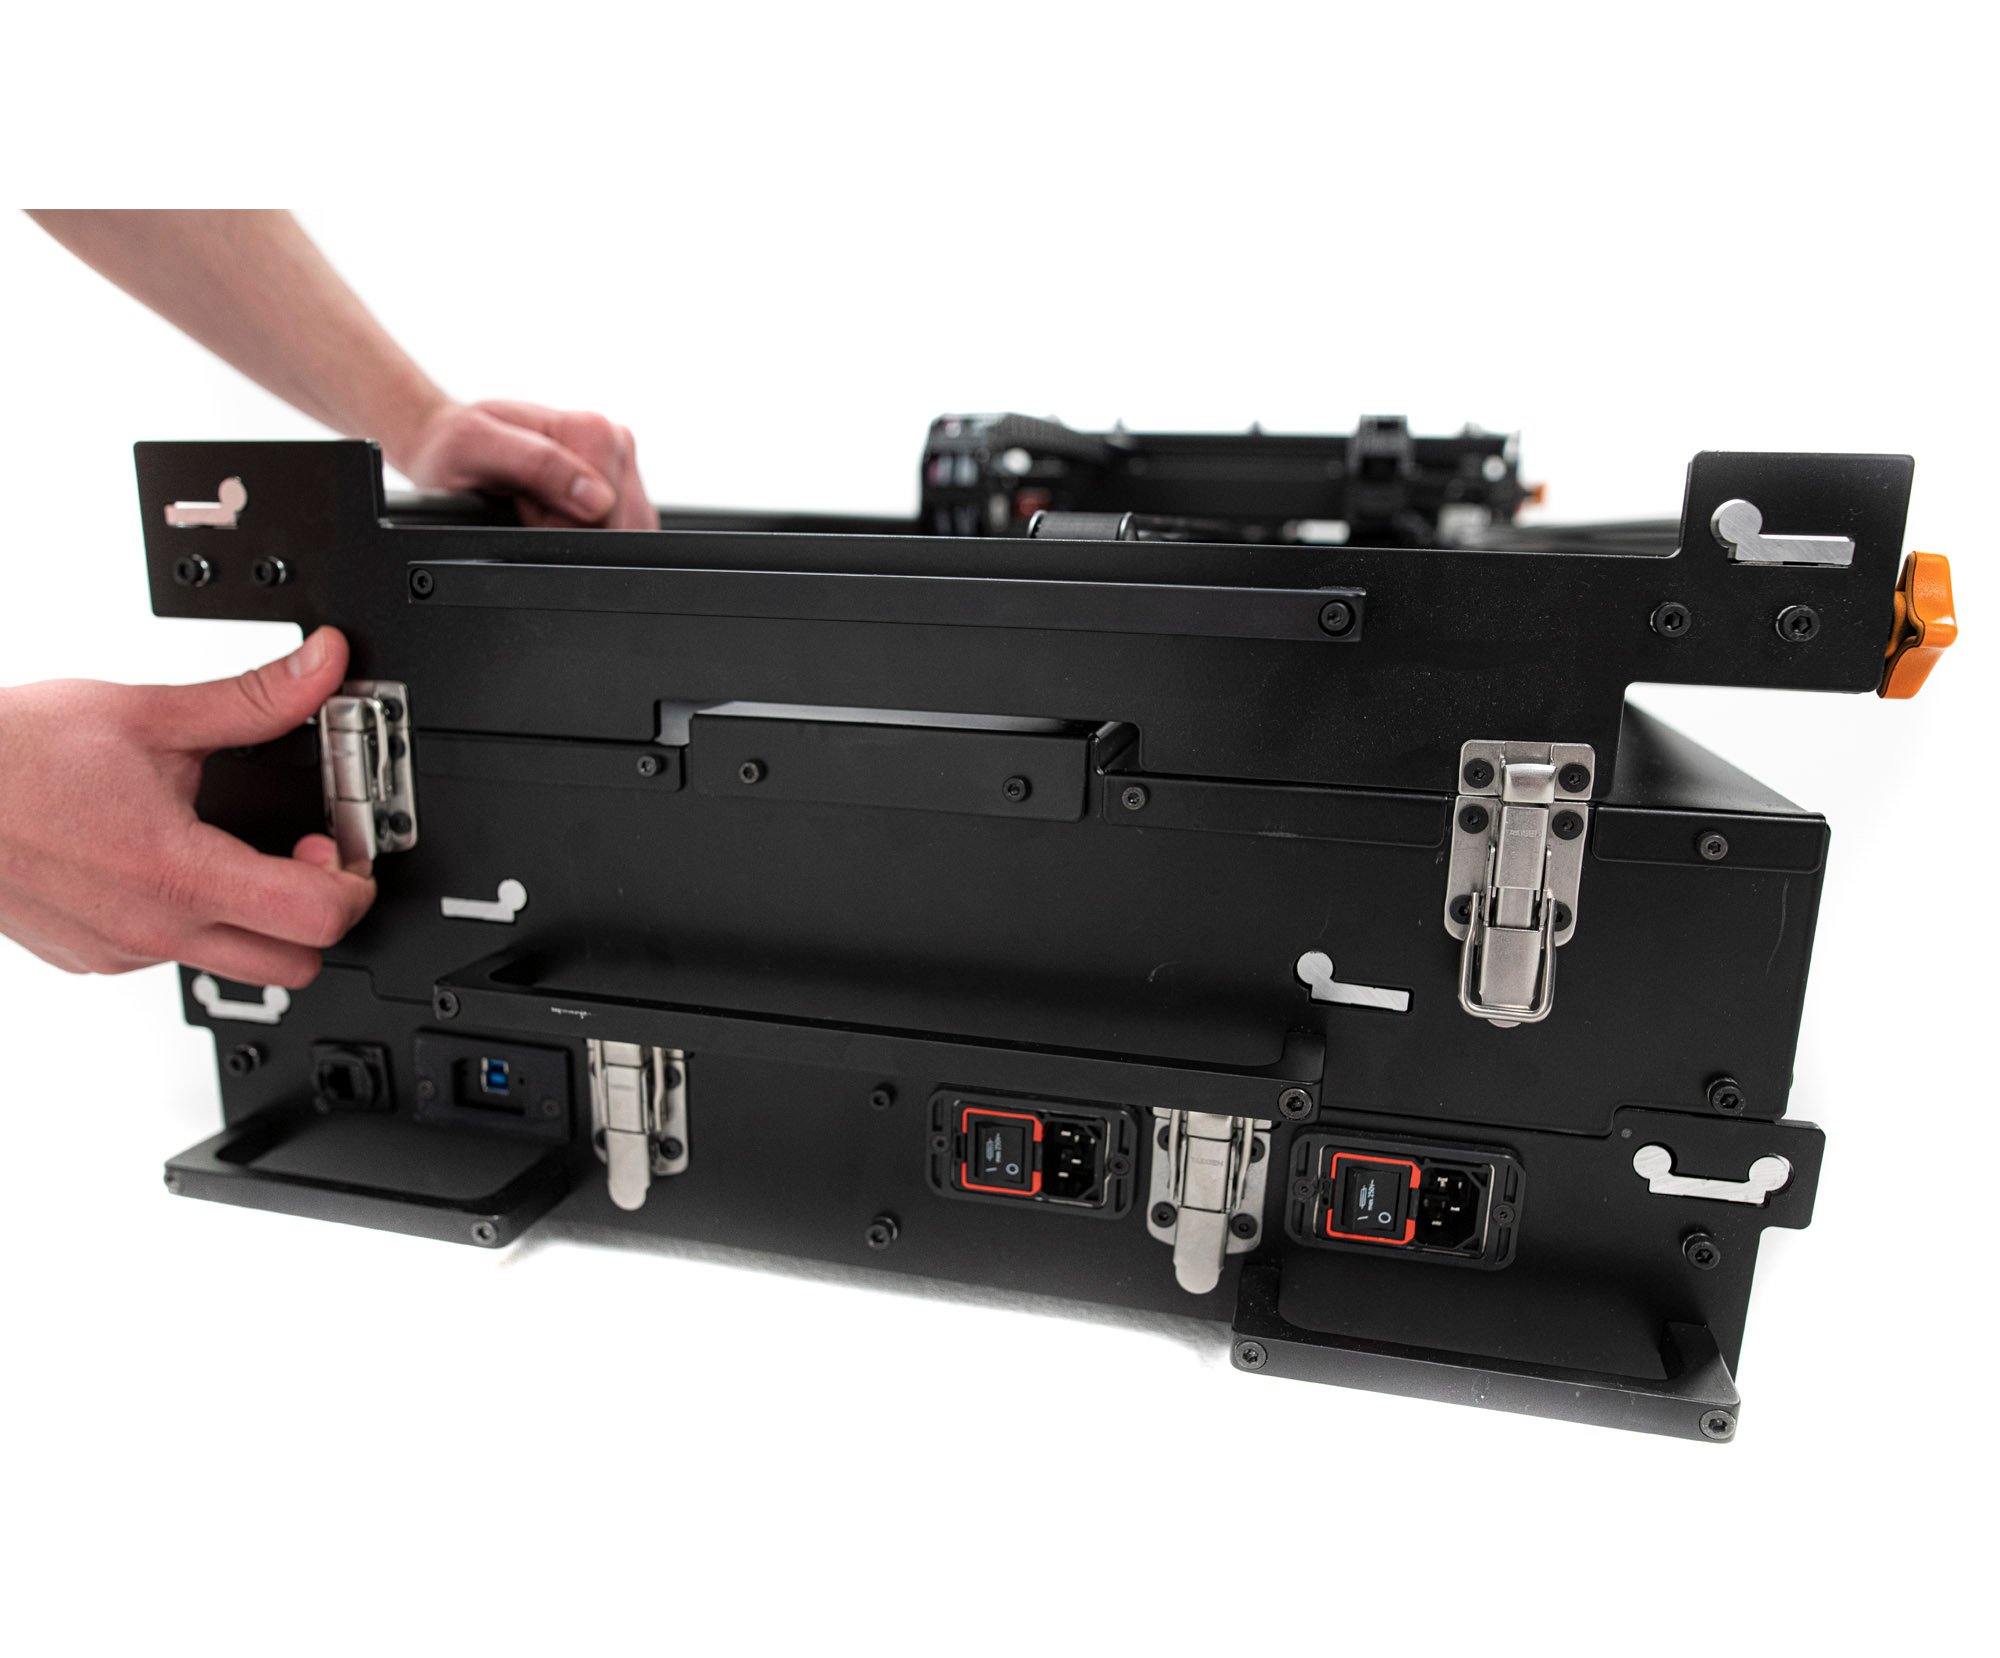
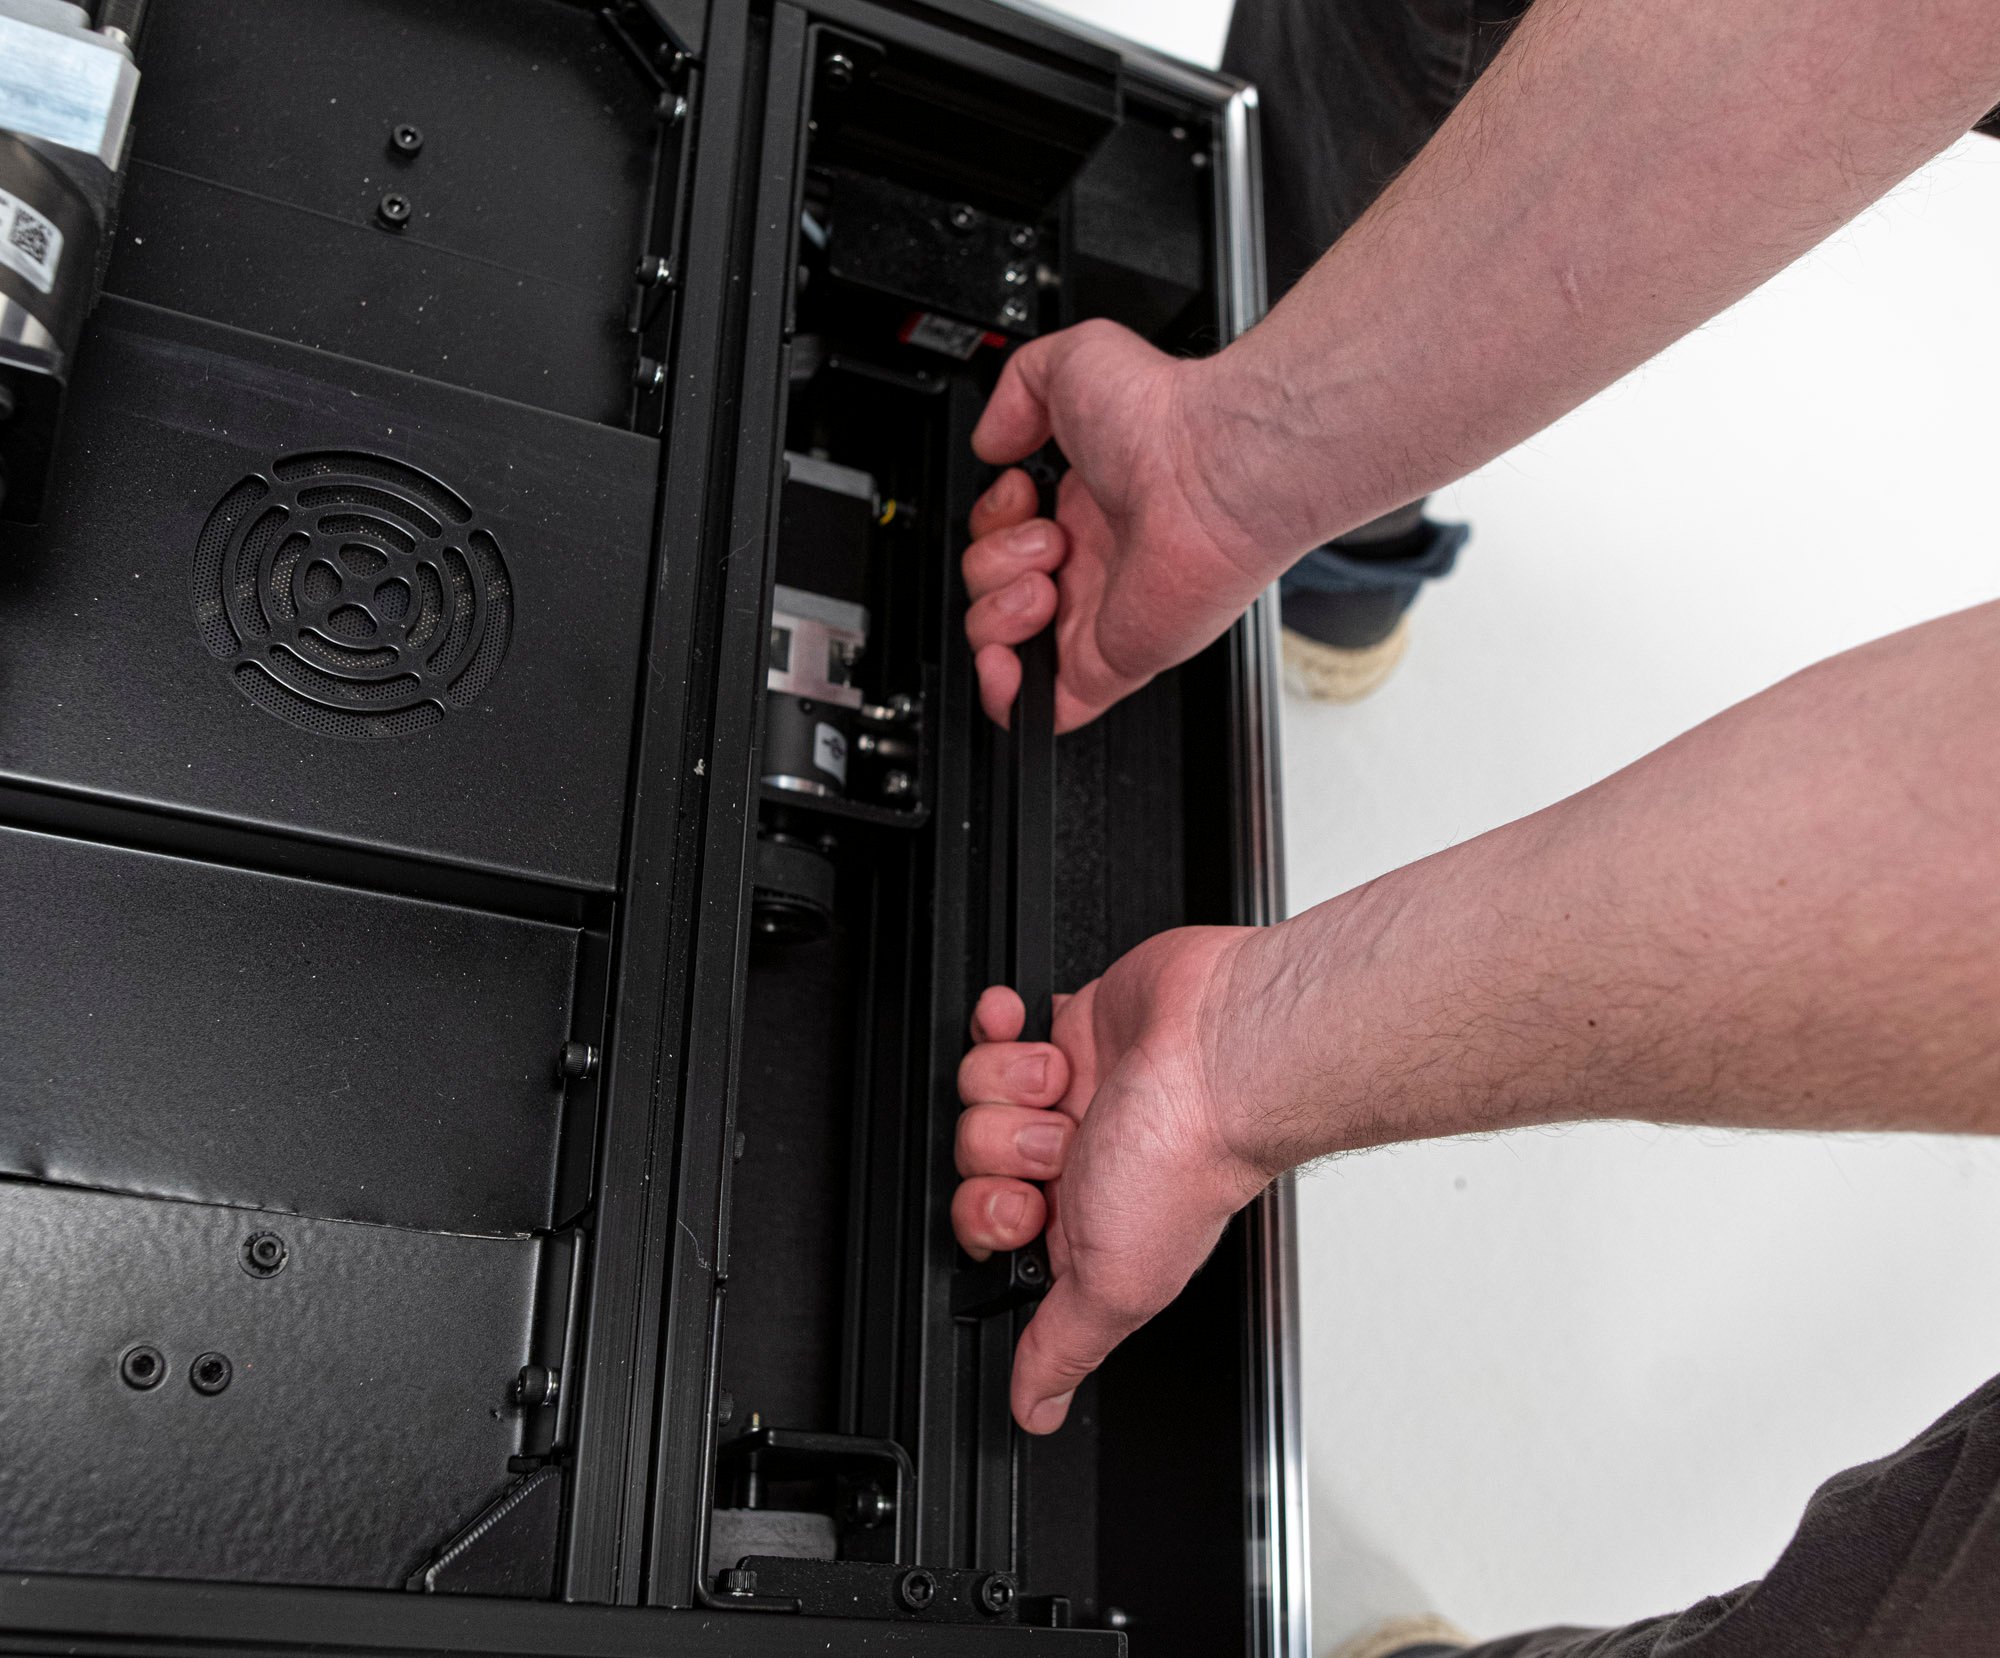
6. Lock the Latches
Fully lock all 4 latches located in the back of the unit as illustrated.
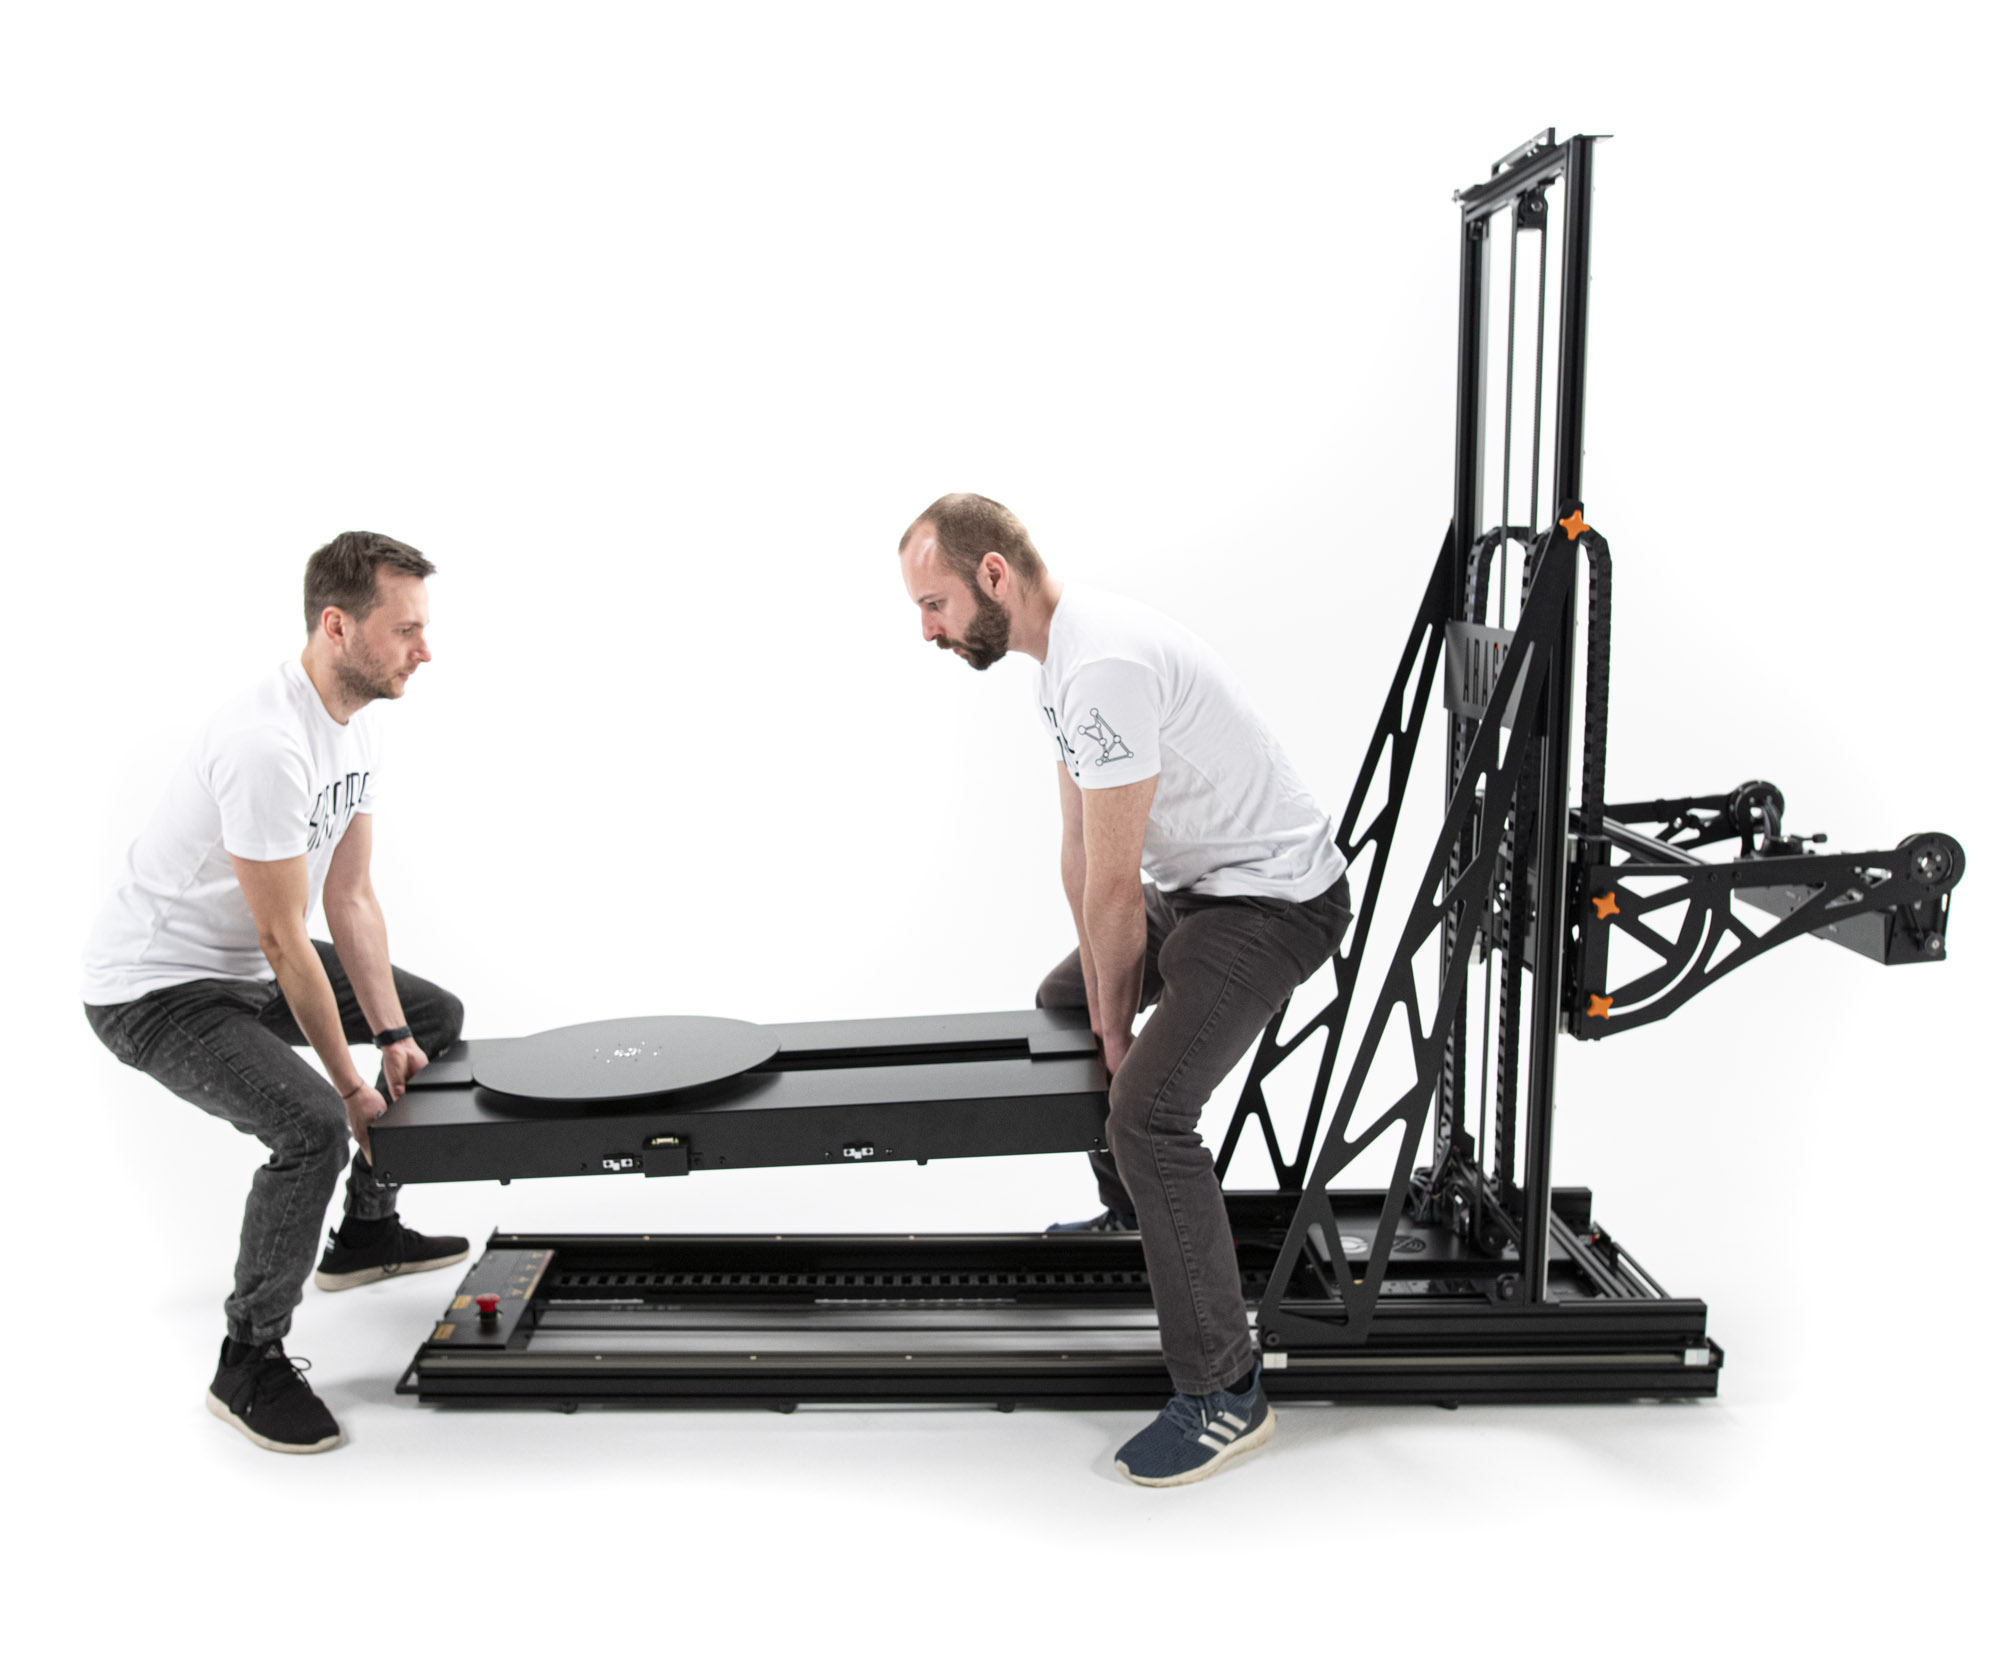
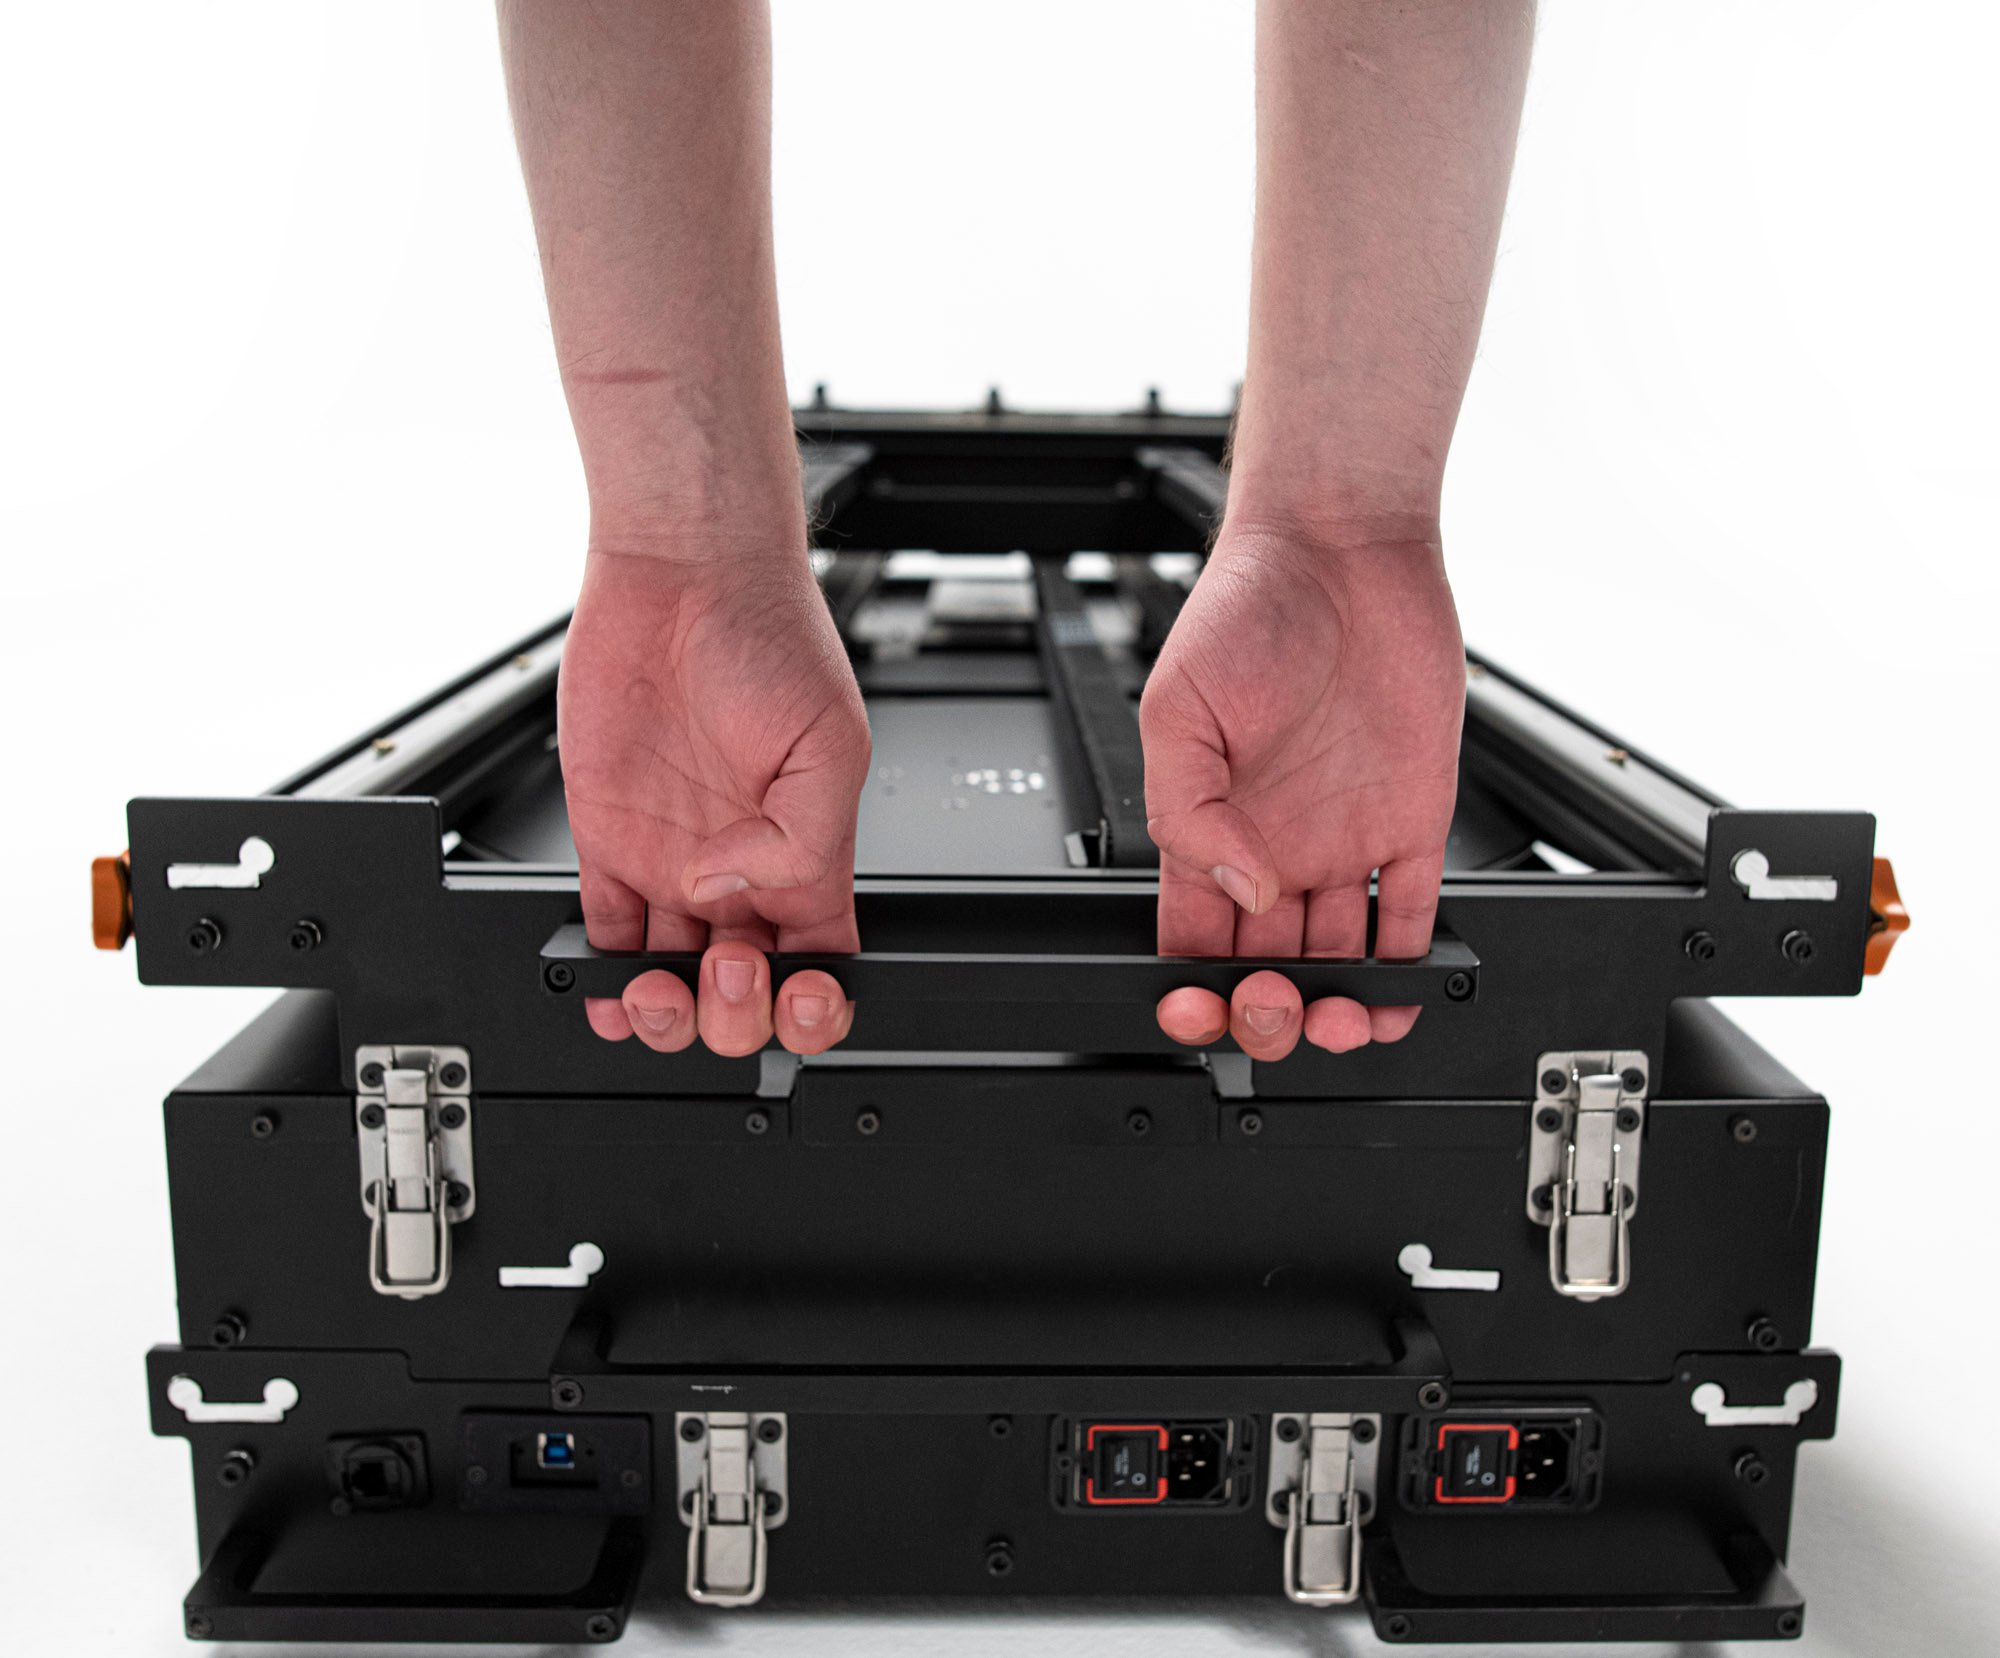
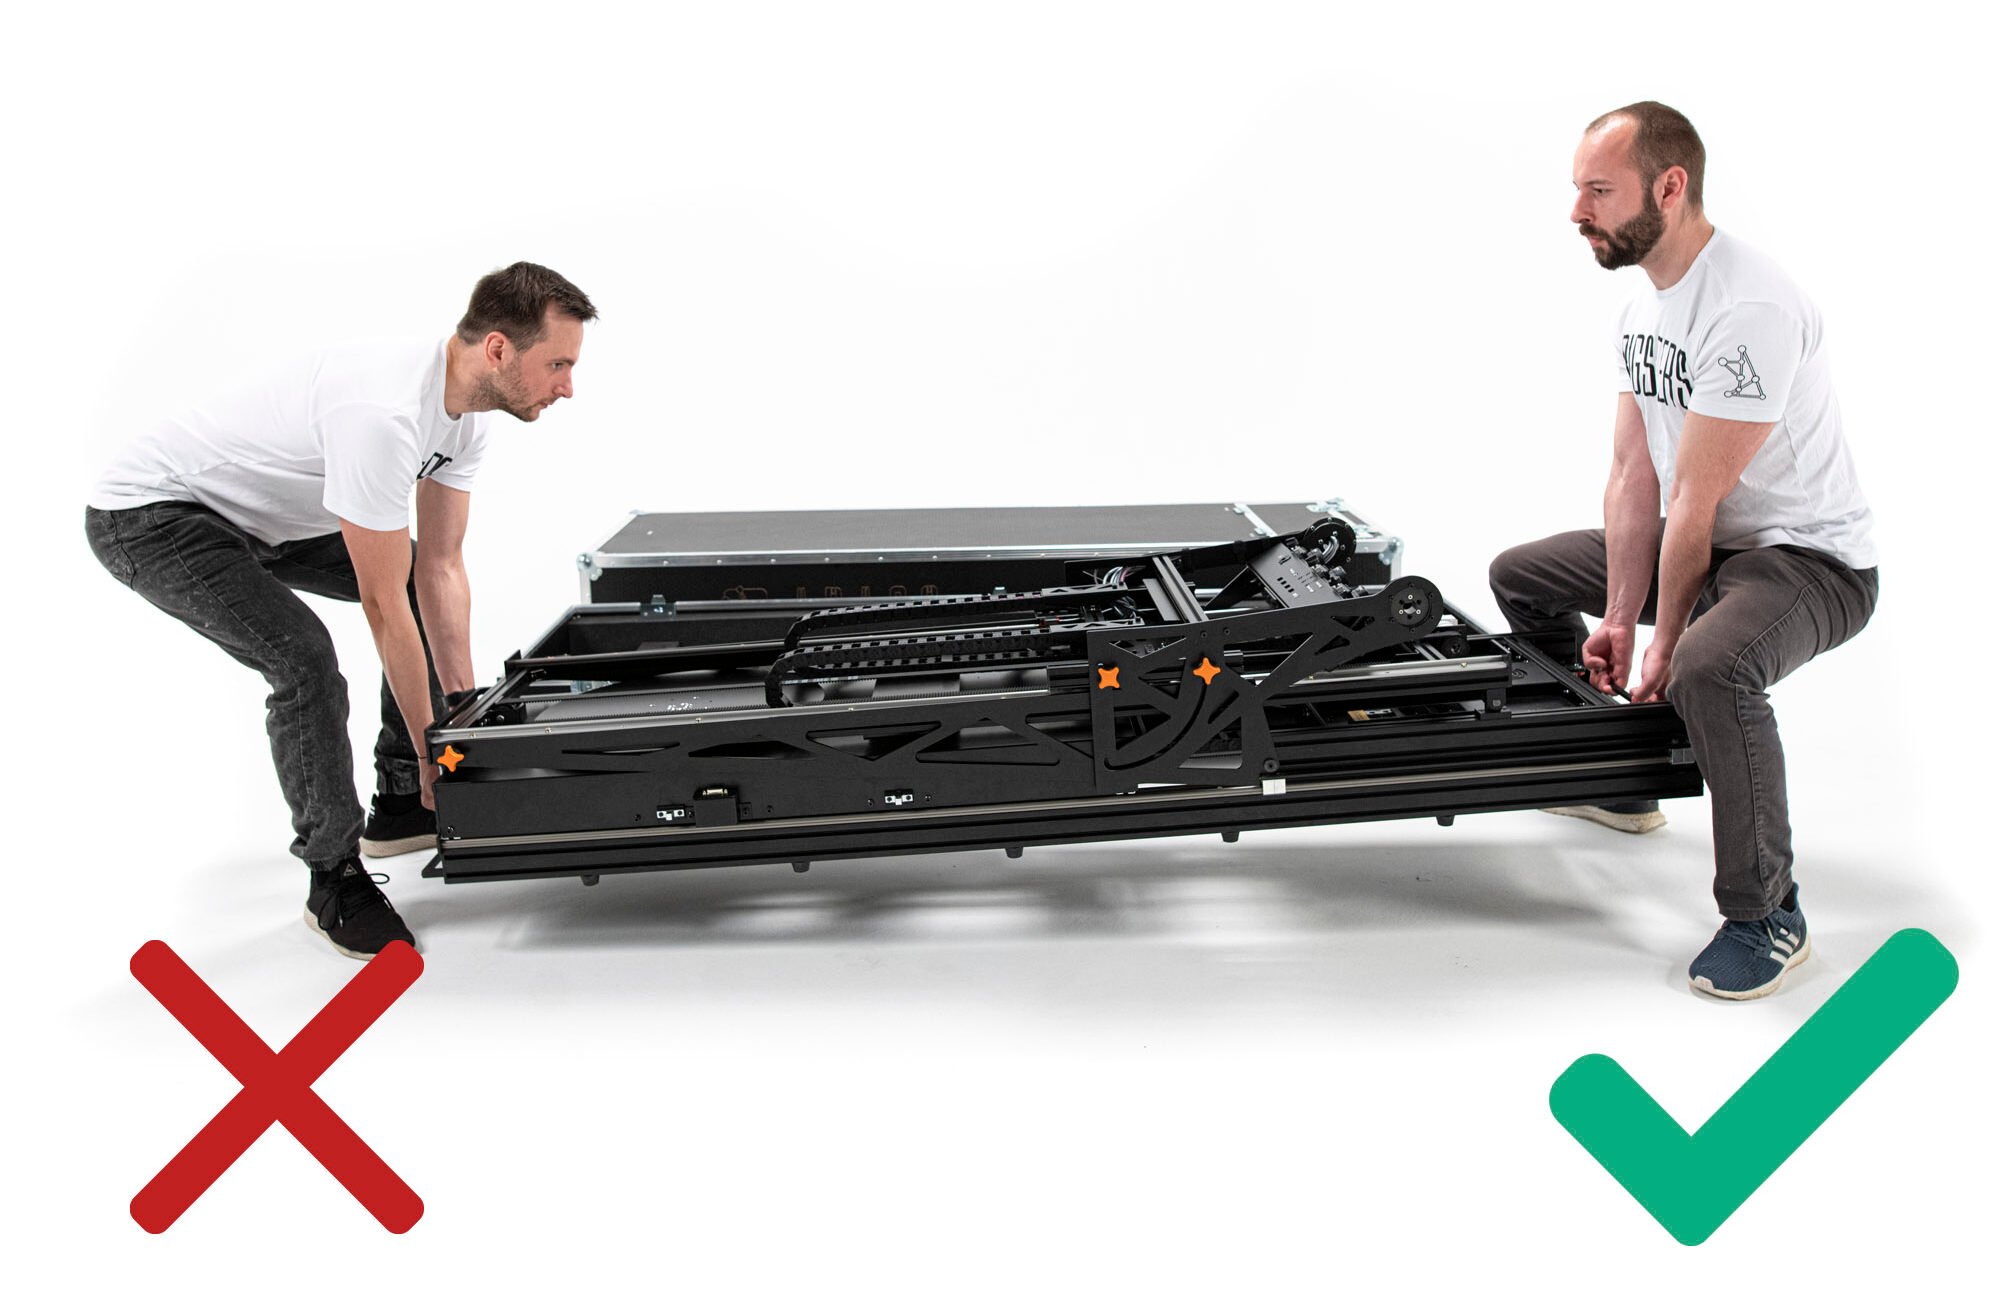
7. Place Arago in the Case
Make sure the case is placed on an even solid surface close to the folded Arago unit and that all 6-wheel brakes are locked.
Placing the Arago unit into the case must be performed by two authorised persons. The unit must be lifted from the floor only by the designated handles at the ends of the system as illustrated.
Due to the weight of the unit, operators must keep their backs straight and lift simultaneously.
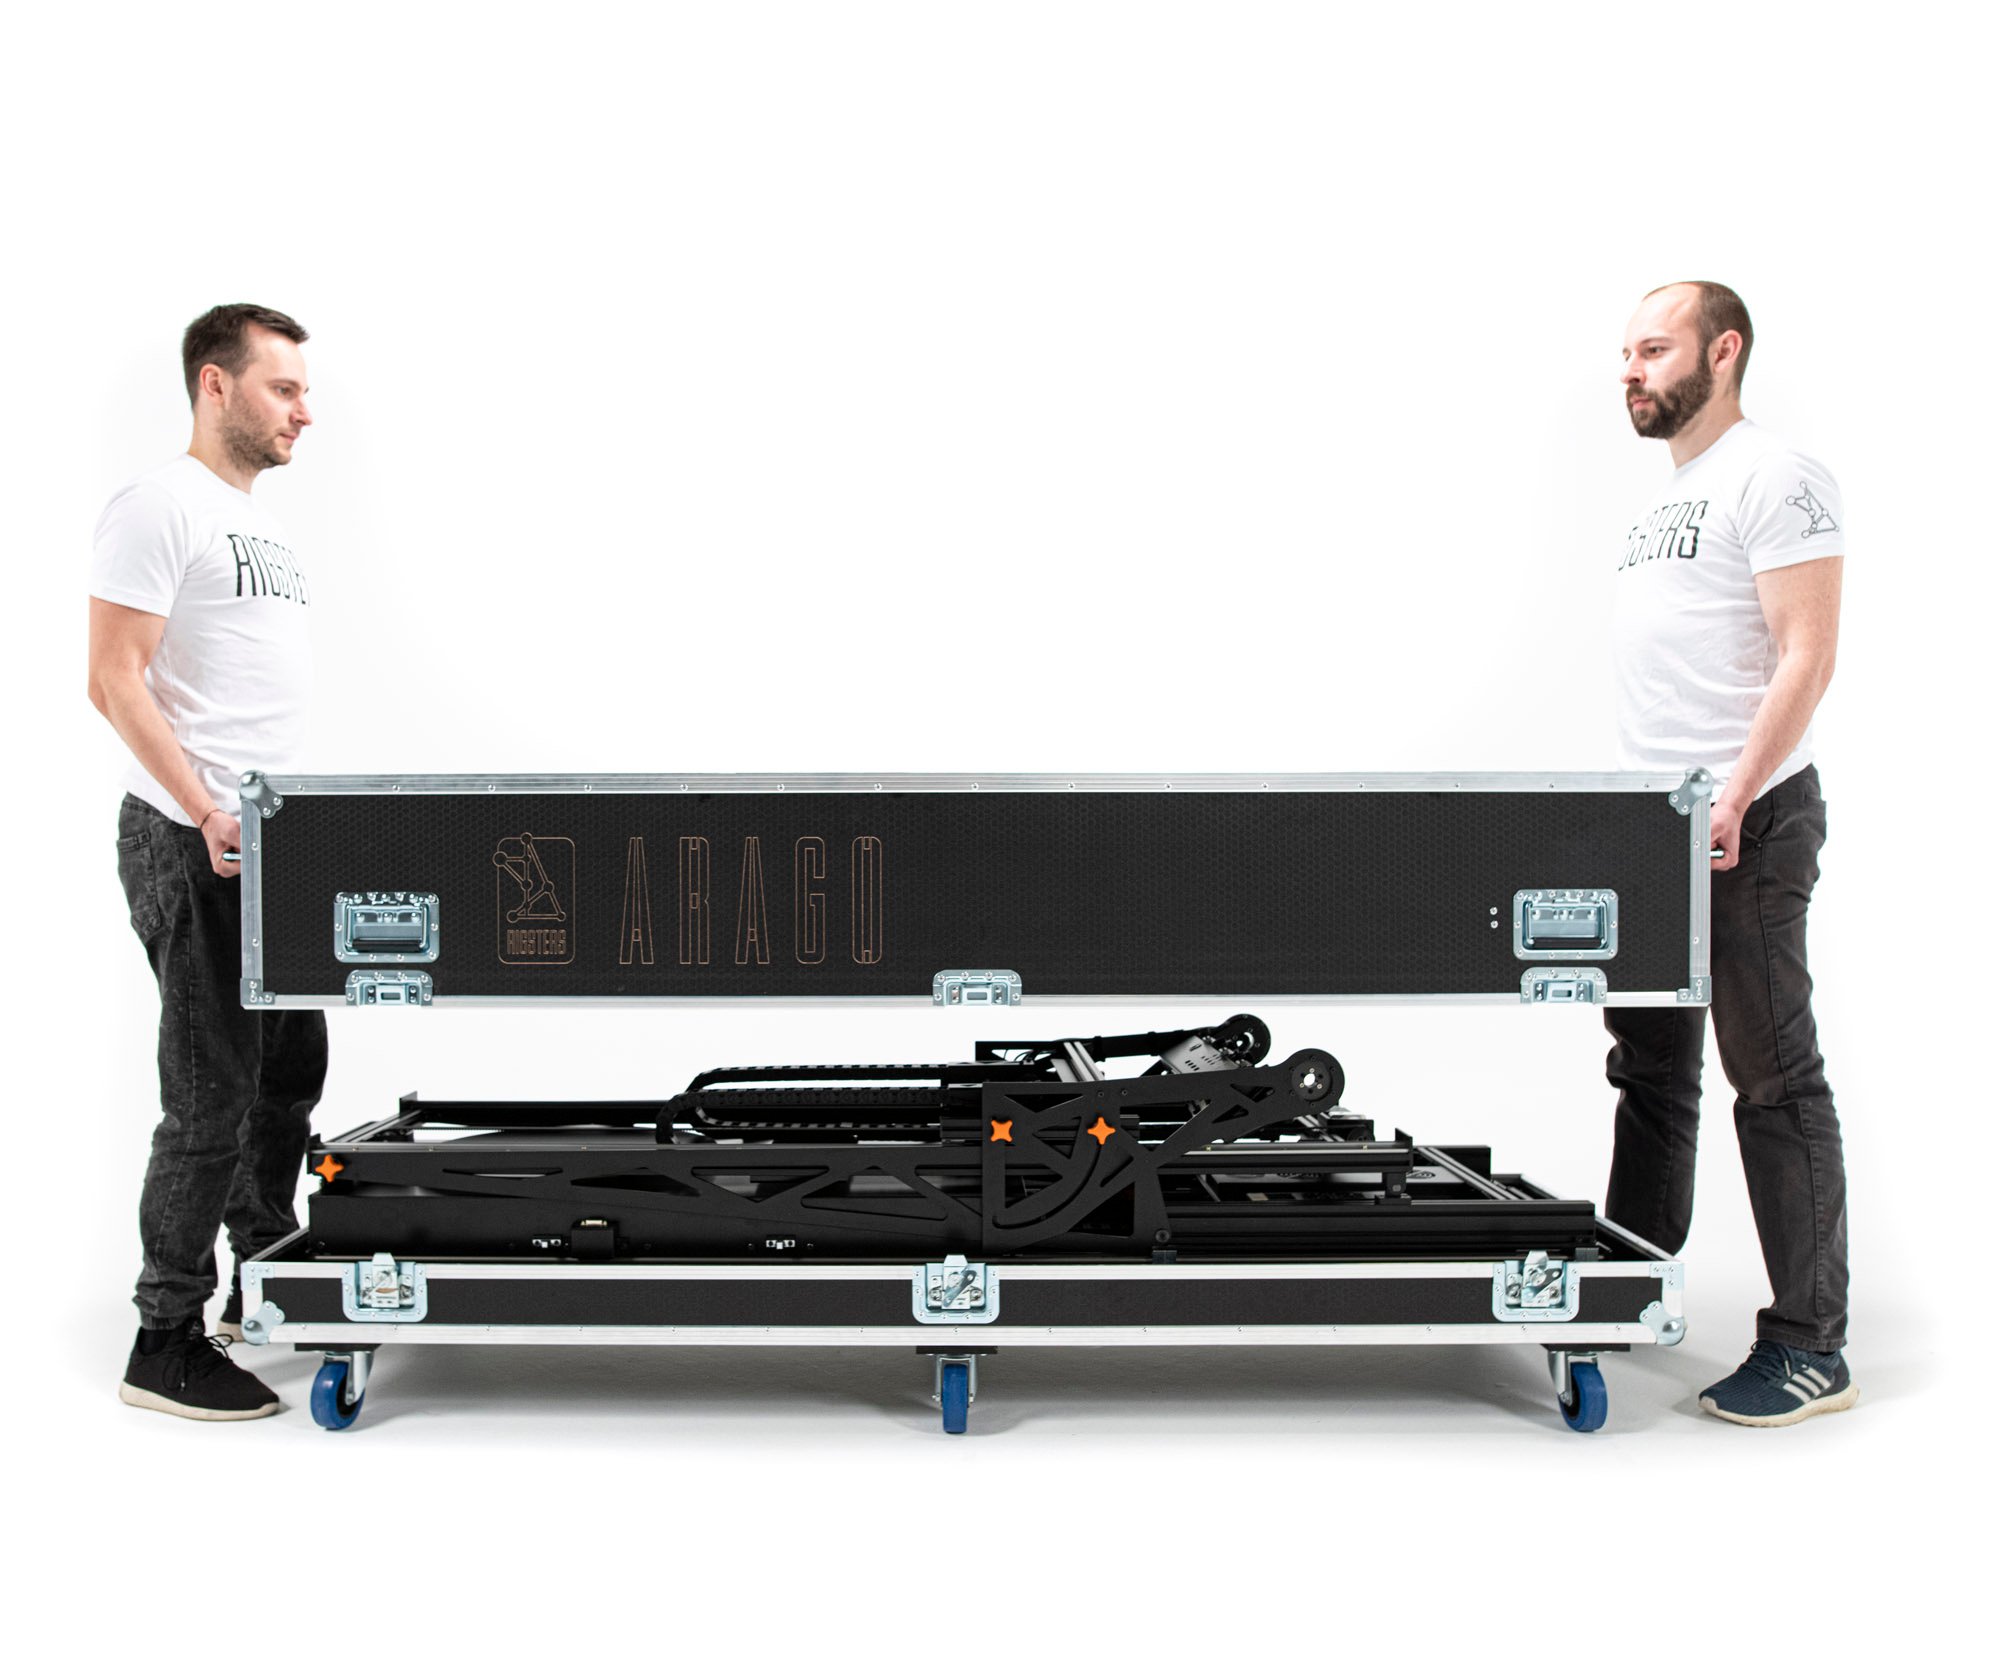
Gently place Arago back in the case by aligning it to the foam inserts at the edges of the base of the box.
8. Place the top Lid
Lift the transportation case lid by the handles located on the front and back sides of the case. Do not use the handles on the long sides.
The lid must be lifted and placed over Arago straight downwards and not at an angle.
Important: the storage compartment side of the lid Must be placed over the front side of the Arago unit. (Closest to the Tilt component)
9. Lock the Case
Finally, fully lock all of the 6 latches positioned on the sides of the case starting with ones at the center. Make sure the lid is properly aligned to the base of the case before locking the latches.